I joined The Great Coat Sew Along all the way back in May because I’d never made a coat before and it seemed like a great opportunity to gather together with like-minded people and learn an awful lot, too! Even though I (and others) really fell behind on the timeline, I’m really proud to have finally finished my coat while it’s still cold out and to have learned a huge amount of techniques that I never would’ve on my own! So I owe this coat to Marji, really, for setting up and organising the Sew Along, and I’m already planning my next coat…
But for this coat, the pattern was BWOF 09/2005 #102:
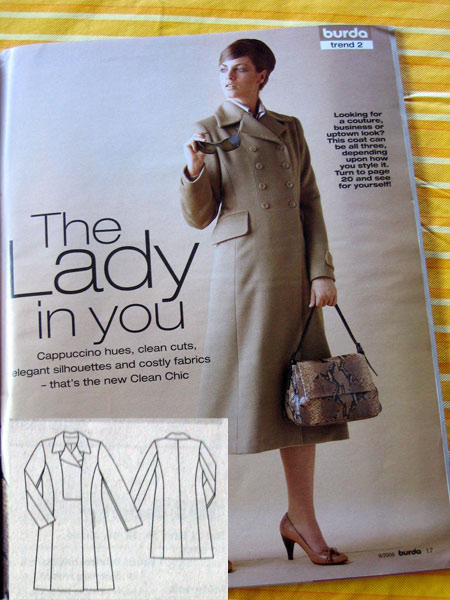
I made a huge amount of alterations on the pattern: raised the waist by 1”, lengthened the arms by 1.5”, added a wedge to the lower centre front for walking ease, widened the top sleeve (and shoulder seam) by 1”, and increased all the vertical seams below the chest by about 1/2”. And then on top of all that I changed the pockets and added the interlining, too! It’s probably more alterations than I’ve done on all my other 2008 patterns combined! But as much as BWOF usually fits me straight off the sheet, this pattern didn’t really have enough wearing ease to fit big sweaters underneath…
Previous posts about this coat
- May 2008 – The original proposition
- June 2008 – Choosing an interlining
- June 2008 – Muslin fit and alterations
- July 2008 – Tailoring supplies shopping
- January 2009 – Making the bound buttonholes and attaching the microfleece interlining
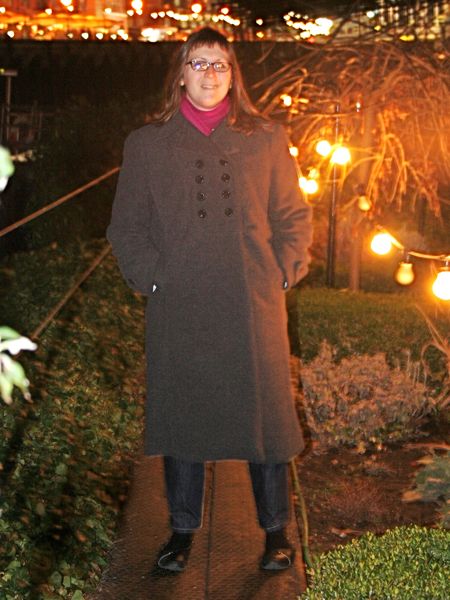
Ok, ok, enough with the backstory, here’s the photos!


If you’ll remember, way back in May I laid out what I wanted from this coat:
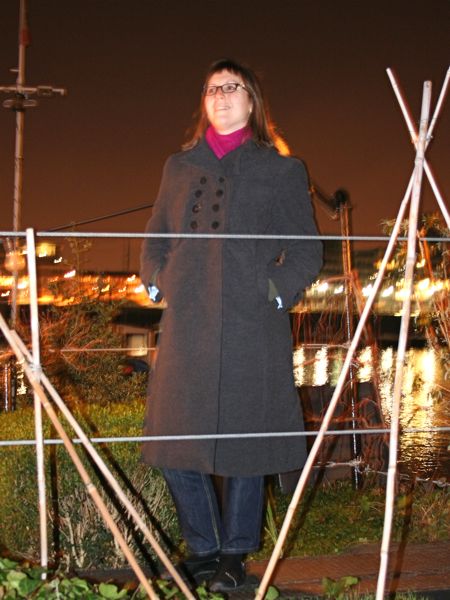
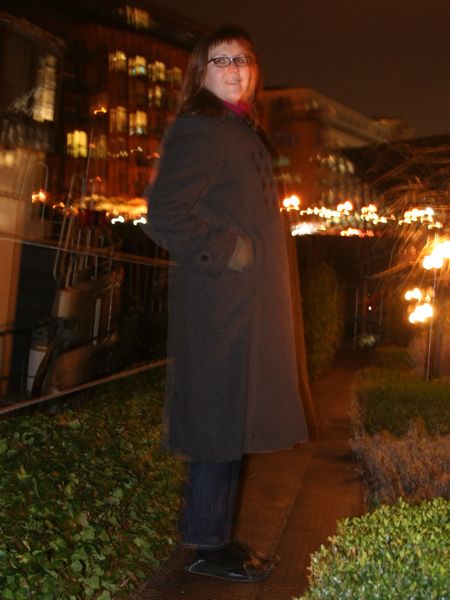
As far as my coat needs go, I walk to work about 35 minutes each way every day, and my commute takes me over the very windy Tower Bridge! So I need my coat to be very windproof and warm (which I think the Thinsulate will provide) but also very long so my legs don’t get too cold. I know from experience that the wind goes right through jeans and corduroys, and god help me if I’m wearing a skirt!
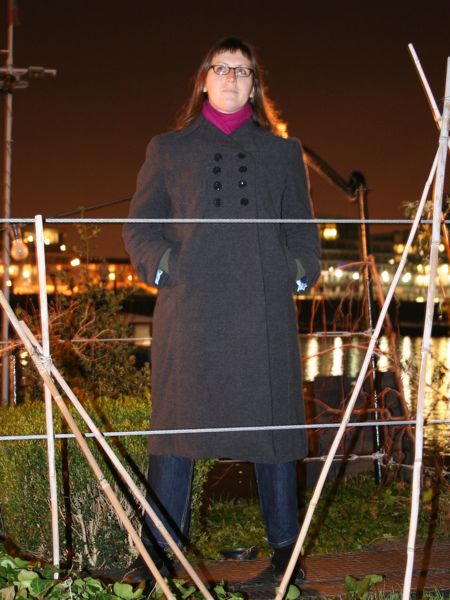
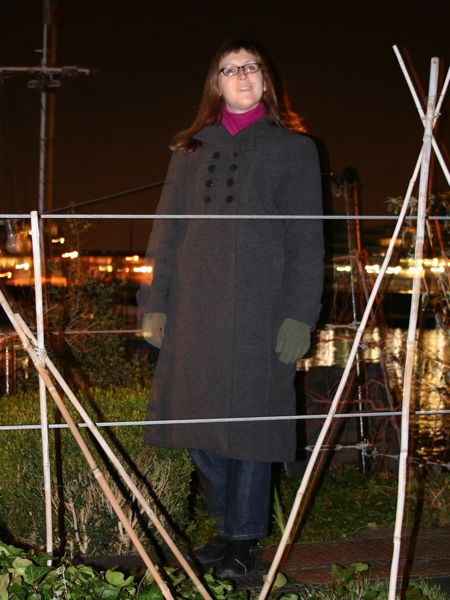
I can safely say that I’ve succeeded! This is by far the warmest coat I’ve ever had – even when we had gales on the river a few nights ago, I didn’t feel a thing through the coat (though I could through my scarf and double socks, ugh!). The walking ease really helps, too – unless the wind is blowing directly from my left, the flaps stay closed of their own accord and my legs stay extra toasty. It’s not particularly fashionable and the shape isn’t exactly flattering, but it’s warm and that’s what I wanted!! I feel I could join the Russian army with this coat with just the addition of a fur hat…
Here’s some exterior details:
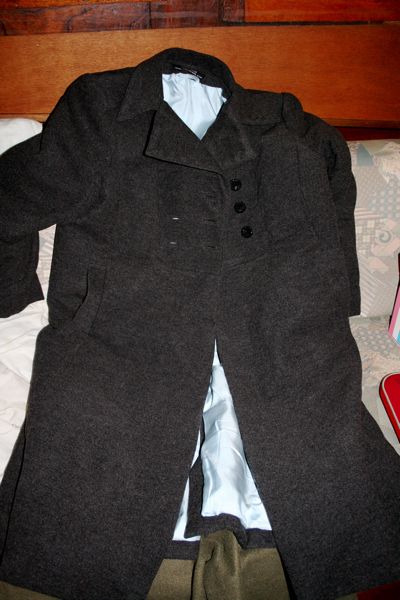
The coat laid flat
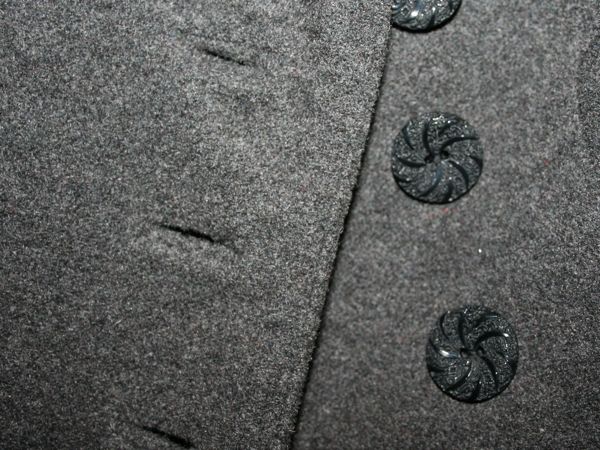
Bound buttonholes and the beautiful black swirl buttons (I think they’re from Jaycott’s but it’s so long ago I can’t recall) Edit: a-ha! Here they are!

The pocket flaps (double topstitched around the edges)
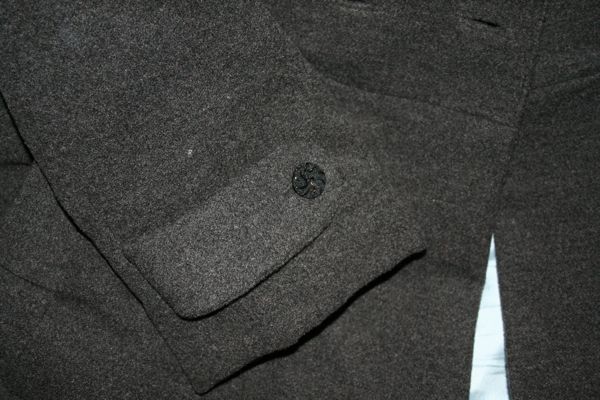
The sleeve tabs (with their own bound buttonholes and slightly smaller black swirl buttons)

The collar and back facing with hanging loop
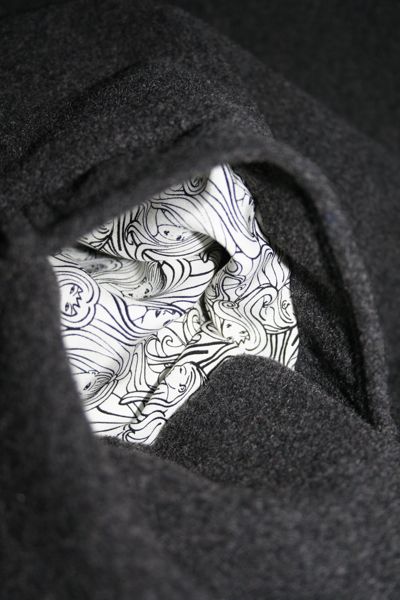
And some interior details, showing off the beautiful silk twill lining:
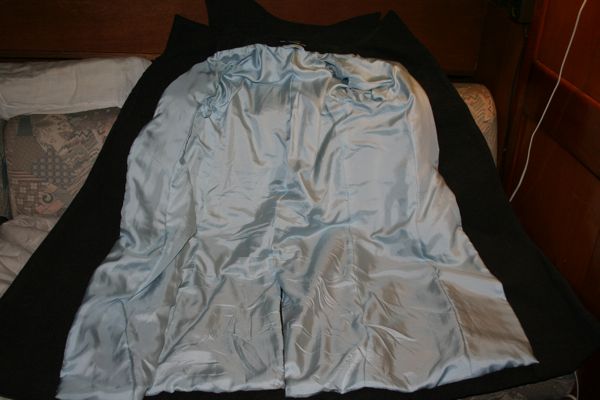
Laid flat showing the lining (I’d worn it for two days at this point, so forgive the wrinkles!)
Inside the back walking vent
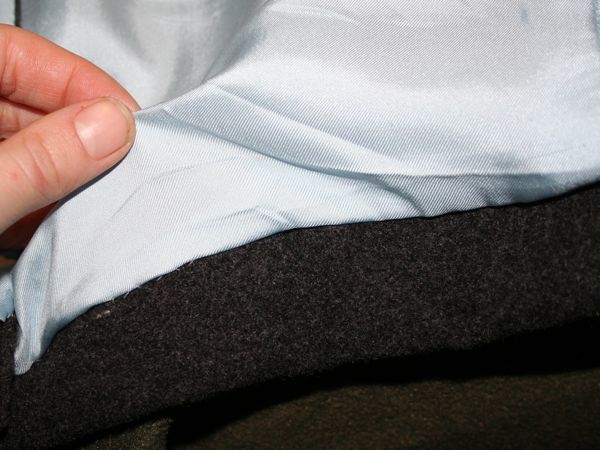
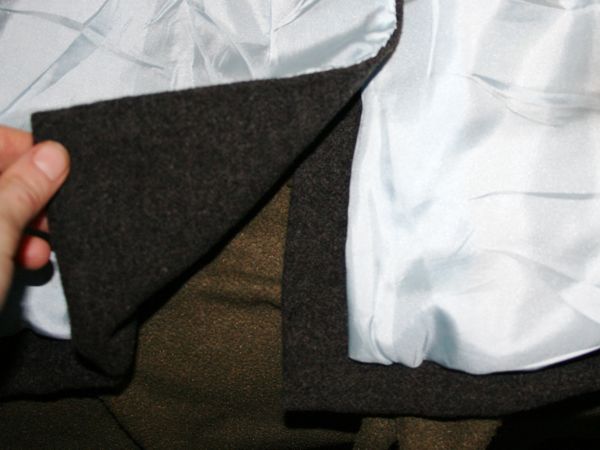
The handstitched hem (I only bagged the top and side edges because I wanted a wider hem facing and that great lining bubble effect)
The handstitched sleeve lining
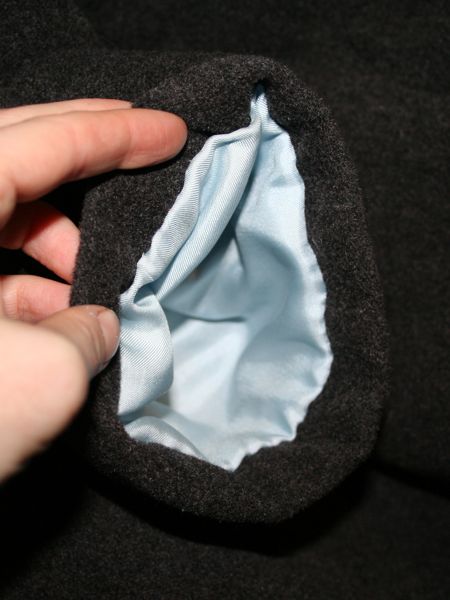
My pocket linings (If you’ve spotted these are the same as my silky secretary blouse then give yourself two points!)
I originally thought that I’d add in lots of interior pockets and bells and whistles, but by the time I started work on the facings and linings again a few weeks ago, I really just wanted to finish this. But as it turns out, with the double-breasted closure, I’d never be able to access any interior pockets without undoing eight(!) buttons first, and because I’d made the outside pockets so huge and deep, I don’t really need the storage space anyway.
And if you think I’m mad for making this coat, wait til you see the next one I’m planning…
…In incredibly shaggy faux fur!
But first, something easier – comfortable pyjamas!