This weekend I finally got a chance to properly play with my new toy and whip up a few knit tops to see what this baby could do!
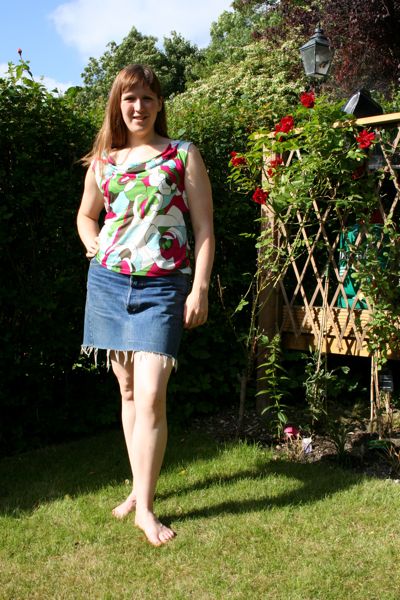
First up was BurdaStyle’s Sadie top (with the added cowl neck) using some lovely Pucci-esque printed knit which you may remember from last Spring’s tunic top. I was really just keen to use up the stash fabric on something very quick and easy, and also in case something went horribly wrong on my first serger attempt and the whole thing became a wadder!
Luckily no such thing happened and I got a decent summer top after an hour or two…
I only partially used the instructions included with this free pattern – instead I used the basic order of construction for knit tops in The ABCs of Serging:
- Sew one shoulder seam
- Attach the neckband or collar
- Sew the other shoulder seam
- Finish the sleeve hems
- Attach the sleeves
- Sew the side and underarm seams
- Finish the hem
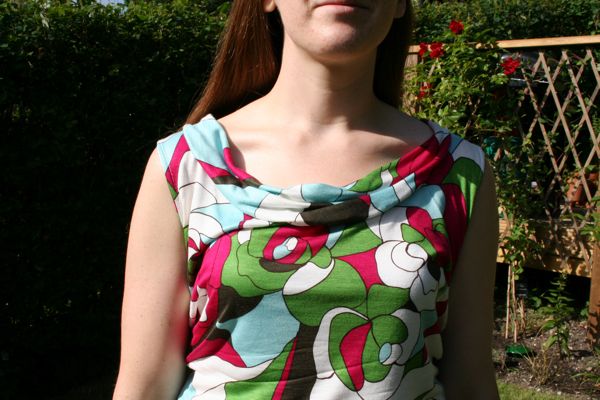
With this pattern I didn’t have any sleeves, but I did have to finish one edge of the collar. BurdaStyle suggest folding under the edge twice and sewing it closed, but I thought I’d try out my rolled hem technique here!
In doing so I learned an important lesson: Even though it’s perfectly fine to leave the right needle in my serger when I’m doing 3 thread stuff with the left needle, the reverse is not true:

Kids, that’s what happens when you leave the left needle in place when doing a 3 thread rolled hem using the right needle – ugly, ugly loops! So with that finally resolved, everything else went really smoothly. The Bernina 800DL is really easy to thread, really easy to adjust the tension and differential feed and the rolled hem adjustment is just a little switch and you’re done! I’m in love!
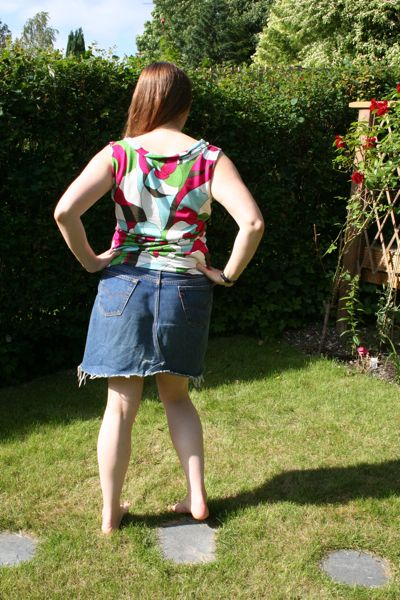
I carried on and made a teeshirt for James that morning (more on that later, though), but stylistic, if I were making this top again, I’d definitely change a few things! First, I’d eliminate the back collar entirely and just edge finish the neckline back there. The back collar does not stay in the right place and just looks kinda weird and limp IMHO. Second, edge finishing the front collar is pretty stupid, and results in that edge showing ALL THE TIME unless you tack it down with hand stitches in about ten places (ask me how I know!). So if I were doing this again, I’d cut two front collars and sew the curved edge together and sandwich both layers at the neckline to avoid any edges or undersides from showing.
And I’m still a bit annoyed that I broke a double needle sewing the sleeve binding (that’s £6 down the drain!), so I’d probably eliminate the sleeve binding and instead overlock the armscye edges and just turn those under instead (I’d keep the neck binding since it flops out a bit, though).
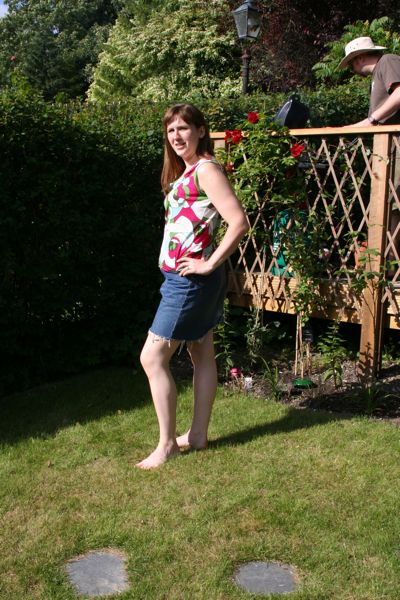
Still, those are quite minor construction issue, and the overall fit is fantastic, and the basic style is very customisable! And for the eagle-eyed amongst you, our photoshoot was actually on dry land this time (in our friends’ garden)! More on James’s serged shirt in a day or so…