It was inevitable, but still I hoped I could avoid the hair loss that comes with the chemo in my bone marrow transplant… I was expecting it to be instantaneous, but in reality, my hair didn’t start falling out until 3 weeks after the first dose of chemo, so I’m really glad I thought ahead and made myself some comfortable knit caps before I went into hospital, based on my own design.
I know there’s tons of chemo hat patterns out there, but IMHO, most just scream “old lady chemo” to me, and as I’m neither old nor wishing to particularly associated with chemo, I wanted something a bit cleaner and less, err, wacky/zany. I mean, if I wouldn’t be caught dead wearing that hat when I’m well, why would I want to put it on my head when I’m feeling crappy, fat, and unattractive already??
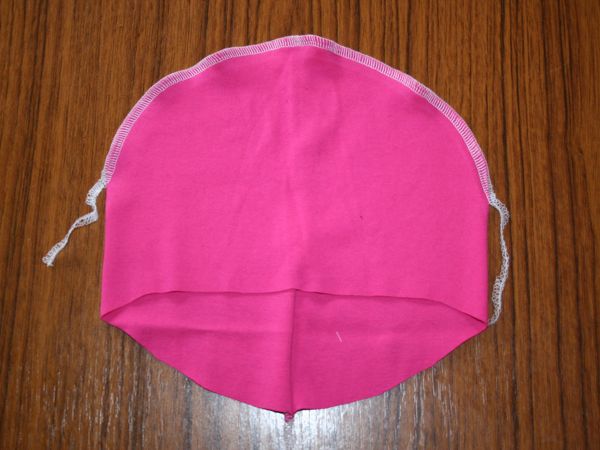
So I came up with this method for making what’s essentially a swimming cap made from stretchy knit materials. I knew I definitely want the back of my head covered, though, so you’ll see that my pattern dips down in the back to cover every last bit of Homer Simpson-esque wisps. If you’re a sewer, it’s a great use of scraps, and if you’re not, it’s a great way to recycle old teeshirts! Even if you’ve got some great wigs like I do, I find these absolutely indespensible for wearing around the house and sleeping in! Think of the wigs like your heels, and these like those comfy slippers…
The finished photo here is quite grainy and this one’s looking more baggy than it does in real life (honestly!), but you can get the idea of what we’re aiming towards here!
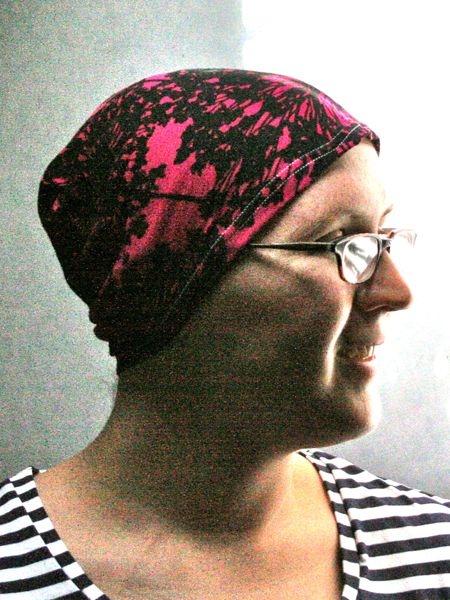
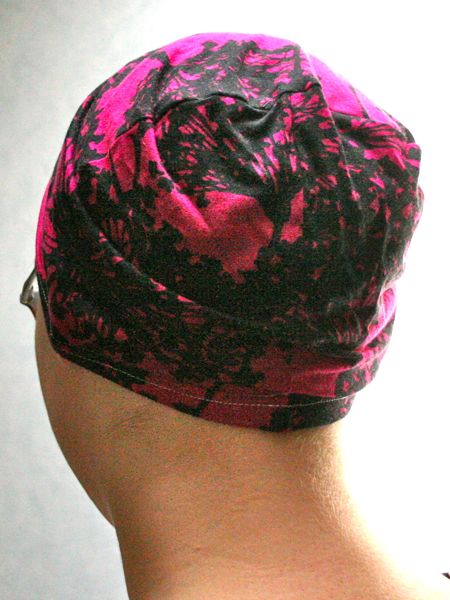
Photo tutorial
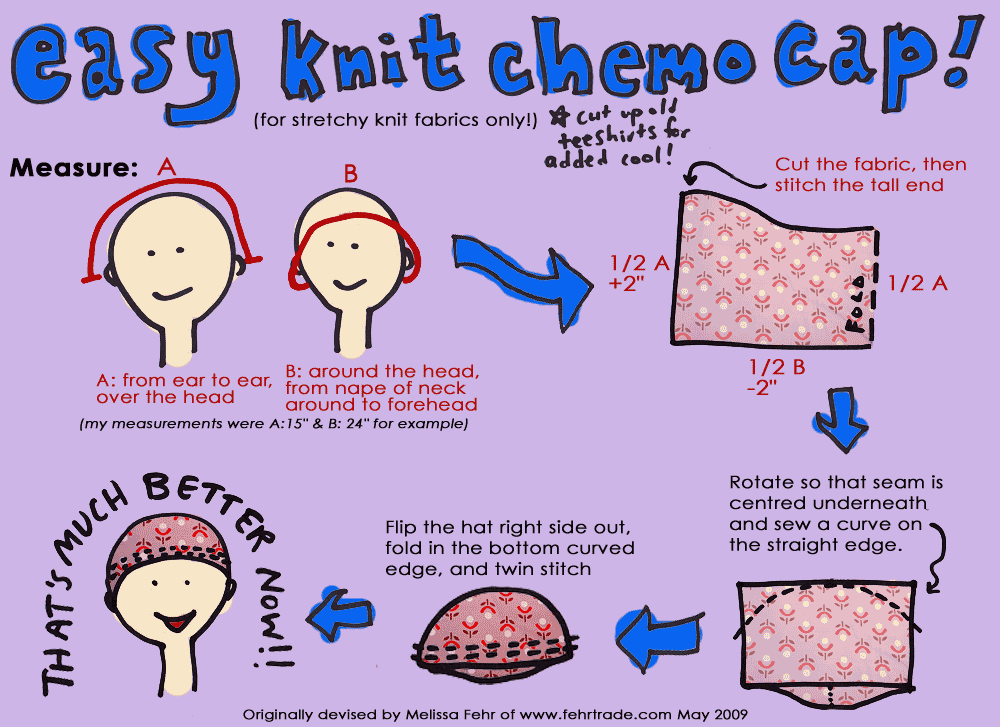
Pattern:
(Right-click here to save)
Editors: please link to this post, not directly to the image!
Step 1
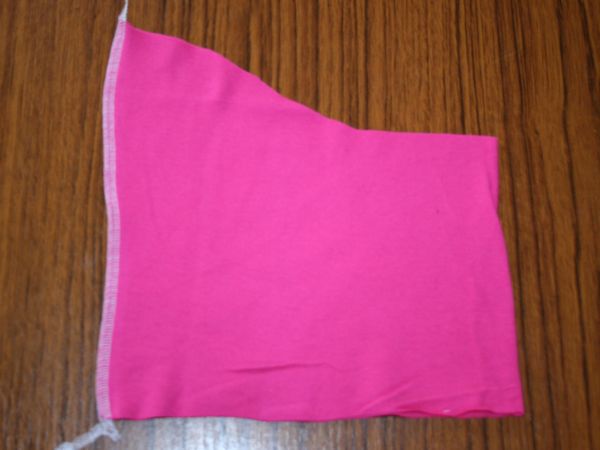
Measure around the head and from ear to ear, and cut the fabric according to the pattern above. Using either the zig-zag stitch on your sewing machine or an overlocker/serger, stitch the longer seam, creating a tube.
Step 2
Rotate that seam to the underside, and place the straight edge along the top. Starting 2-3 inches from the bottom edge, sew a curved top seam.
Step 3
Fold under the bottom edge, and either using a twin needle on your sewing machine or a coverstitch finish the bottom edge.
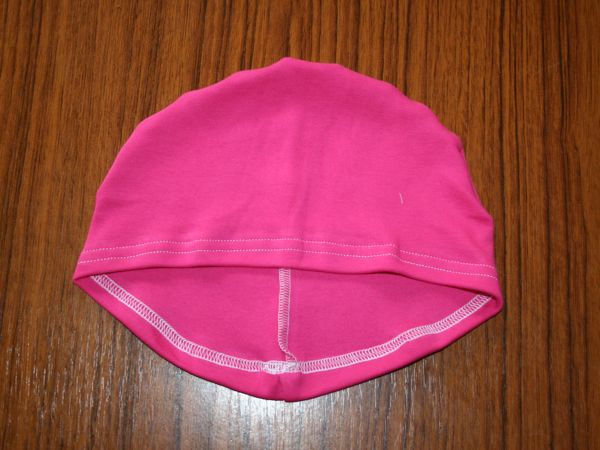
All done!
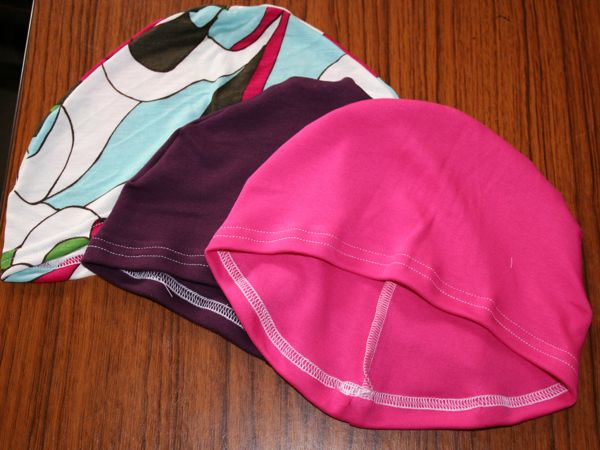
I hope this helps some other baldies out there!