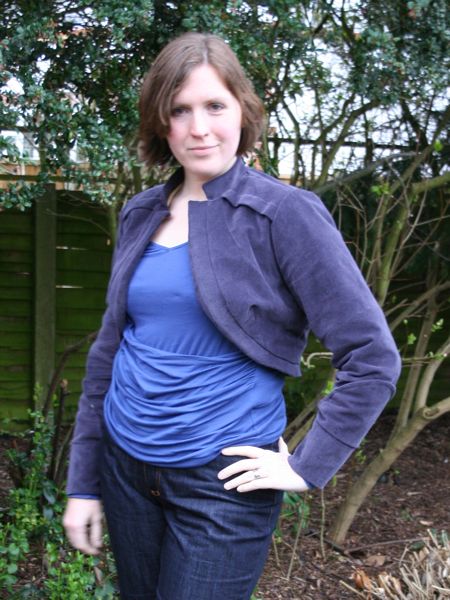
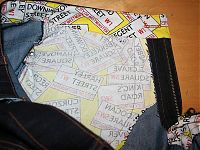
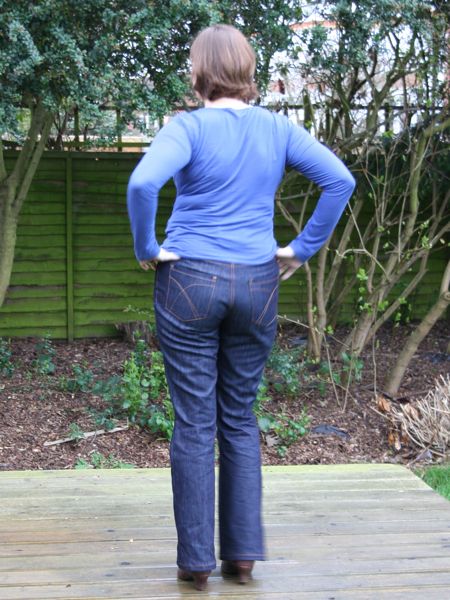
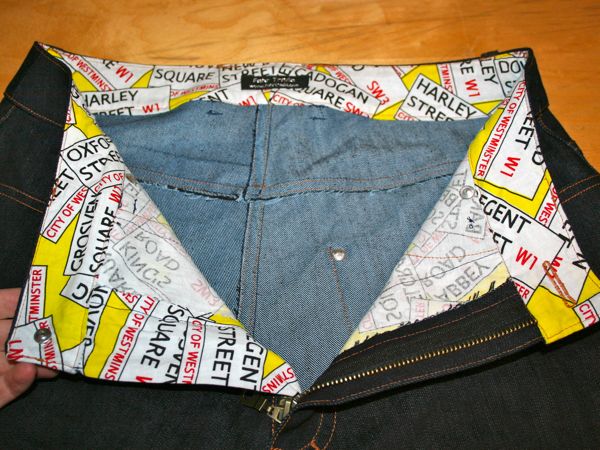
Why “NY-Lon” jeans? Well, it’s certainly not because they’re made of nylon fabric!! (ewww) I’m calling these that because I bought this denim at Mood in NYC on our honeymoon, and the lining pieces are London streetsigns fabric, bought as an eco reusable wrapping paper! So they’re New York and London together!
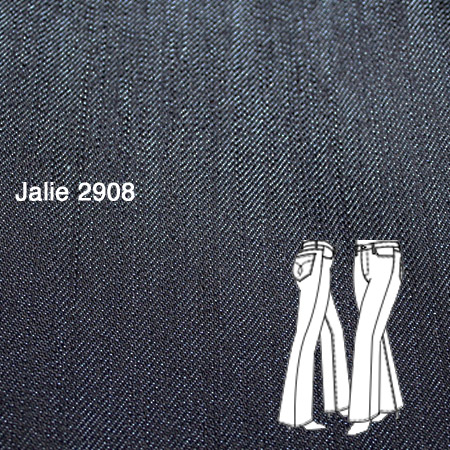
Once again, these are made using the Jalie 2908 jeans pattern. The first Jalie jeans taught me that, overall, the fit was great, but the waistband was an utter horror.
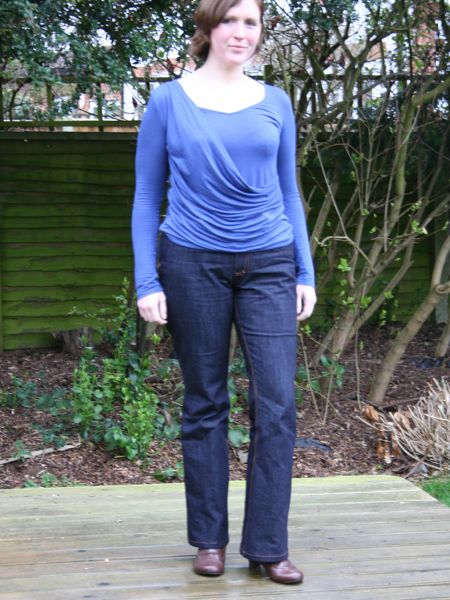
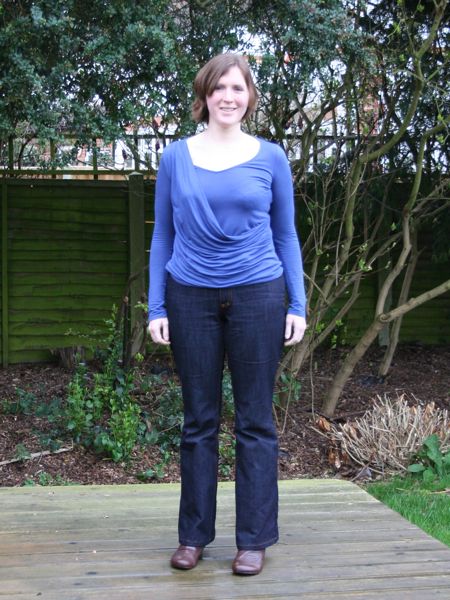
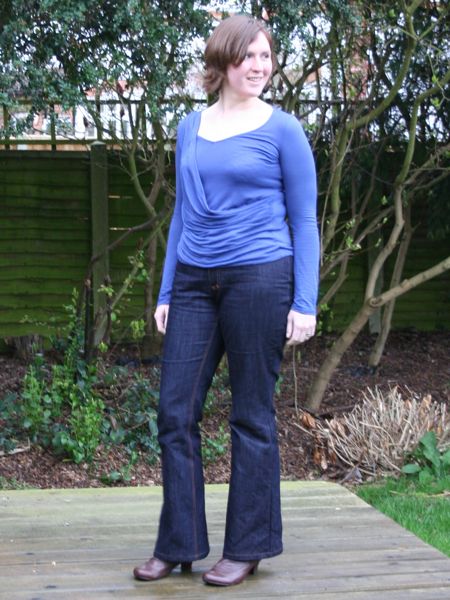
So I made two small but significant improvements to these, and I am SUPER happy with the result!
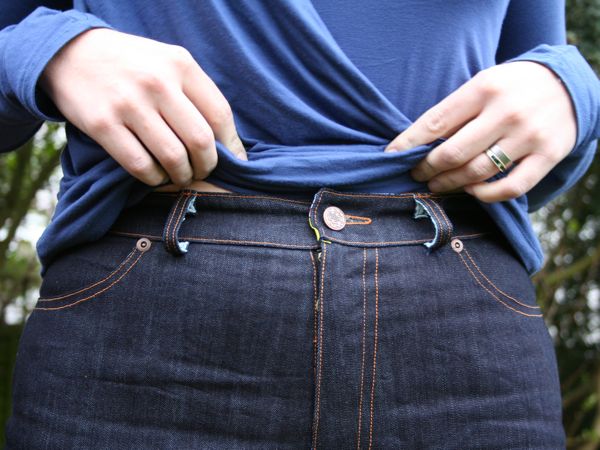
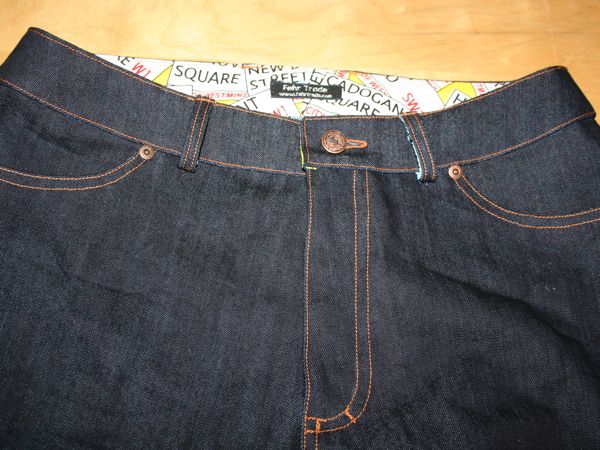
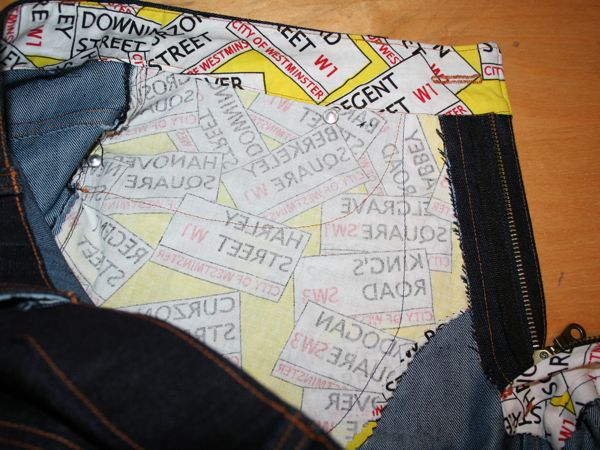
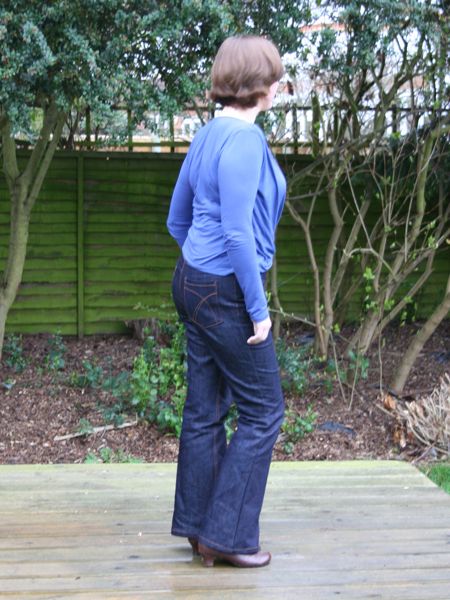
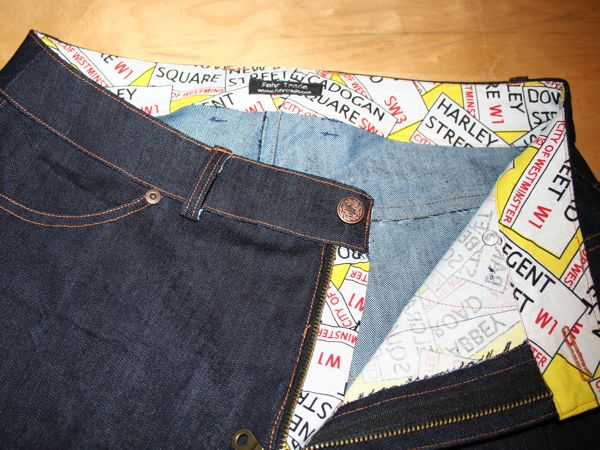
- I ditched Jalie’s awful straight, bias, uninterfaced waistband and used the curved waistband from my favourite Burda August 2006 trousers/jeans, which I also interfaced. I used the London street sign cotton as the inner waistband (as well as the fly underlap and the pocket linings).


- I extended my pocket linings to the centre front so they got caught in the fly front stitching and reinforced the front over my gut (you do NOT want stretch denim stretching out there when you sit – it’s not pretty!)
Also, I really like Jalie’s instructions for their fly-front jeans, even better than I liked Burda magazine’s method (my previous way of doing it). Jalie’s are simple enough that you can remember how to do it without referring to them each time, yet yield good results. I’ve tried Sandra Betzina’s method, and really hate it because it’s way too much like magic for my brain to connect together without mindlessly following along each time. I’d rather learn a good method, and incorporate it into my own knowledge-bank than “folllow, follow, follow, fly magically appears!”
Other good stuff:
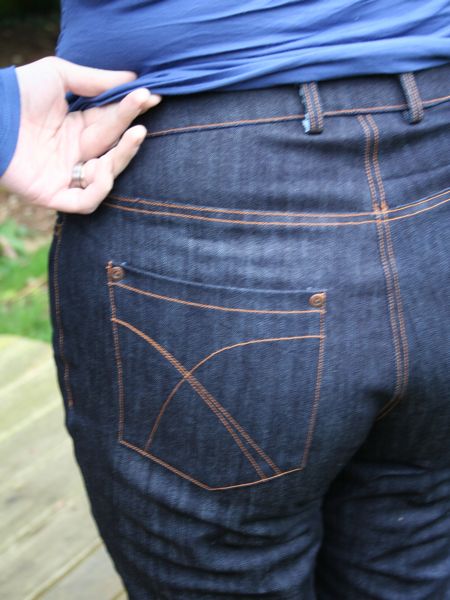
Junior’s rivets and all-metal jeans buttons – though you MUST shorten the nail on the rivets to get them to work (Read through the How to insert jeans rivets post here)
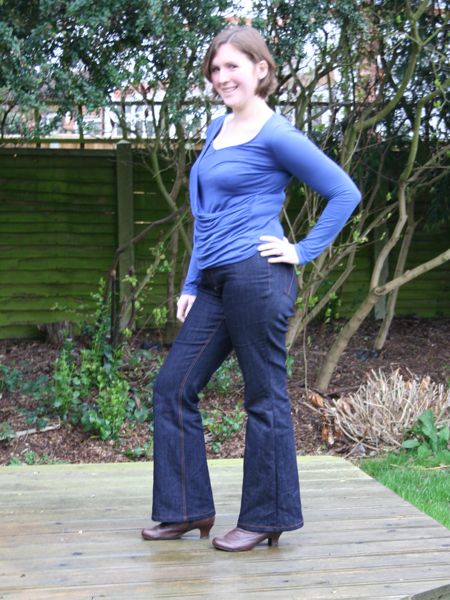
The Mood denim is just fantastic stuff – sturdy and soft but with a little bit of stretch (I think it’s this one on the Mood site). But since there wasn’t as much stretch in these as in my first (muslin) pair, I added 5/8” to the side seams at the waist and hip, tapering to nothing at the knee to account for less stretch. And this turned out to be exactly perfect. For future reference, before cutting into the denim, I washed it, air dried it, then washed it again, and this time made puppy dog eyes at my neighbour so she’d run them through her tumble dryer for me to make sure I got ALL the shrink out (we don’t own a tumble dryer, so these will be air dried in their normal life)! But the dye is still bleeding, turning my legs blue and putting a slight tint on the pink lining of my coat. sob
I’m so buying more of that eco giftwrap – it was the perfect amount of fabric for these jeans, with hardly any leftover. It wasn’t the cheapest at £4, but they’ve got a ton of cool prints in this same range.
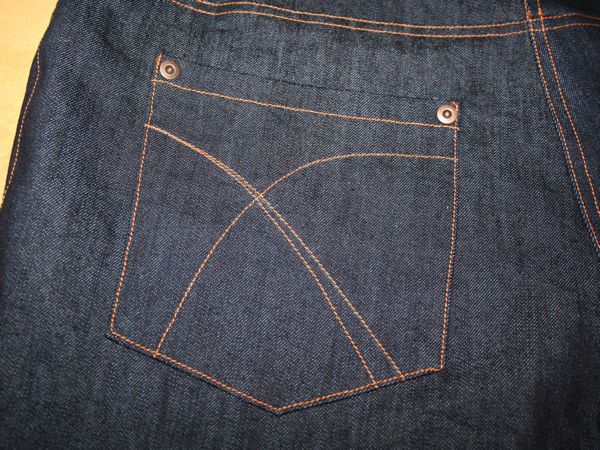
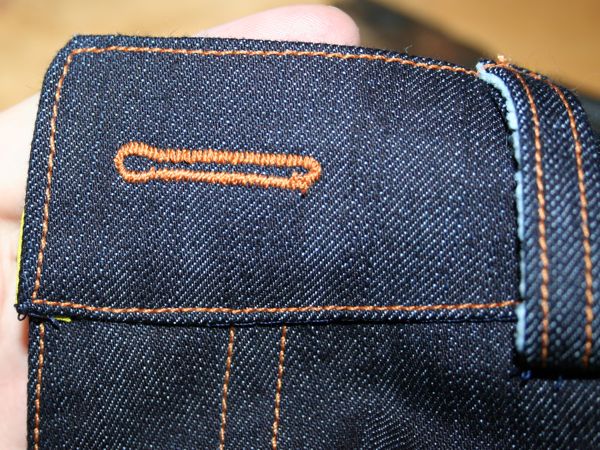
I used my vintage Singer hand-crank machine for the topstitching again. BLISS. After years of watching on eBay, I finally scored an old vintage buttonholer with four templates (these are plentiful on US ebay, but very thin on the ground in the UK), so I’m going to wait to do the buttonhole on these until that arrives. And how amazed am I that the eBay seller, Freya, turned out to be a Fehrtrade reader! ha!
A few commenters on the previous Jalie jeans post asked why I hadn’t used those metal jeans zippers that have the little prong in the pull tab. I replied by email to some, but I can actually give more information now that I’ve worn my second pair through two full days – the zipper is irrelevant. I’ve used the zippers with the prong before and to be honest, they never, ever lock into place like they’re supposed to, but with all other trouser patterns, this doesn’t matter anyway since the waistband keeps the stress off the zipper as it should.
With this second, improved pair of Jalie jeans, changing the waistband to a curved and interfaced one AND extending the pocket linings to the centre front has stopped ALL the waistband and zipper problems. I’ve used one of the metal zippers bought in Walthamstow, which by others’ reasoning should fall down as it doesn’t have the prong. But I haven’t had to touch it once in normal wear, because the waistband is fulfilling its job, and the pocket stays are holding my gut in, too. So it’s a very happy zipper, and also very happy jeans!
In addition to my earlier jeans-sewing tips, Tanit-Isis put together a great list, Claire (Seemane) gathered together a bunch of jeans patterns, and Peter is holding a Jeans Sew Along shortly if I’ve inspired you to give them a try (I hope I have!!).
These are the first of my finished garments for my March Mini Wardrobe but I’ve also finished the MyImage bolero so you can look forward to seeing more of that soon!