I started work on this lace skirt just before we left for France, when I was finally over my post-March wardrobe exhaustion and finally ready to get stuck in on some more complex and fiddly projects. So I got all the layers cut out and basted together before I left, so this I only had the fun stuff left to do last week! Hooray for me!
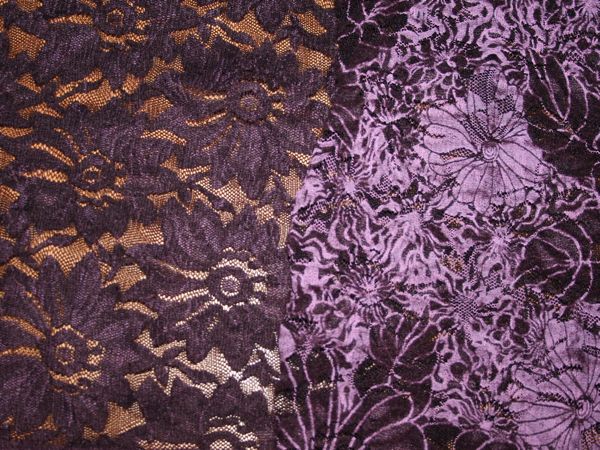
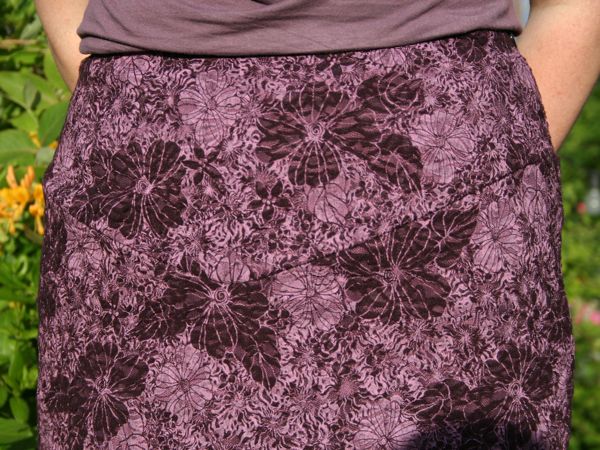
The luscious purple lace is all dark purple on one side, but with added chenille texture and lighter, printed flowers on the other side. It’s from Ditto fabrics, bought by Pip as part of my Christmas gift, and I made good use of my 1m!
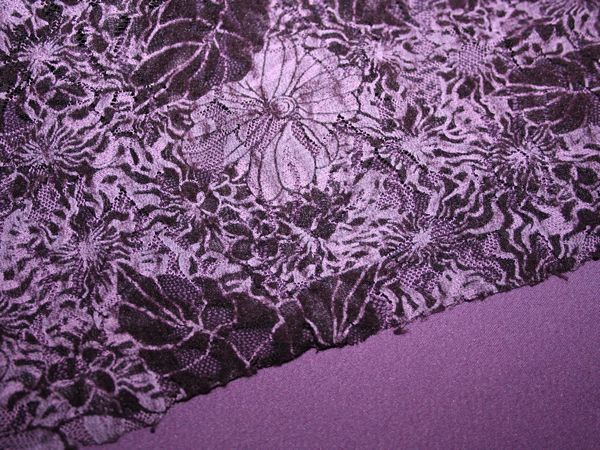
Since it’s lace and more sheer than I’d like for a skirt, I underlined this with some fabric I bought on Karen’s big Walthamstow meetup – it’s a poly stretch woven, with a bengaline-feel on the light purple side, and a wine-coloured, satin reverse. The purple side matched my lace perfectly and the satin reverse just meant I didn’t have to line it because it’s already slippery inside! Score!

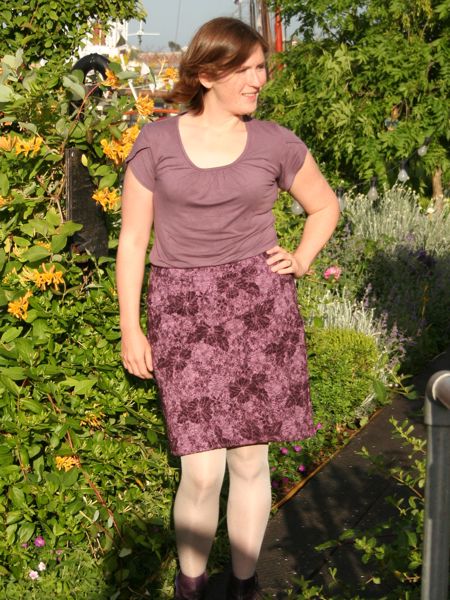
While the colour match isn’t perfect with either my bamboo tulip top or my purple boots, it was close enough for me to wear them together yesterday!

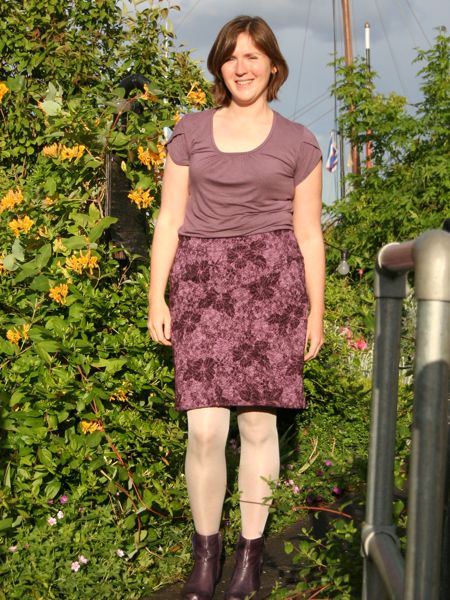
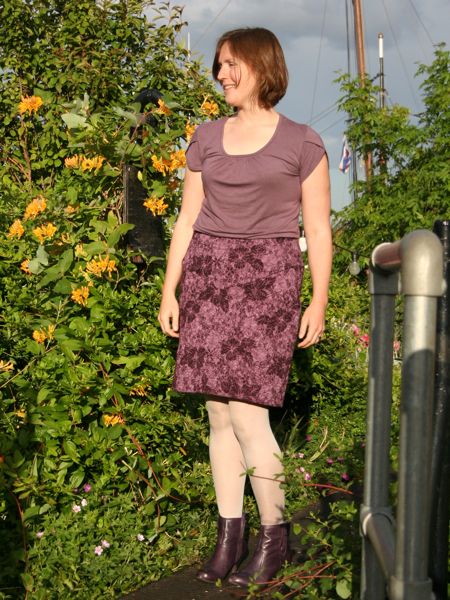
I wore this skirt all day at work before taking these photos in the evening, so please forgive any wayward wrinkles from wear!


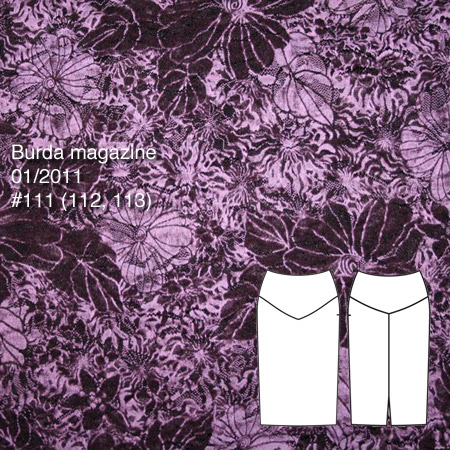
For the pattern, I used Burda magazine Jan 2011 #112, though 111 and 113 are also the same skirt, but with different lengths. I made my own length, somewhere between 111 and 112, so the hem falls just above my knee, which also means I didn’t need the walking vent. For once, I’ve actually sewn something that’s available to download with English instructions, too!
I mostly chose this pattern because I remember the lace sections in Bridal Couture about dealing with darts (the short version is that you cut them open and overlap & trim, rather than sew conventionally) and I decided I’d rather avoid darts altogether. So I had a flip through some patterns for yoked skirts, and decided that this one had a nice shape, despite the tendency to be a “crotch arrow”, ha!


I know some people fear and dread sewing inset corners like the point of the yoke triangle here, but I find them pretty straightforward. First, I put a little square of lightweight fusible interfacing in the “Pacman” side of the corner (so for this skirt, it’s the lower skirt portion), right over where the point will be sewn. I sew one side of the corner, then stop, snip all my threads and everything, then very carefully clip to exactly the end of the stitching on the reinforced side. That clip then allows me to lay it flat and sew the other side, starting from the corner and going to the edge. Then I press both sides flat before pressing the seam allowances toward the reinforced side (down on this skirt).
I used a black invisible zip out of my stash that I had bought for 75 cents at the Perry County Amish Dry Goods store. Score! And I used my usual “two pass” method for inserting invisible zippers, where you machine baste down one side, then sew it in very close with a regular zipper foot, then do the same for the other side. I find I get way better results than with an invisible zipper foot!

This project also marked my first use of the Fashion Sewing Supply “Pro-Weft” fusible interfacing you all bought me. It feels really nice, but when they say “use a press cloth”, they mean it! It took a bit of effort to get the interfacing goo off my iron, since the interfacing is open-weave and the glue comes through… eww. I’ll remember that for next time!
Since this was underlined and it’s got a fairly narrow hem, I catch-stitched this hem by hand for once, and it looks great!
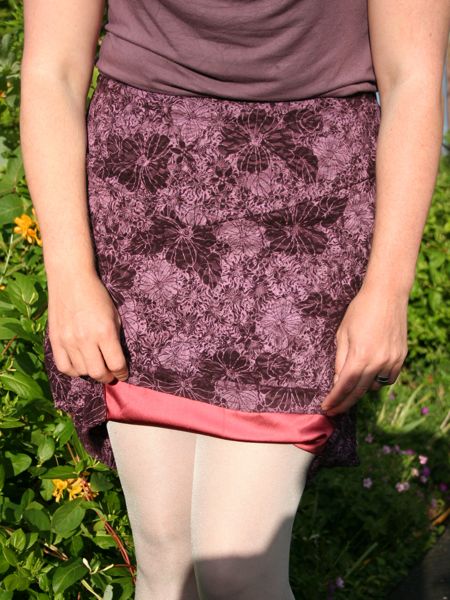
The slippery interior means it glides really nicely over tights (like the silver ones in the photos) and doesn’t catch when I walk. This skirt is so super comfortable, and the slight stretch means I can have a slim fit without losing any comfort when sitting or walking.