I’m feeling pretty good about the past few issues of Burda magazine. For a while there (2010, I’m looking at you!) they really seemed to be only printing boring, shapeless and awful patterns, but I’m glad I stuck around because the past few months have really been a return to form, as far as I’m concerned.
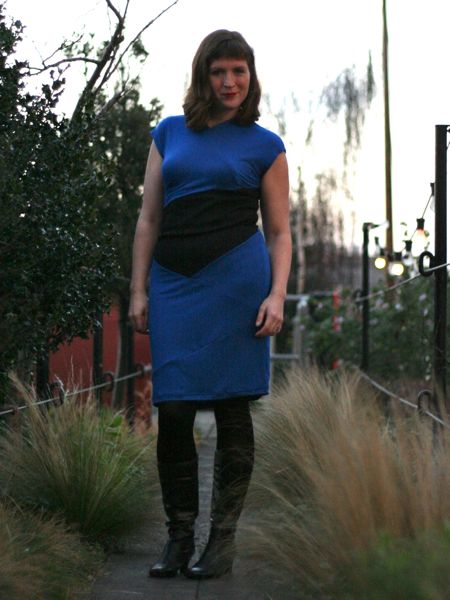
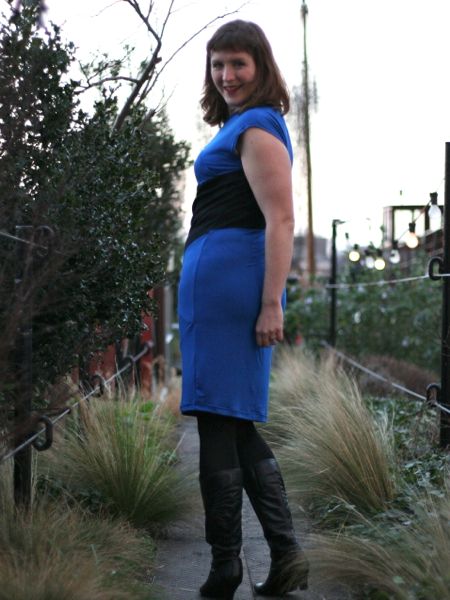
There were quite a few patterns I want to make from the February issue, but only one demanded I drop everything and Sew It Now, the colourblocked asymmetrical knit sheath dress #117:


I know a lot of people complain about tracing Burda patterns, but I seriously don’t have a problem with it. Most patterns take me about ten minutes to trace, I have the pattern sheets on top so it’s not difficult to see the lines, and I do a few at a time.
This dress may have the illustrated instructions for this issue but WOW was this a total bear to trace! It’s printed in red lines, but this sheet also contains the “easy”, pink shaded pattern, so there are multiple points where you need to trace red lines over pink shading. Add to that the irregular shapes of the pattern pieces and you’ve got yourself a headache.


If you can get through the tracing pain, though, you’re really in for a treat, because the tracing took longer than the cutting or construction combined. I sewed this up last Friday night after work and wore it out to a friend’s birthday the next day!
I’ve made it up here in a royal blue viscose jersey and black rib knit from my stash (both from Ditto). I really love the slimming effect of the black waist panels and I’ll definitely do that again, but I think a sturdier knit might’ve been a bit more suitable than the viscose jersey, as the viscose’s drapey qualities are lost on this pattern. Still, it’s super soft, unbelievably comfortable, and something I feel like a million bucks wearing!


I made a few changes to the pattern here, mostly that I totally ignored Burda’s enormous exposed zipper down the centre back seam. I don’t mind exposed zippers as a feature, but I’m not in love with them, and considering a standard, short invisible zipper costs about £3-4 in the UK, I couldn’t even conceive of how much a 40 inch, 2-way, metal-teeth zipper would put me back.
So I left it off, and it’s f-i-n-e to get in and out of. And you know what? You really don’t need to have the upper left front opening, either. Despite the standing collar, I can get this on and off no problem (and I have a big ol’ melon head).
Oh, and I didn’t bother putting the little pleats into the top of the sleeves. It would’ve just meant topstitching on knits, which never ends well, and I really liked the cap sleeve as it was and didn’t want to change a thing. It’ll mean my armscyes are 1cm lower as a result, but c’est la vie.

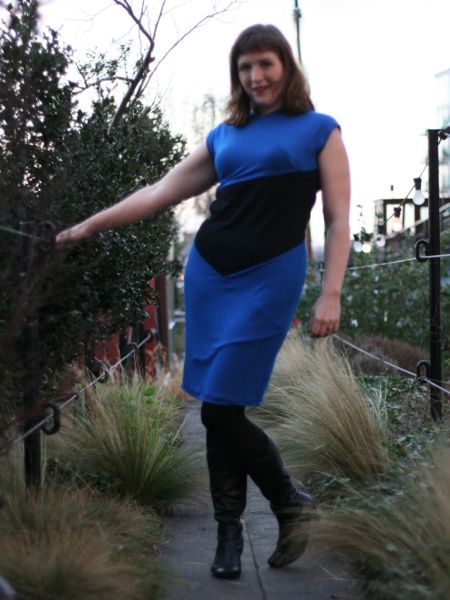
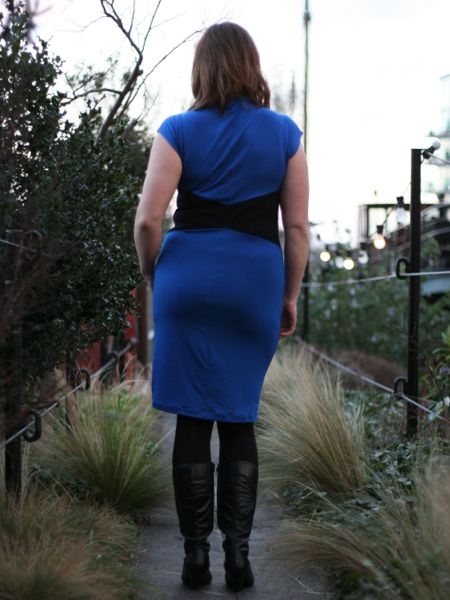
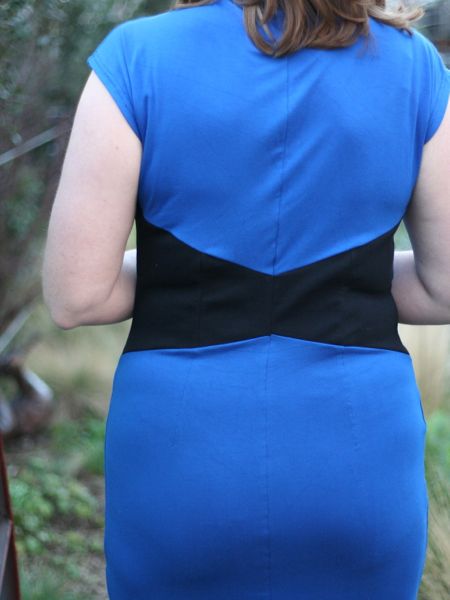
I love the slimming effect of that middle colourblocked panel, but getting the seams aligned was a real pain! I think I may take out an inch vertically at the waist on my next version as I’m getting some excess fabric there as I move… I often adjust for this on other dresses, but I just didn’t bother to here for whatever reason. I don’t think anyone but me would ever notice, so I’ll just fix it on the next one.
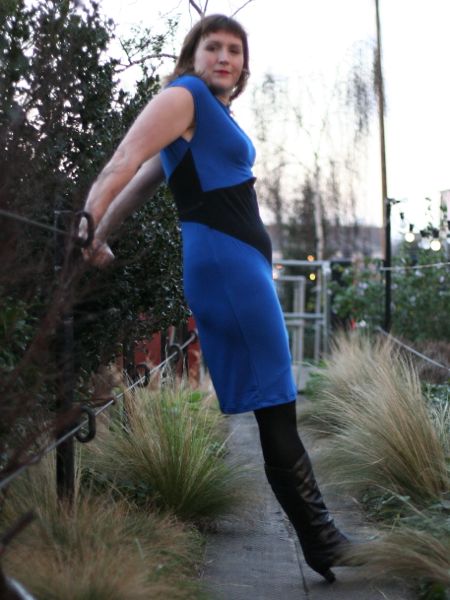
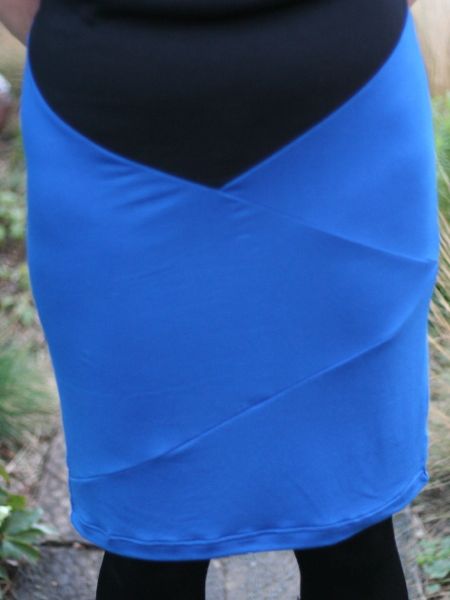
Gratuitous bootay shot:
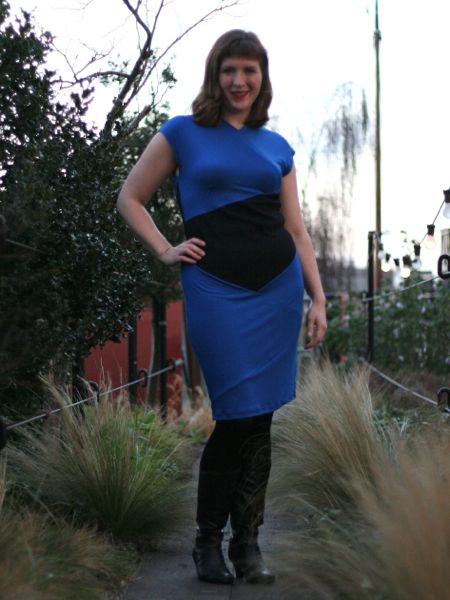
Here you can see that upper front opening. Burda have you face this and then attach some snaps in here, but because the seam runs over the bust, I really think this would be gapey if you left it open as intended. I sewed mine closed after pinning to make sure I could get it on and off, but the lumpy facings remain.
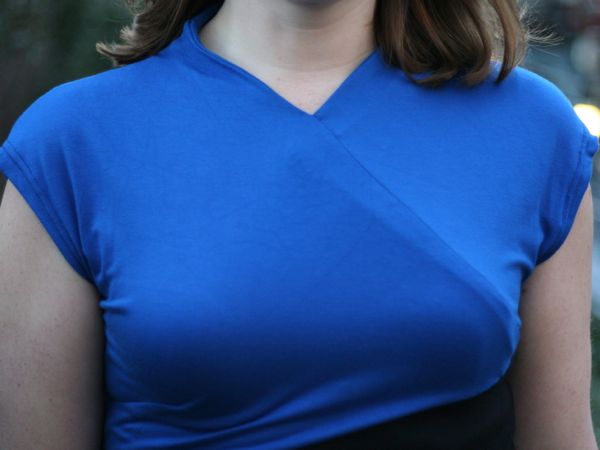
On the next version I’m sewing this as a seam from the start to avoid the lumpiness of the facings under there. If you want to do the same, just omit the facing on the upper right front and attach it to the dotted line on the upper left front.
The skirt has a bunch of great seaming on it, too, so you could colourblock even further than I have here if you wanted to…
But really, I just love this dress! It’s so comfortable, and I’ve gotten so many compliments even in just the two occasions I’ve worn it in the past week. I also like it because it reminds me both of my beloved September dress pattern but also of traditional cheongsam dresses…
Irina mentioned in the comments that there’s an error in the tech drawing for this dress, but for the life of me I can’t find it. Can anyone clue me in?
Also, if you haven’t seen it yet, Audrey also made this dress even quicker than I did! Check out her site for a good analysis of where the hidden darts lie in this pattern. I think my next version will be in a ponti roma now that I’ve done the noble thing and tested it with the stash first… Am I brave enough to sew it in the oh so very trendy tangerine colour though?