Cast your mind back to the heady days of May, when I decided to join hands with the internet and start in on The Great Coat Sew Along, with this beautiful long coat pattern from BWOF 09/2005 #102:
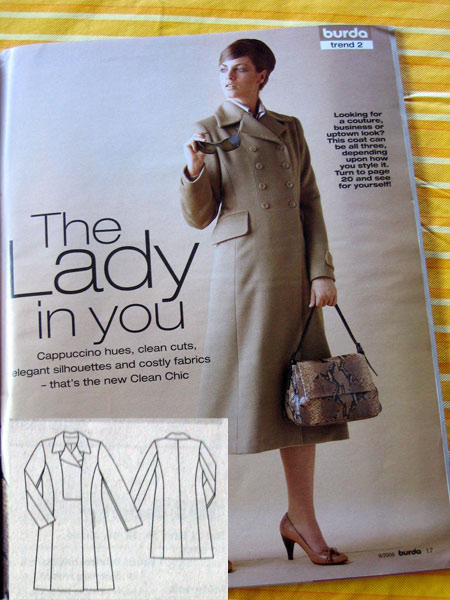
(There are two similar views – mine’s using the exposed buttons and sleeve tabs of 102, but the in-seam pockets of 101.) Anyway, I got as far as the material gathering, muslin fit and alterations, and even sewed together the body pieces of the coat before I lost momentum in August. The half-finished coat has hung in my sewing room ever since, taking up valuable space and making me feel bad every time I glanced at it, but the abnormally freezing cold temperatures we’ve had in London have made me jump back in with both feet to get this finished, because I could really use this on my daily walking commute to work. I’ve got a RTW long wool coat, but with the wind and extreme cold we’ve had, I can feel the cold through what I’ve got now (the papers are gleefully reporting that, at -10C, London is colder than Antarctica right now, and I’ve lost count of the number of Russian-style fur hats I’ve seen out and about).
My biggest stumbling block, and the reason my progress halted was that in order to proceed, I had to make the bound buttonholes, which I’ve never done before, and quite frankly, was scared of. But I’d learned to make welt pockets recently and I figured these were essentially like tiny welt pockets, so that gave me the confidence to finally sit down and try.
There are tons of different instructions out there on the web, but I used the instructions for perfect bound buttonholes described in Threads #140 (the last issue, with the velvet dress on the cover). I took a few in progress shots of their construction, though I did two practice buttonholes before doing the sleeve tabs, and finally had enough confidence to tackle the 8(!!) bound buttonholes on the coat body itself.
Here they are as I pinned the first lips onto all the basted placement lines, with three pins per lip!
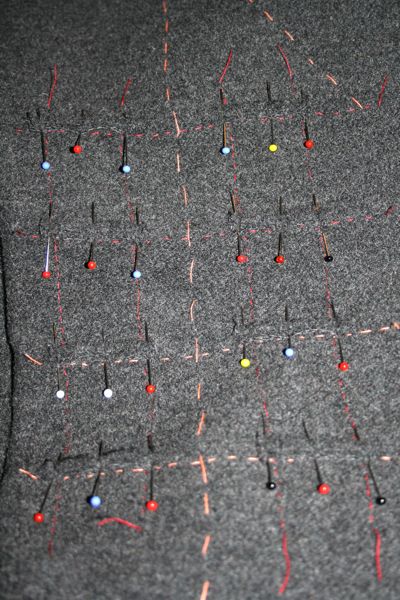
After making ten of these for this coat, I wouldn’t say I’m an expert, but I’m certainly not scared of them any more!
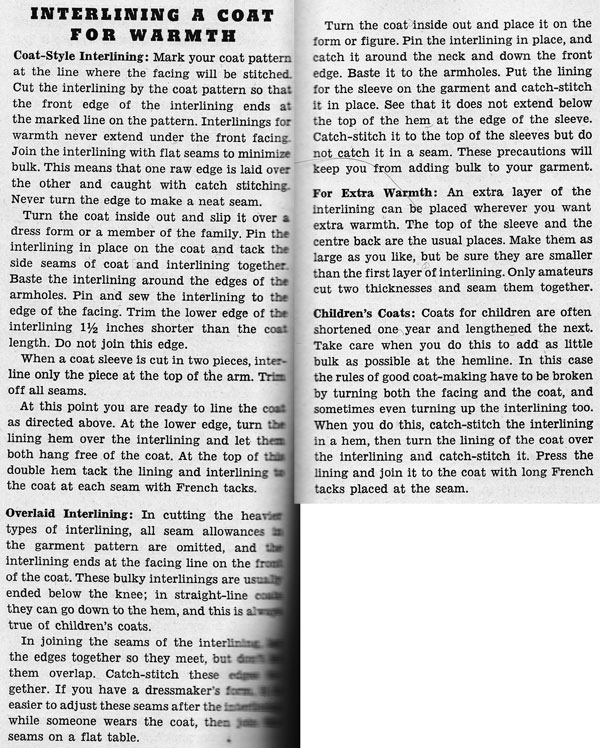
Even back in May, I knew I needed to make this coat extra, extra warm to withstand my daily windy commute, and the way to make a coat warmer is to interline the body and upper sleeve with an extra layer. I decided on microfleece as my interlining of choice way back in June after discarding Thinsulate, if you recall…
Now, there isn’t much reading material about interlining coats anywhere that I could find, except in my copy of The Complete Book of Sewing, by Constance Talbot, published in 1947. Here’s the part describing how to interline a coat for warmth, and I followed the section for Overlaid Interlining, since my fleece had more bulk, than say, flannel.
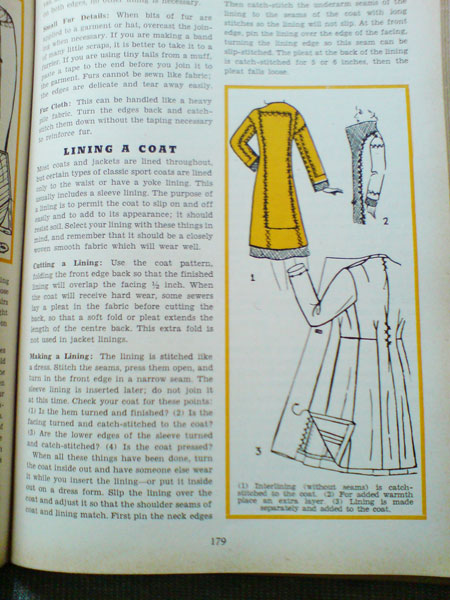
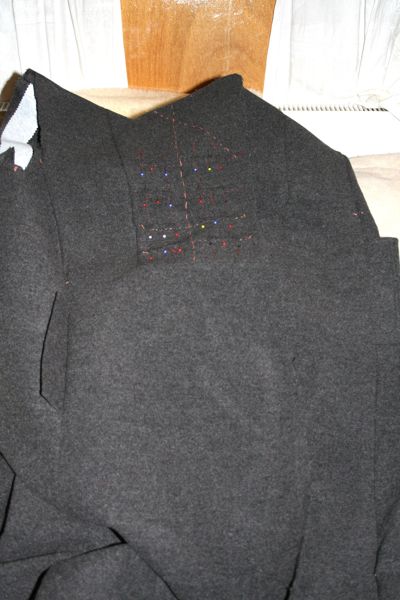
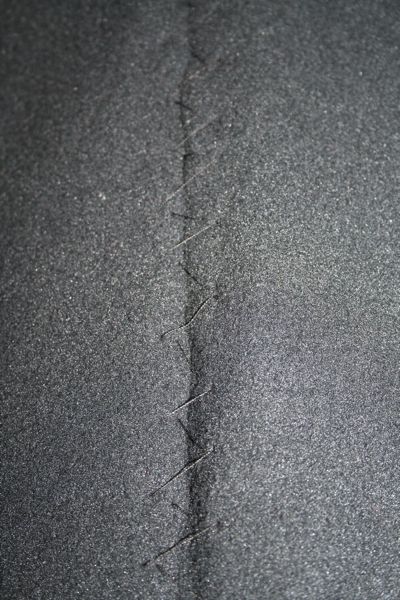
So I cut the pieces of fleece interlining for the body pieces and upper arm with no seam allowances, and pinned these to the inside of my coat, then sewed the interlining to its neighbouring piece and the coat’s seam allowances, making sure not to catch the outer layer of the coat. In the places where there were no neighbouring interlining sections (like down the sleeves), I hand sewed the interlining directly to the seam allowances. In this way, there’s no places where the fleece overlaps, so there’s no extra bulk in any of the seams!
I won’t lie to you – this took forever to hand sew (and I hate hand sewing!) so I’m glad I had several days off work to just sit on the couch with the dressmaker’s dummy next to me to work on it. I certainly wouldn’t interline every coat in the future, but for a long, thick coat like this, I think it’s going to be worth it.
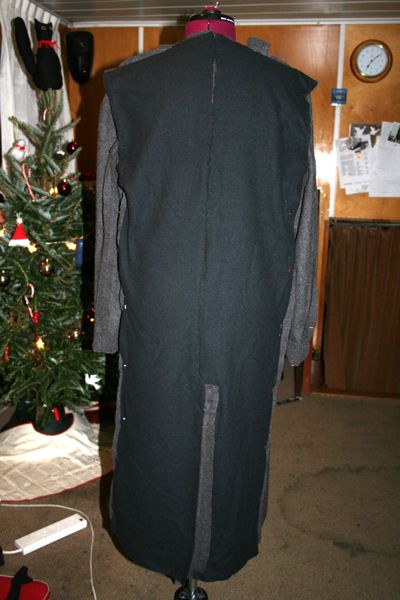
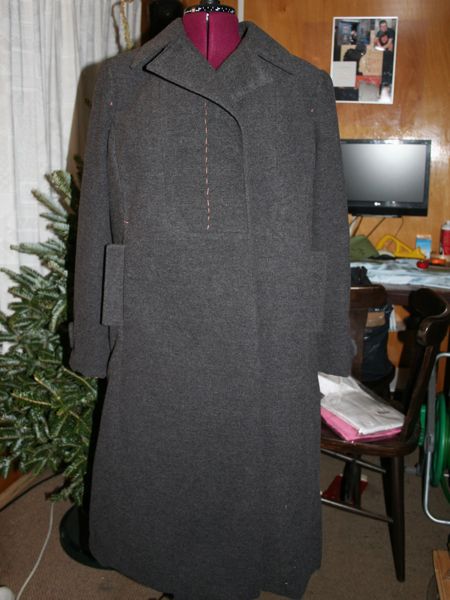
After the interlining was attached, I then inserted the shoulder pads and sleeveheads, and shaped and attached the collar pieces.
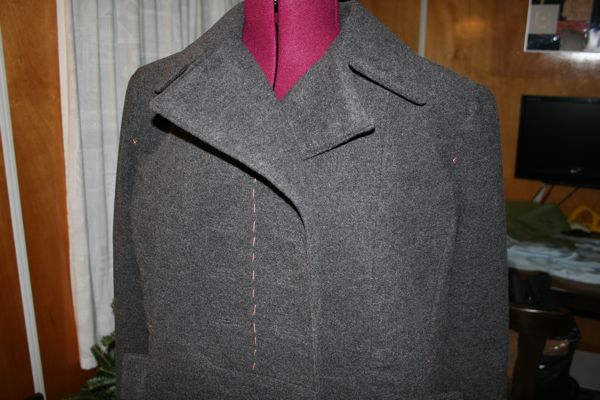
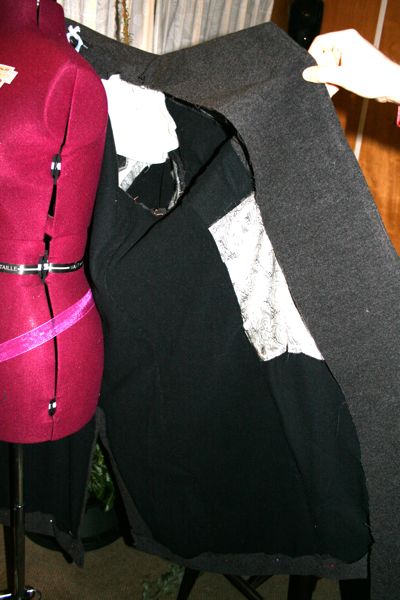
Notice how the white pocket bags in the third photo are on the interior side of the interlining so my hands should be nice and warm inside!
So it’s looking like a real coat now, but I still have to finish constructing the lining, then I’ll attach it by machine to the top and sides, and finally hand sew the hem and sleeve hems!
My lining is this beautiful eggshell blue silk twill that Marji really kindly picked up and shipped on to me after I couldn’t find any coloured silk twill locally:

I’m really loving the contrast of the charcoal grey with the pale blue, and I really, really can’t wait to finish this so I can wear it and be warm! For the last few nights, our digital thermometer has been reading 1-3C for my sewing room so I’ve been doing most of my work in the warmer saloon (I’ve got a small fan heater in the sewing room, but it’s no good if you have to keep opening the door, to, say, press a seam!). So I’ll be pushing on towards completion very soon, with any luck!