I made a big push on Sunday to get as much done on the first bridesmaid dress as I could, and between then and some “non-commuting” time yesterday and today (I worked from home both days so I put the hour I’d normally spend commuting to good use!) I managed to finish Pip’s dress, apart from the hem and the covered buttons, which I need to purchase in town tomorrow.
To refresh your memory, I’m sewing the Gant exclusive design dress from the Sept 08 Burda magazine:

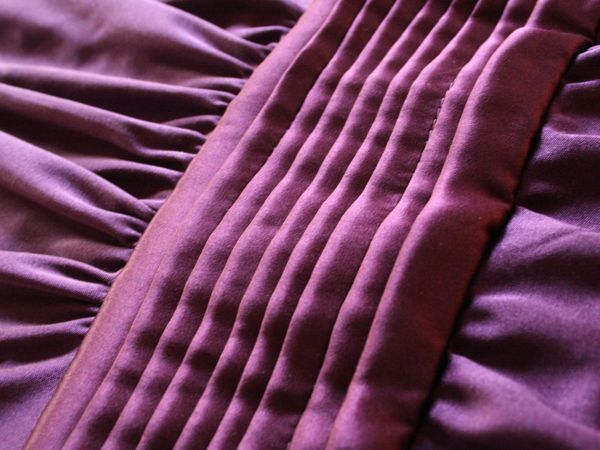
I tackled those pleated cummerbunds first to get them out of the way, but even the easier silk jersey portions were not entirely straightforward. With a design this simple, the glory is in the perfect execution!
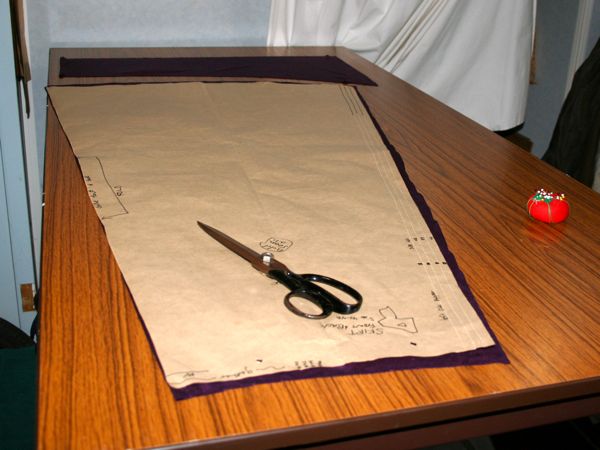
First thing I was grateful for is my newly-raised cutting and drafting table. Each gown takes four skirt sections this size (front & back, exterior & lining), and they take up nearly the whole table!
I didn’t take any intermediate photos of Pip’s dress, but I ended up doing the entire bodice on my sewing machine after all, so that I could understitch the neck and arm openings more easily. In the end, I only used the overlocker for the long skirt seams.
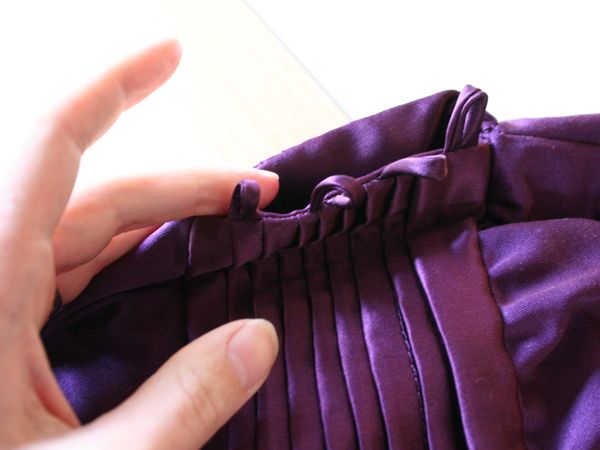
The pattern calls for an invisible side zipper, but seeing as how the only non-stretch portion is the cummerbund, I had the girls try on the muslins with only the cummerbund side seam open and neither had any problems getting the dress on. So for the final, I made tiny satin loops on one end of the cummerbund, and I’ll attach 11m covered buttons as the closure. This is the only seam on the cummerbund – it wraps continuously the whole way around so the pleats aren’t interrupted.
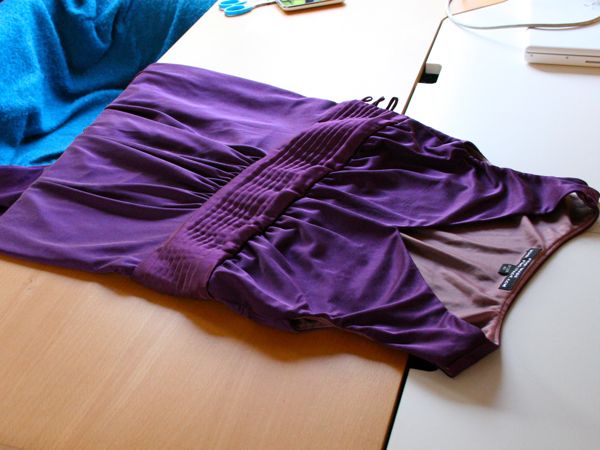
It’s lined in a nylon tricot lingerie fabric (apart from the cummerbund, which is lined in the same silk satin) in a wonderful dusty rose colour that actually coordinates equally well with Pip’s purple and Gez’s silver. I had just barely enough to line both dresses, with only small pieces left over.

And here’s the back, which is the same as the front apart from a less-plunging neckline (the front was raised 6cm from Burda’s original!!):
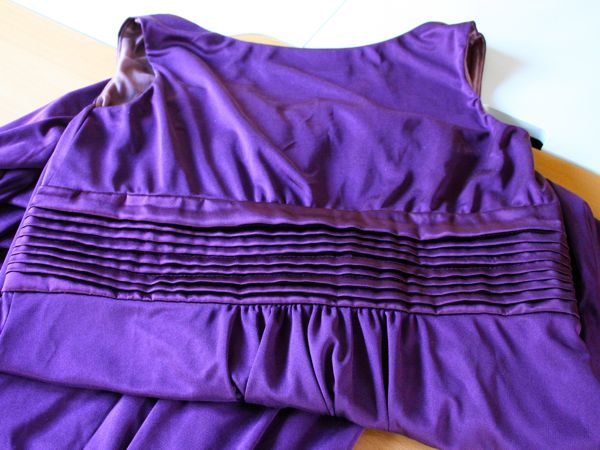
I was hoping to show this to you on my dressform, but unlike living bodies, Susan is incapable of squishing, so the cummerbund just will not squeeze over her pert, hard bosom. Poor lass. So rather than risk ripping out my beautiful handiwork, you’re just going to have to wait until September to see it on Pip!
Finally, in related wedding sewing, I bought some cheap poly organza off Cheapfabrics.co.uk and I am so chuffed with these organza flowers!! I followed this tutorial and they really are as easy as she says! Watching them melt is just a little too fun, too!

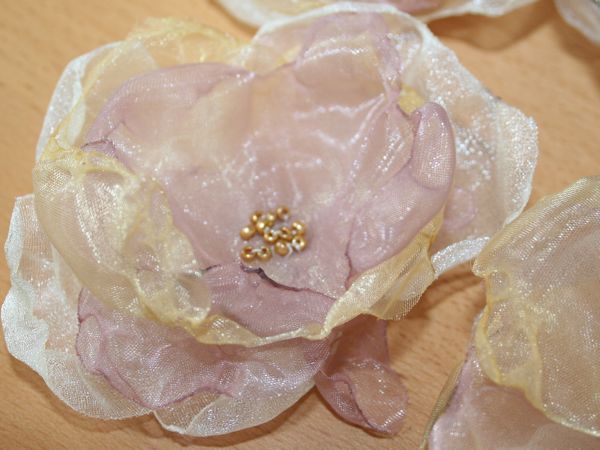
I’m going to enlist some idle hands at the moorings’ Crafternoon at the end of the month to help me cut out loads more flower shapes. These are destined to be brooches for Important People, but others will more than likely be used as decorations or other yet to be determined purposes. I’m just going to see how many we make with the 1m of each I bought and go from there!