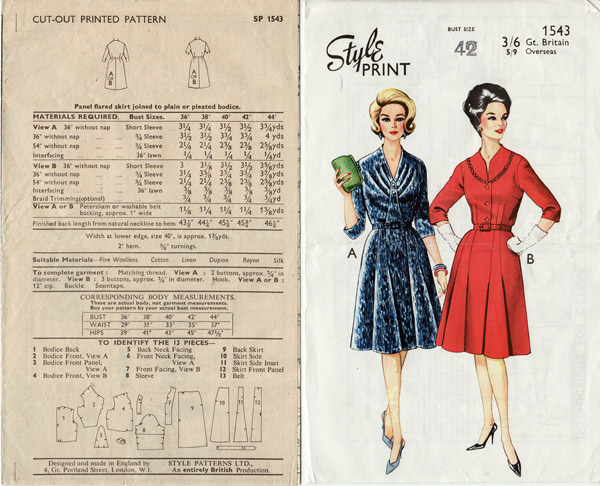
One of my big tasks this weekend was to finally get cracking on my upcoming vintage tab dress, Style Print 1543. It doesn’t have a copyright date, but was estimated to be from the late 1950s/early 1960s by the vintage gurus on Pattern Review. I’ll be making the button-tab view in blue, but since this pattern is for a 42” bust, I’ve got to grade down the pattern to be closer to my 38-39” (depending on the bra!) bust.
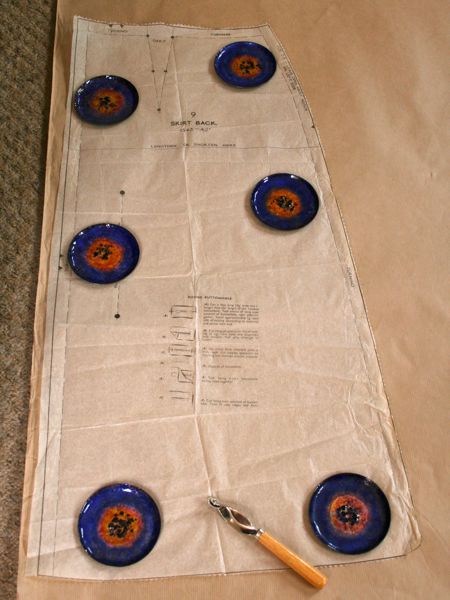
My first step was to trace the pattern pieces (read more about my pattern tracing method here) so I wouldn’t have to cut or damage the vintage tissue. Those blue enamel coasters from my mom are the most perfect pattern weights! They’ve even got a nice felt bottom to them.
This pattern has seam allowances (called “turning” here!) included, but they also mark all the seam lines! Heaven! Since I’m going to be altering the pattern anyway, I just traced on the seam lines to make life simpler.
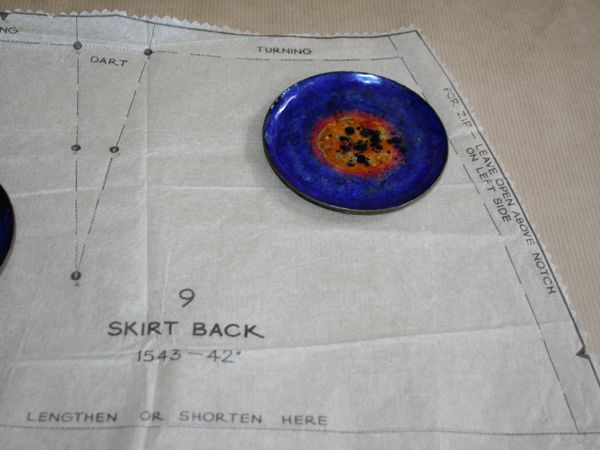
Surely this is the best of both worlds, right? You can choose to use the seam allowances or not (though I understand how this would be impractical on multi-size patterns!)
As I was unfolding all the pattern pieces, I found it really interesting to see the fit alterations the previous seamstress had made. She:
- Took out 2 inches in height everywhere (in the bodice and the skirt)
- Joined the front skirt pieces together so the three panels were cut as one
- Took a wedge out of the front and back shoulders
- Made both views so this must be a keeper!
She also left her metal pins in the pattern where she folded and tucked the tissue, which is how I could tell all of the above…
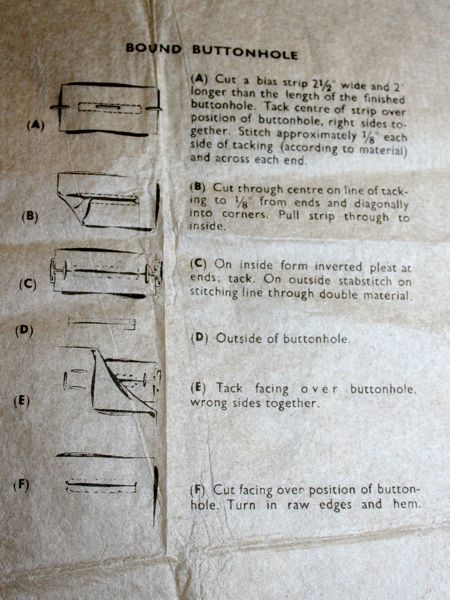
Also included on the pattern tissue were some sewing instructions!
Here’s instructions for bound buttonholes:
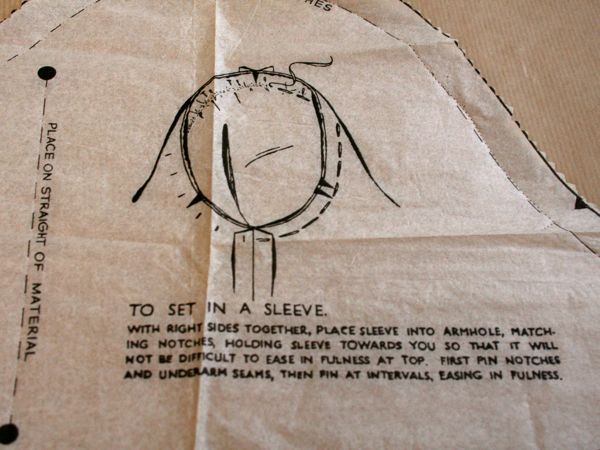
And how to set in a sleeve (aka the “pin the heck out of it!” method):
Once I traced all the pieces onto kraft paper, I was ready to enter new territory for me – pattern grading! I followed the full version of this Threads article, and used the 2” grade, even though that only takes the pattern down to a B40. I figured I’ll make any other alterations once I assess the first muslin.
And yeah – I know it’s usually all about grading UP with vintage patterns – I must be the only person to ever buy a vintage pattern that’s too big!
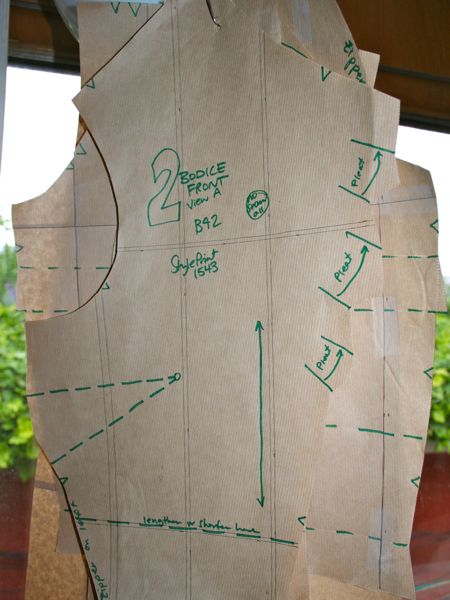
Here are my marked grading lines on the front bodice piece:
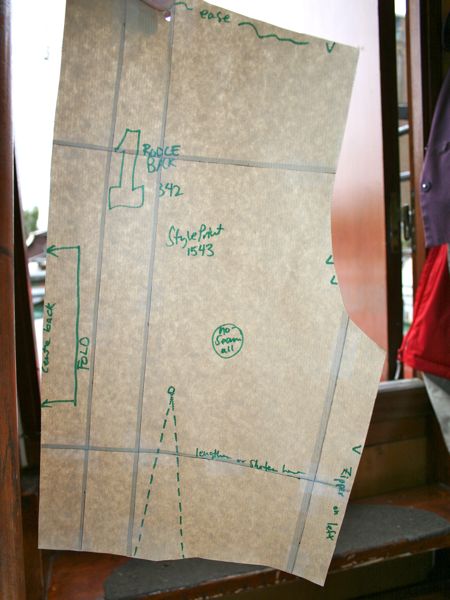
And here’s the back bodice piece after I cut, shifted, and re-taped it back together (I’m holding it up to the light so you can see the overlap)
Overall, the pattern grading was a really slow and tedious process – at one point James looked at me like I was insane and asked why I was cutting apart the paper just to tape it back together again!
It was pretty depressing to do SO many cuts and shifts to move things only a mere 1/8”. It just feels like you’re not getting anywhere! And because I only took this down 2” (the maximum recommended in the article), I’m still going to have some more alterations to do in the muslin stage, too, by my reasoning.
Which is why I’m doing some other quickie projects at the same time. I don’t deal well with long-running projects…
(And thank you thank you thank you all for your congratulations on my run! I’m so sorry I’m too swamped to reply to everyone individually but I’m touched by every single one of you!)