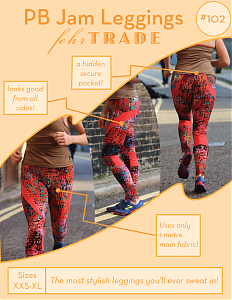
One of the favourite features of my PB Jam Leggings pattern is that there’s a secure, inner pocket at the upper back to keep things like your phone, keys, or gels handy while you’re working out. While I was developing the pattern, I decided to make this pocket one layer, and use the exterior of the leggings as the other side of the pocket, sealing off the bottom with topstitching.
But sometimes you may not want any topstitching visible from the right side, so to do this, you only need one extra piece of fabric and a few short steps. Making the pocket invisible from the outside will only add about 5 minutes max onto your construction time, but if your fabric is thick, definitely consider cutting your pocket from a thinner lycra!
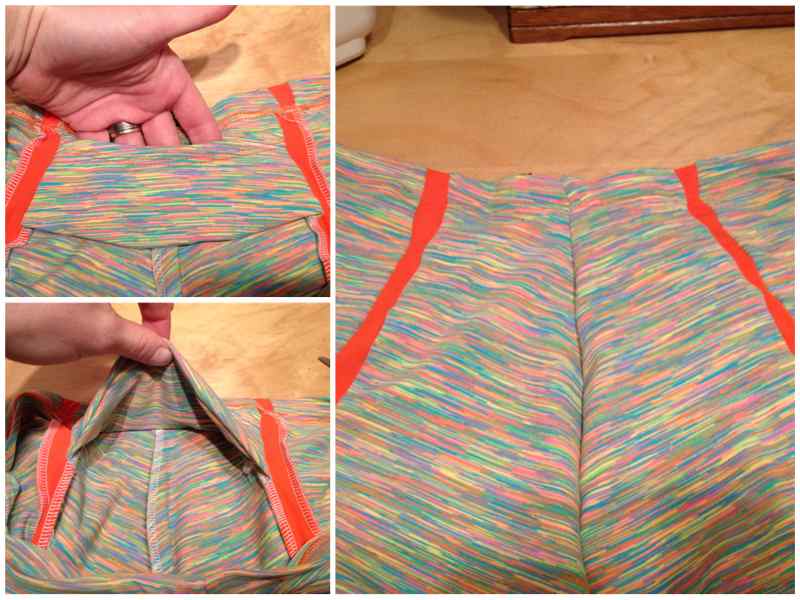
Here’s the finished invisible pocket on my latest “rainbow sherbert” pair I’ve just finished!
Before you start…
When you’re cutting out your fabric, cut two pocket pieces instead of just one.
Step One

Fold down the shorter, curved edge of one of the pocket pieces and topstitch with a twin needle or coverstitch (or, alternatively, finish with narrow elastic or FOE)
Step Two

With right sides together, stitch the longer, curved edge of the two pocket pieces, and flip right side out (note: if you’re zigzagging this seam, you’ll want to trim the seam allowance and/or clip the curves to get a smooth seam)
Step Three

When you get to Step 6 in the instructions, lay the pocket pieces face down on top of the Back Contrast pieces with the folded, topstitched edge facing down and aligned with the marks. Stitch through all layers (Middle Back, Back Contrast, and both Pocket pieces)
Step Four
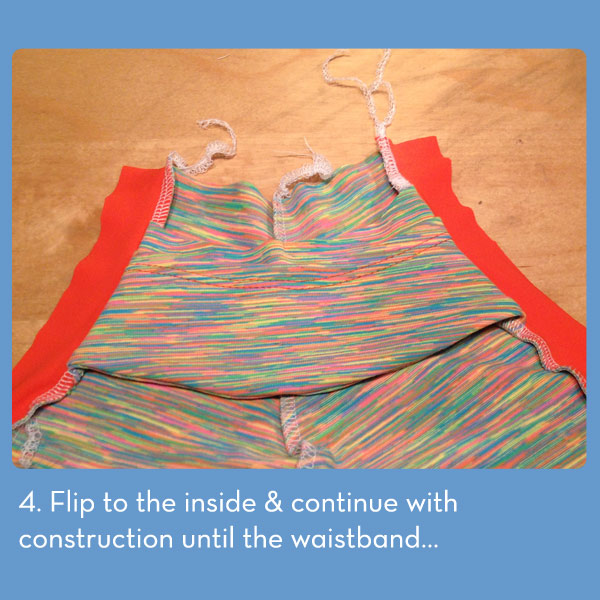
Flip your pocket to the inside of the leggings, and continue with the instructions.
Step Five
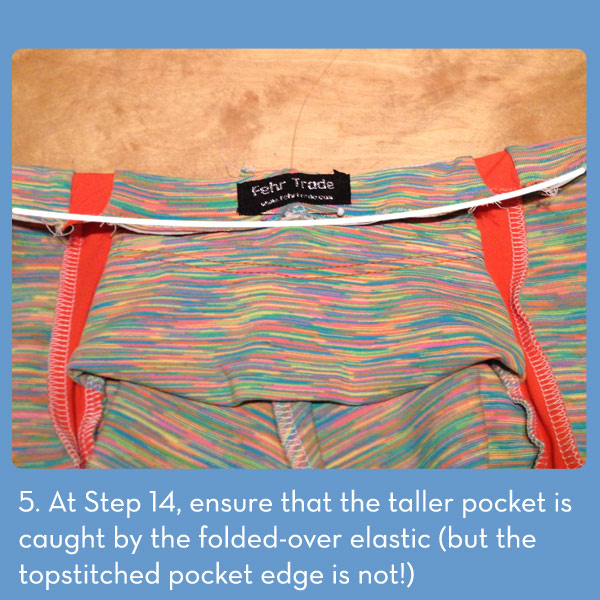
At Step 14, fold the waistband inside and pin, ensuring that you catch the taller pocket piece but not the folded, topstitched pocket edge. Carefully topstitch the waistband with a twin needle or coverstitch from the right side.
And that’s it! You’re done!
Fancy making your own?