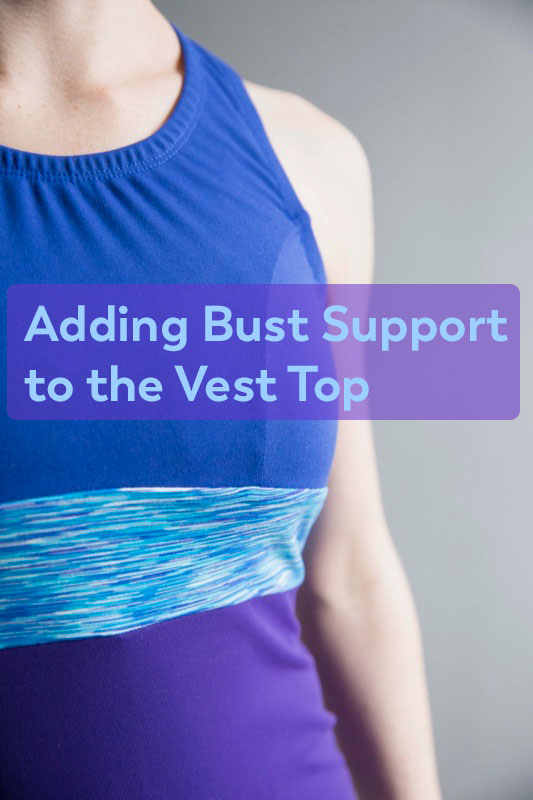
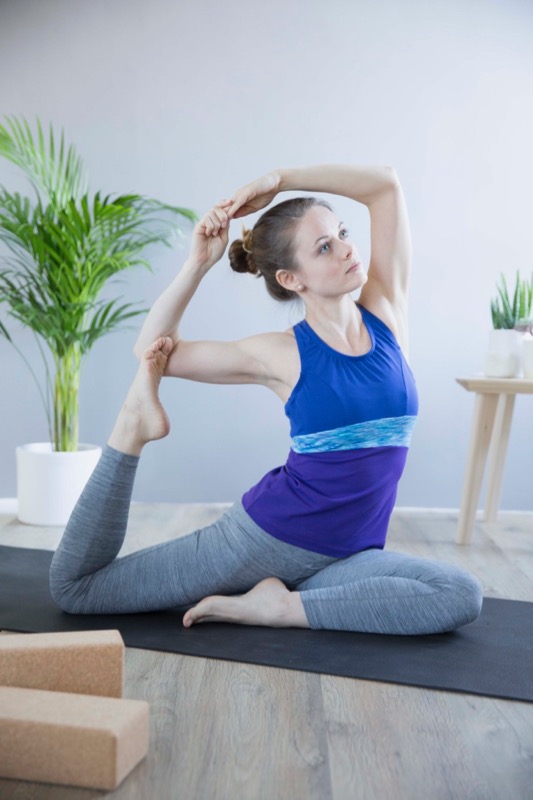
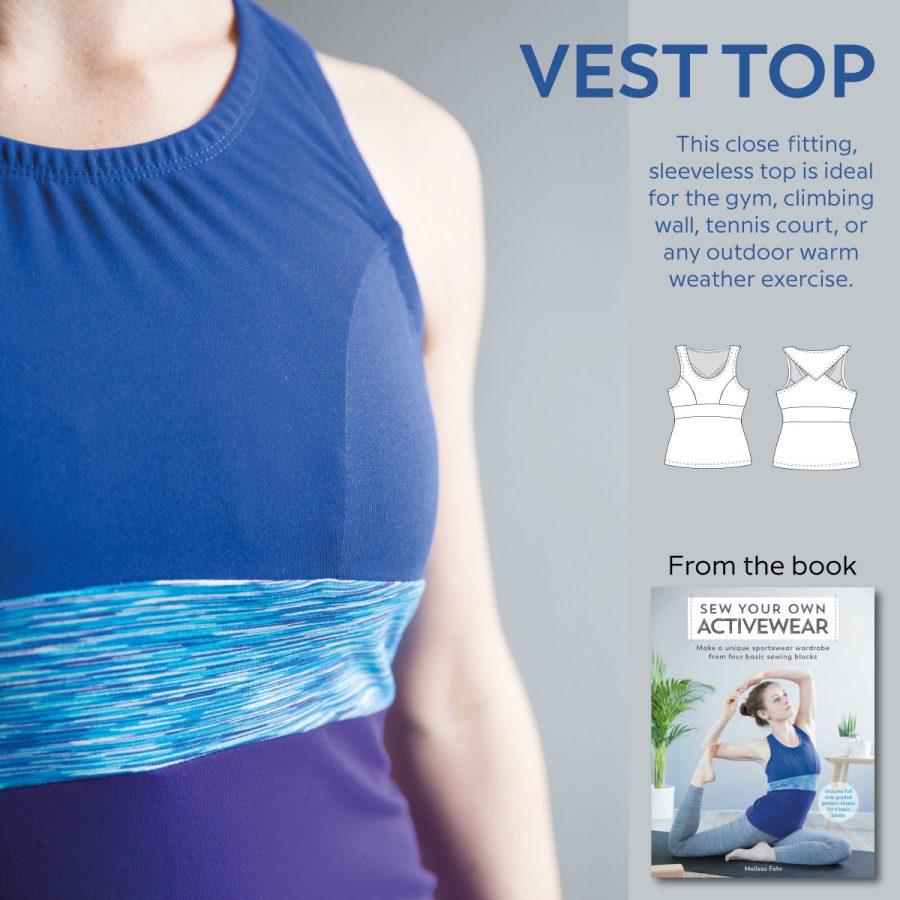
Earlier this week I introduced you to the Vest Top design from my “Sew Your Own Activewear” book, and today I’d like to show you how you can add some bust support to it so that you can wear it without a separate sports bra if you wish. The Crop Top design uses some of the same pieces as the Vest Top but includes two layers of power mesh to add support for low- to medium-impact activities, so we’re going to use portions of both designs to create a Vest Top with support inside but the same appearance outside.
For this top you’ll first need to follow the Vest Top Pattern Changes (Steps 1-12) if you haven’t done this already.
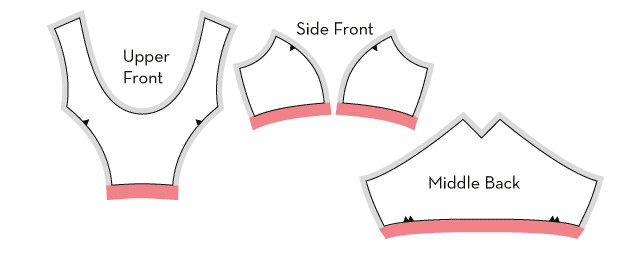
Cut out your Vest Top pieces as described in the Fabric Cutting section, but you’ll additionally cut out the Upper Front, Side Front, and Middle Back from 2 separate layers of power mesh as well (following the power mesh Fabric Cutting layout for the Crop Top design).
Ultimately you’ll end up wearing three layers of fabric over the bust – your exterior activewear fabric, a layer of power mesh with the greatest stretch running around the body, and a layer of power mesh with the greatest stretch running vertically.
In order to provide space for the underbust elastic, you’ll need to add an elastic allowance that’s the width of your elastic to the bottom of edge of the power mesh pieces only (shown in red here – add your usual allowances to the other edges, shown in grey). So if you prefer a 2cm wide elastic (3/4in), then you should add 2cm (3/4in) to the bottom edge of your Upper Front, Side Front, and Middle Back power mesh pieces only (use your usual seam allowance for the exterior fabric pieces).
To construct the top, follow Construction Steps 1-5 for the Crop Top, omitting the very last basting of the lower edge of the Middle Back power mesh and exterior layers (ie: you want to keep the exterior and power mesh layers separate at the bottom edge).
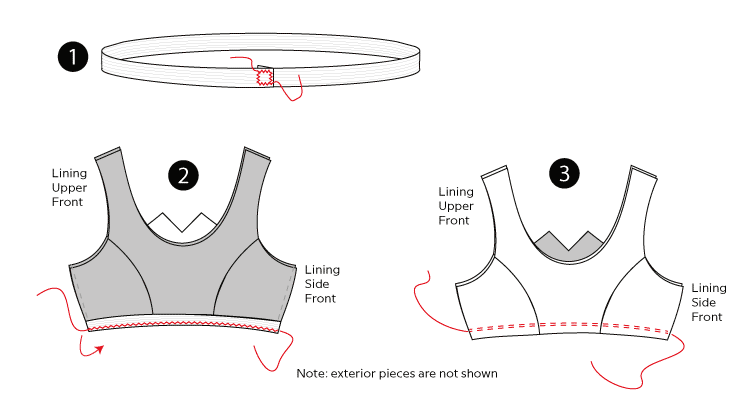
Measure your underbust elastic to 80% of your underbust measurement and form into a circle with 1cm (3/8in) overlap and zigzag to secure (1). Treat the elastic join as the Centre Back. Quarter the elastic and mark to align to the Centre Front and side seams of the power mesh lining pieces.
Using a narrow zigzag stitch, attach the edge of the elastic to the wrong side of the bottom edge of the power mesh, treating both power mesh layers as one (2). Flip the elastic to the wrong side again and topstitch along the inner edge of the elastic (3) with either a zigzag, triple zigzag, twin needle or coverstitch (note: the elastic should now be fully concealed with the raw edge of the power mesh facing away from the body). The power mesh inner bra is now complete.
With right sides together, join the short ends of the Front Waistband and Back Waistband pieces. Join to the lower edge of the Upper Front, Side Front, and Middle Back pieces with right sides facing and matching side seams, Centre Fronts, and Centre Backs.
With right sides together, join the side seams of the Lower Front and Lower Back pieces. Join to the lower edge of the Front and Back Waistband pieces with right sides facing and matching side seams, Centre Fronts, and Centre Backs.
Continue with Steps 8-11 of the Vest Top construction.
Note: As an alternative approach, you can choose to construct the exterior fronts, the exterior backs (minus the Upper Back), and join at the side seams. Then construct the power mesh fronts, join to the Middle Back, and attach the underbust elastic to the bottom edge. Baste the neckline and armhole edges of the exterior and lining with wrong sides together, then sew the Upper Back to all layers of the Upper Front at the shoulder seams. Continue with Steps 8-11 of the Vest Top construction.
You should’ve already made any full bust adjustments before getting this far, but if you’d like to increase (or decrease) the support, you may find this post I made for the XYT Workout Top helpful.