Upcoming Fall 2011 sewing – the patterns

It’ll be no surprise to you that I’ve already started on my Fall sewing, since you’ve just heard all about my upcoming trench jacket, but I’ve been thinking about the rest of my Fall sewing ambitions over the last few weeks. Having August temperatures mostly in the 50sF (16-20C) meant that I was mentally ready for cooler weather a long time ago!

I’ve got the fabric for all (but two) of these already, too, so I’m sure to get through a lot of my stash this way, too… Though I did just buy some new fabric in order to make four of these, oops. More on the matching fabric later.

Revisiting pattern drafting and the vintage tab dress muslin

Remember the vintage dress pattern I graded down to my size a few weeks ago?

Well, I made up a muslin with my grading changes in place, and though I didn’t get any photos of it on me, I did get some on Susan. I realise that diagnosing fit issues on a dressmaker’s dummy is particularly futile, though, so you’ll just need to take my word for it!

On first glance, the worst issue is that there is way too much fabric in the upper back, but also I think I may need to raise the waist seam by an inch, and narrow the shoulders by an inch or so, too.

The skirt length is d-o-w-d-y so I’ll need to shorten all those panels, too (happily I’ve got a “lengthen or shorten here” line on both the bodice and skirt pieces).

While the sleeves themselves fit nicely, there is an unholy amount of excess ease in those sleeve caps, omg. So I’ll need to shave down those caps to take a good few inches out of there.

It wasn’t necessarily the list above that made me lose enthusiasm for this dress, but I can’t really put my finger on what it was. But it turned out that doing all the boring grading reawakened in me a desire to conquer pattern drafting, which I dabbled in when I received “Metric Pattern Cutting” by Winifred Aldrich last year, but didn’t get far.

Grading down the vintage tab dress pattern

One of my big tasks this weekend was to finally get cracking on my upcoming vintage tab dress, Style Print 1543. It doesn’t have a copyright date, but was estimated to be from the late 1950s/early 1960s by the vintage gurus on Pattern Review. I’ll be making the button-tab view in blue, but since this pattern is for a 42” bust, I’ve got to grade down the pattern to be closer to my 38-39” (depending on the bra!) bust.

My first step was to trace the pattern pieces (read more about my pattern tracing method here) so I wouldn’t have to cut or damage the vintage tissue. Those blue enamel coasters from my mom are the most perfect pattern weights! They’ve even got a nice felt bottom to them.

This pattern has seam allowances (called “turning” here!) included, but they also mark all the seam lines! Heaven! Since I’m going to be altering the pattern anyway, I just traced on the seam lines to make life simpler.

Surely this is the best of both worlds, right? You can choose to use the seam allowances or not (though I understand how this would be impractical on multi-size patterns!)

As I was unfolding all the pattern pieces, I found it really interesting to see the fit alterations the previous seamstress had made. She:

Which Sewing Pattern Magazine?

There have been quite a lot of people wondering about the various sewing pattern magazines out there and which they should buy or subscribe to. Since I’ve been primarily sewing with pattern magazines over the last few years, I thought some of you might appreciate my opinions on the major pattern magazines (and no, I’m not getting any kickbacks or referral money from any of these links, if it wasn’t obvious!).

For all of these magazines, you receive a glossy magazine with lots of nice photos of models wearing the various designs, and there will be a section containing the technical drawings, instructions, and fabric layout for each design. Patterns are included in a special folded bunch of papers (usually stapled in the centre so you can pull them out easily without damaging the rest of the magazine). The patterns come in a variety of sizes, but none of these contain seam allowances and you need to trace them off the sheets provided.

I trace my patterns using a serrated tracing wheel and brown kraft paper, but many others prefer to use tracing paper and pencils. I add my seam allowances when I cut out my fabric by simply cutting 5/8”/1.5cm away from the edge of my paper pattern, but there are double tracing wheels available to do this for you.

Pattern matching

I should have some photos for you very soon of my beautiful silk blouse, but in the meantime, I’ve started thinking about sewing up my next pair of jeans, using some brand name Levis 3% lycra denim from Crybaby’s Boutique (though it appears to be sold out now!). It’s all washed and dried (in my neighbour’s tumble dryer) and pressed and ready to go, but now I have to decide whether I’ll stick with my tried and true jeans pattern, Burda World of Fashion 08/2006 #109, or whether I should a new pattern, BurdaStyle’s Anita skinny jeans pattern.

So my first thought was to compare the two patterns to see exactly how different Anita is from my usual pattern. It fits me like a glove, but has back darts rather than a yoke, which is my only aesthetic issue with it. Now, the BWOF pattern (in brown paper) does not have seam allowances and Anita (in white paper) does, so if the two patterns were exactly the same there should be 5/8 inch of white showing all the way around the edges.

Here’s the waistband pieces:

Book review: The Great British Sewing Bee: Fashion with Fabric

This is not an unbiased review – if you recall, I worked behind the scenes on the production of the third series of The Great British Sewing Bee tv show, then again on the Children in Need specials (which were actually recorded after the main series, despite airing first), and right after that was done, I started work on the book which accompanies the series, The Great British Sewing Bee: Fashion with Fabric, under the amazing, dedicated, and super talented Claire-Louise Hardie (aka “the thriftystitcher”).

But even though I spent several months as part of the sewing team who developed, adapted, sewed, illustrated, and assisted with the patterns in this book, I have zero financial stake in the sales of this book – I’ve already been paid for my work, regardless if there are zero sales or several million. So this review is unbiased in that regard anyway.

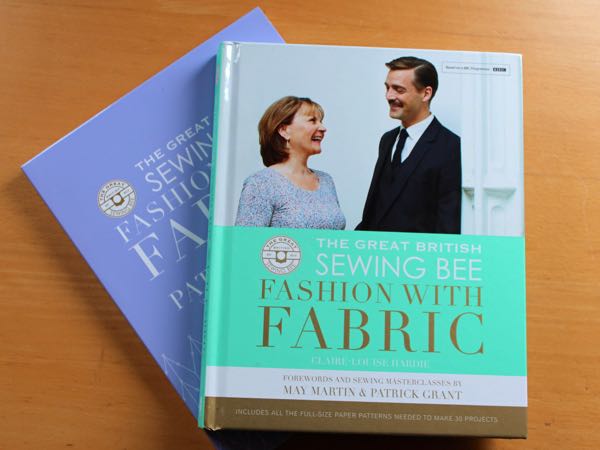
But really, I mostly want to show you all what’s in this book, because a) myself and the team worked really freaking hard to deliver a book chock full of quality patterns, and b) because it really is the perfect book that intermediate/advanced sewists have been craving for a long, long, time. Don’t get me wrong – there are some easy, beginner styles in here, too, but there are loads of projects that are more advanced and have really interesting shapes and design lines.

It should really say something that I spent months of my life sewing up these patterns (both the ones you see as samples in the book, but many, many test versions you don’t see) and I still want to make a ton more. Seriously.

But let’s start with the patterns, shall we?

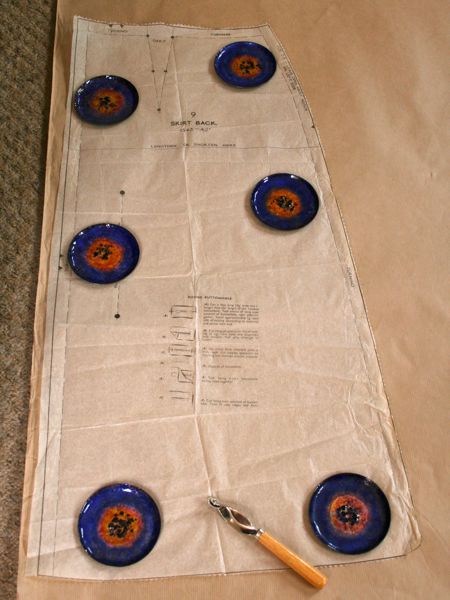
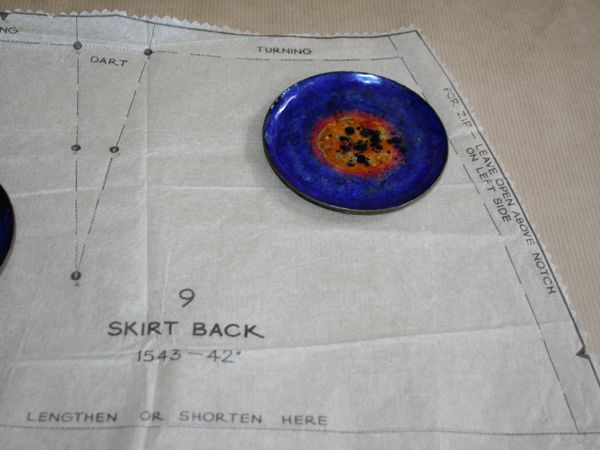
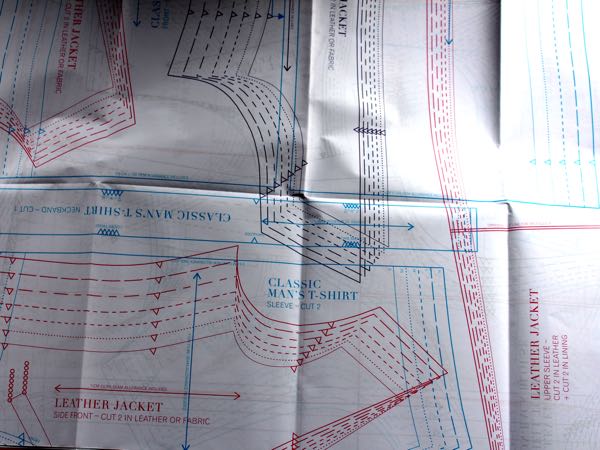
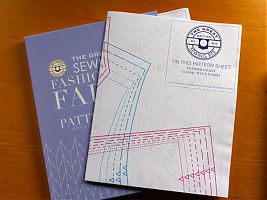
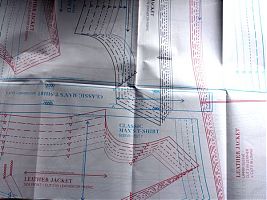
It’s a great sign that the pattern sheet stack is nearly as thick as the book itself, and each sheet is labelled on the upper right corner so you can see which patterns are printed on that sheet as you flip through the stack. The patterns need to be traced (here’s how I trace a pattern, btw), but they’re colour coded and really nicely spaced out – waaaaaay easier on the eyes than Burda’s pattern sheets, for example, and the sheets themselves are printed on hefty paper, a bit like the old KwikSew patterns. And the sheets aren’t freaking enormous like Vogue’s ones that cover my entire lounge!

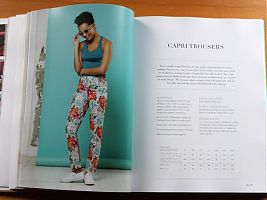
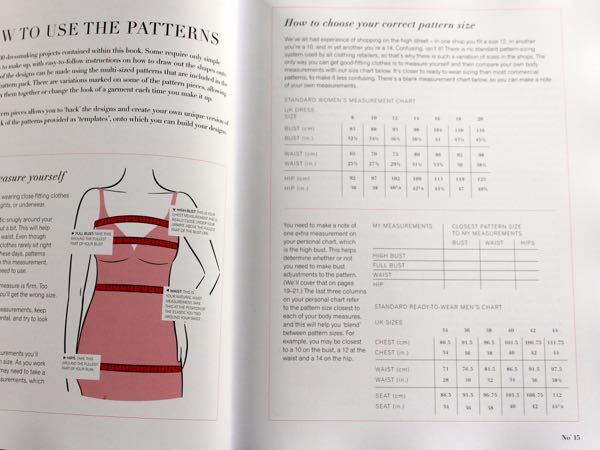
Here’s the size chart, which ranges from size 8 (B32.5/W25.5/H36in) to 20 (B45.5/W38.5/H49.5in). Since there are also kids and mens patterns, too, there are (obviously!) different size charts for them. But there are also a few garments in the book which you draft from your own measurements, so if you’re outside the size range you can still make a few things (like Lorna’s curtain skirt from episode three!).

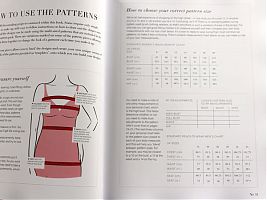
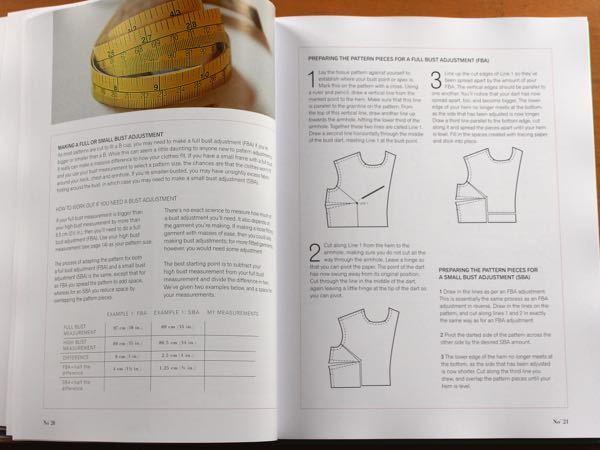
There’s the obligitary section at the start of any sewing book explaining about the supplies you need, how to trace a pattern, sew hand stitches, etc. To be honest, I always just skip past these since I know what I’m doing. But there’s also a section on common fit alterations like an FBA or trouser fitting alterations, too.

But onto the patterns themselves! I haven’t highlighted every single one, but rather pulled out my favourites (or ones where I’ve sewn the sample you see in the book!). For each pattern, you also get a “hack” variation which re-uses the same basic pattern pieces but in a new way to get a totally different look. IMHO, Claire-Louise did a great job in putting new twists on these patterns and showing how you can really make them your own.

In the Cottons section, you get a pattern for capri trousers, which you may recognise from the first episode!

A celestial Gina tee

I own the very first Fibre Mood magazine but for some reason I’ve never made any of their patterns before. But when I saw this latest issue I bought it immediately and as soon as I got home from Cornwall I traced off four patterns from it – I want it all!! I even splurged on the viscose/wool jersey shown on the cover!!

To ease myself in to a new pattern brand, I thought I’d start with one of the tees. You can either buy the whole Fibre Mood 03/24 magazine like I did (and trace off the patterns from the sheets), or you can buy any of the patterns individually as pdfs, too.

I’m going to make the other tee for comparisons’ sake (also against a recent Burda mag tee), but I started with the Gina tee. It’s a boxy tee with slight, cut-on sleeves and cuffs and a wider than usual neckband.

An asymmetric swimsuit

It’s been a while since I’ve had to write a negative pattern review but hoo boy, this one’s a doozy. The thing is, I ended up with a finished swimsuit that I really like and feel great in, but that’s in spite of this pattern, not because of it. I significantly redrafted all the pieces and relied heavily on another blogger’s instructions in order to get to the finished result.

I’m not even sure how the Edgewater Avenue “Marley One Piece” pattern came on my radar, tbh. I’ve never heard of the brand before, but they seem to specialise in swimwear sewing patterns and this particular one was on sale for $5 for a limited time, so I bought it.

Business casual jean shorts

I never really used to wear shorts very much before a) the pandemic and working from home, and b) the Closet Core Patterns Pietra Shorts changed my entire view on wearing shorts. But I’ve made SO many of them now (5? 6?) that I felt like I should do something different.

So when the Closet Core Patterns “Poppy Camp Shorts” were announced recently, I felt like these could be another great contender for me! This was the July pattern for Closet Core’s monthly pattern club, Crew Patterns. Tbh, I loved the look of these shorts so much that I signed up for a month just to get this pattern! Though now that the month has gone you’ll need to sign up to their Unlimited Membership to get these shorts and other past months’ patterns.

A crazy cat swimsuit

We’ve got a holiday coming up in September, and despite the destination being decidedly un-beachy (Berlin! By train!), we’ll actually be spending four days entirely in swimsuits while we celebrate four wedding anniversaries at Tropical Islands.

I’ve still got two me-made swimsuits I’m really happy with – this Aztec-print Seamwork one from 2015(!) and the pastel bikini set I made last summer for lounging in our hot tub. But it’s always fun to make something new for a holiday, and since I’ll literally be walking around in my suit for the entire day, I didn’t feel like it was too extravagant to sew some more.