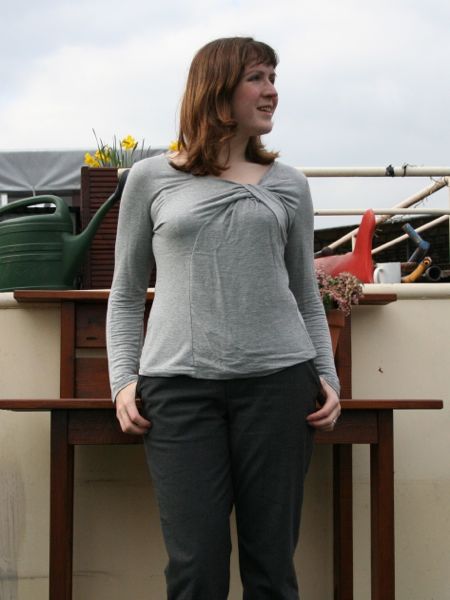
Ever since I first opened the Pattern Magic books, a few designs have been burning a hole in my sewing brain. One of these was the “Flip Turn for a Draped Effect” bodice from Pattern Magic 2, and I was so happy that I was able to draft this on my Morley College Pattern Magic 2 course last month! It wasn’t too bad to figure out, but I’m still really pleased to have the instructor there and because I muddled through (albeit with help), I feel much more confident about tackling other designs in the books.

The only problem was that we drafted all the course designs based on the largest Bunka sloper, which was still rather a lot smaller than me, so if I wanted to actually wear the designs from the course, I’d have to create them again off my own sloper, which just seemed a bit dull.
Or maybe… just maybe… I wonder if the Bunka sloper version would fit if I eliminated the back waist darts and made it in a knit?
OMG a toile for a fashion college dressform fits me!! :O 😀
Since this was a total fit experiment, I wanted to try this first in a low-risk fabric, and I had just enough of this viscose grey marl jersey leftover in my stash from the Manequim “big shirt”.
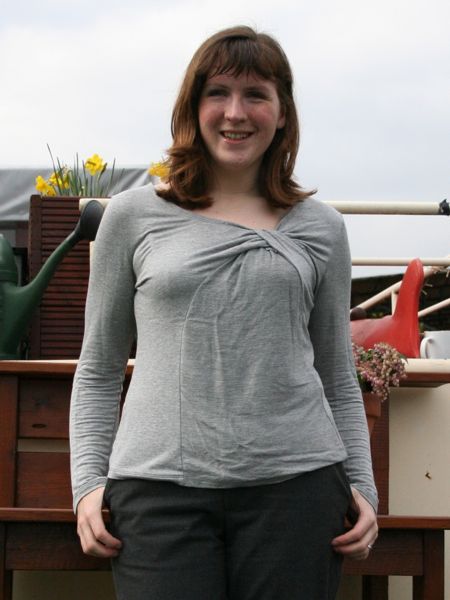
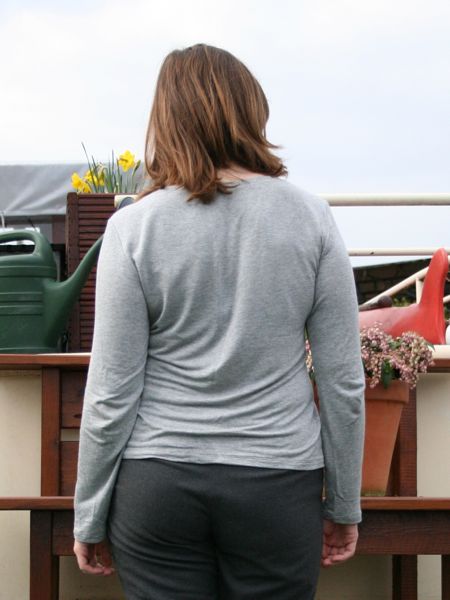
One interesting part of this design is that the reverse of the fabric is shown on a large portion of the lower front, and in this fabric, the reverse is kinda textured and loopy, but without any major colour change from the “correct” side. It means you get a subtle texture change on that panel, but without screaming “hey! I’m the wrong side!”.
To further play up the texture change and to make it look more intentional, I used the wrong side of the fabric on the neck band, too (maybe I’ll do the sleeves on the wrong side next time, too?)
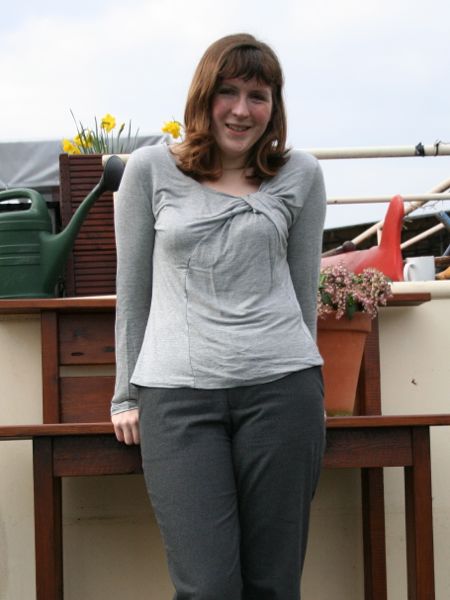
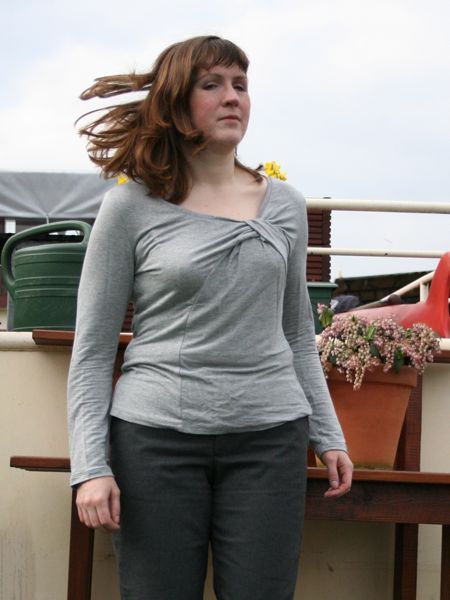
Seen here worn with my slim grey flannel trousers, which I totally love and have been wearing in heavy rotation the past few months!!
The instructions in the book are just for the bodice/shell, but I added my favourite knit sleeve (from an old KnipMode pattern, but I reuse it every time I want a long sleeve in jersey) onto it to make it more immediately wearable in March weather.
I also wanted to finish the neckline in a more casual, teeshirt method, so as I mentioned, I crated a band which I serged on. I didn’t quite stretch the band enough as I applied it, though, so I had to topstitch the seam allowance down. I knew this was unlikely to go wavy since I’d stabilised the shoulder seams and the complete neck edge with Vilene bias tape before applying the band.
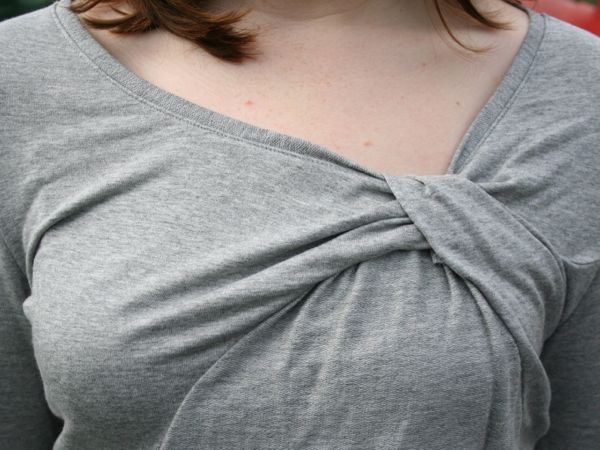
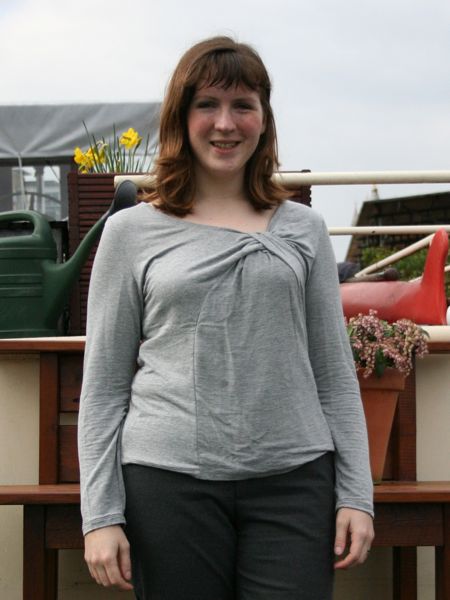
One important thing to note for any others making this design is that you need to finish the neckline first, before doing the flip!!
The flip is easy to construct, but I needed to tack the edges of the flip down inside so the raw edges don’t show (this could be avoided by sewing a quick facing for that narrow section of the flip piece, flipping round, then sewing this panel to the rest.
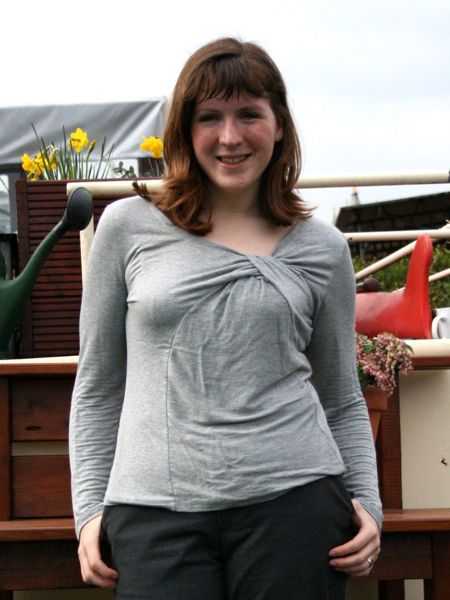
The time consuming bit here is the drafting – after that it’s very quick to put together – I made this in one evening after work, from cutting to wearing it the next day! I absolutely love this top and I’ve had to restrain myself from wearing it more than once a week, so I think another version is definitely in my near future. My birthday’s on Sunday and I think I might try to make another one as my official Birthday Garment this year, as I’ve been too short on time recently to prepare anything else.
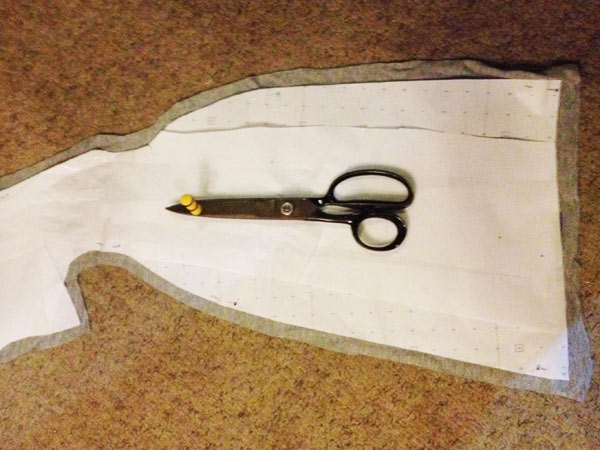
Oh, and you probably figured it out from the photos last week, but I used my seam allowance guide to add seam allowances onto the strange curves and corners:
I’m TOTALLY making more of these – I love the style and the fit of this teeshirt is just wonderful. I’m so proud that a) I drafted this myself, and b) I’m wearing a fashion college model size, holy crap!