What a difference a week makes! Spring has finally come to London, meaning I could wear my new dress outside without fear of goosebumps (the reverse – I actually got a bit sunburnt!).
If you recall from earlier, I bought a vintage Porsche cotton duvet cover and pillowcase off eBay for £8 (including shipping). It was in great condition and even had a full wraparound print which meant I had a lot more fabric to work with than I ever imagined when I clicked Bid Now…

I decided it’d work best with a suitably vintage pattern, so I decided to use Simplicity 3780, using a bit of careful pattern placement to get the most out of the different printed areas of the duvet cover (so the stripes along the bottom of the duvet became the red halter straps, for instance).

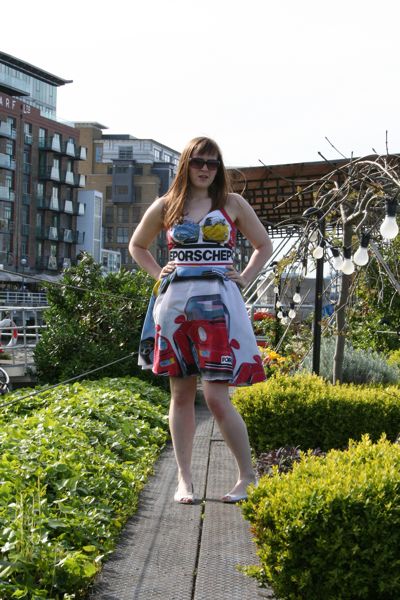
I made a few changes to the original pattern, the most obvious of which was to shorten it by 9 inches so that the hem falls above my knees rather than at the incredibly dowdy mid-calf length. I followed Simplicity’s almost magical bodice lining instructions (which were fantastic at encasing all the seams and making an immovable lining layer) but added three lengths of vertical boning to the front of the bodice lining (under the black “Porsche” letters) in addition to the two lengths called for in the back bodice seams. The boning really helps to keep everything in place and stop wrinkling when I sit down, and isn’t uncomfortable in the slightest – I don’t even notice it’s there!
I also opted to have a standard centre back zipper application rather than the intended lapped zipper because, well, those really annoy me. Since I knew the zipper topstitching would be pretty obvious, I took the time to actually hand baste the zipper in place before sewing it down with the machine, which really helped to get a clean finish. The back neck band fastens with two button loops sewn into the seam, and I chose two fantastically vintage white plastic spherical buttons to finish off the look, hiding a snap further down to keep the “tail” of the band from showing, as I had about 3 inches too much length there.

I decided to stick with the original pattern and not line the skirt but instead flat-felled the skirt’s side and centre back seams to make a clean finish, and I hand stitched white lace around the waist seam in the inside to hide the seam allowances there. My new rolled hem foot even got a workout on the hem, but my god that was a frustrating experience! I thought the point was that the foot did all the work for you, but I really had to continuously hand fold the edge and feed it into the foot. I couldn’t take my eyes off it for even a second or it’d all go pear-shaped, but at least I’ve got lots of curved hem practice now!
So for the recycled fabric-spotters amongst you:
- The main fabric came from an old duvet cover
- The lining came from one of our boat’s old hotel bed sheets
- The zipper came from an IKEA pillowcase
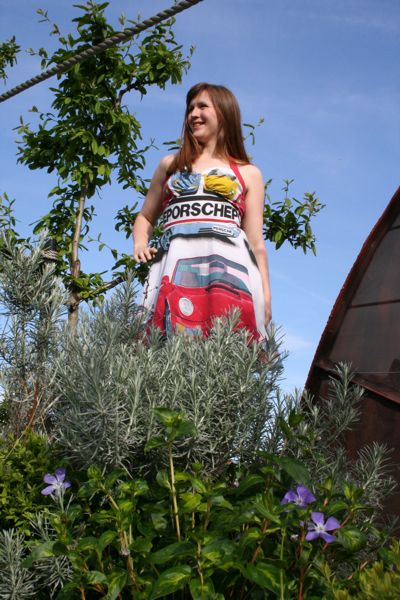
And since it was so gloriously warm and sunny on Saturday, I’m afraid it may have all gone to my head a bit and for a split second I worked the 1950s pinup girl pose, which James happen to catch!

It’s definitely either the sun or the dress’s influence showing through, but I’m just not sure which!