I’ve been meaning to sew both of these pieces for a few months now, but it didn’t occur to me exactly how well they work together until I went to do the photoshoot and realised, hey – these make for a great transitional weather casual outfit!
The wool sweatshirt
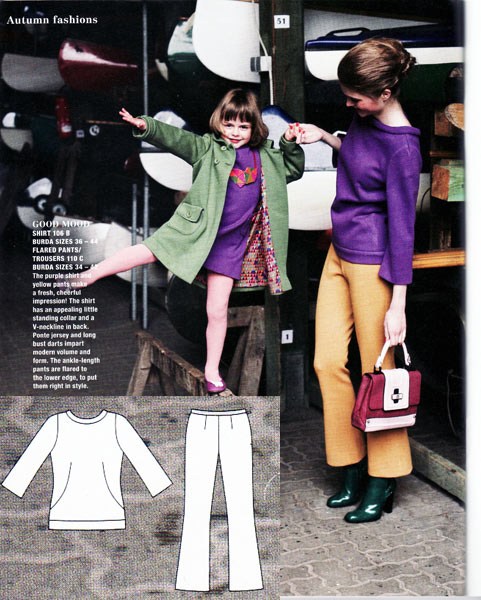
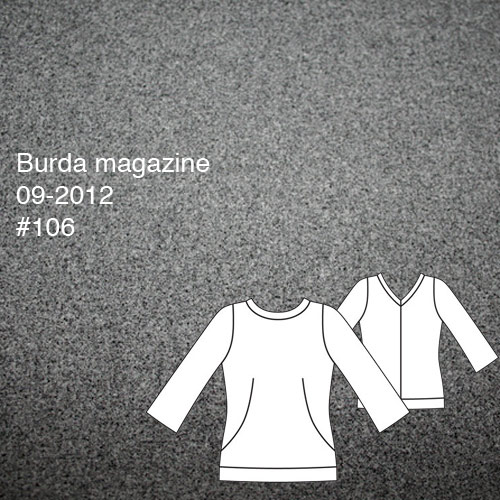
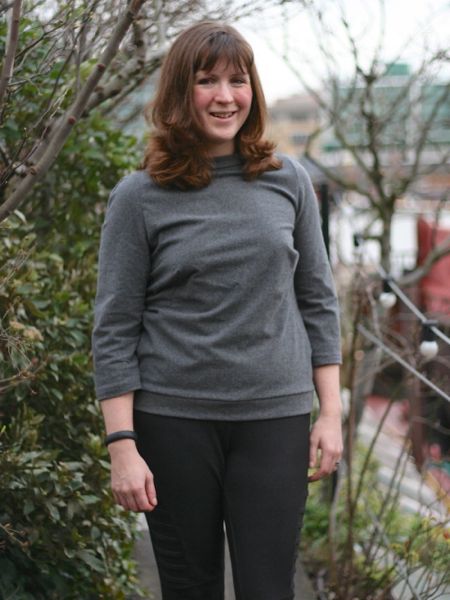
I mentioned it in my Burda Challenge roundup but I abolutely adore my turquoise chic sweatshirt from the September 2012 Burda magazine (or you can purchase the download pattern here), and I wear it so much I’ve been plotting another ever since. I’ve had this wool blend fabric in my stash since our honeymoon in 2010, when I bought it at Elliott Berman in NYC. I’m not sure if it’s a jersey or a woven, and it’s got a bit of loft and stretch, but it’s not as spongey as your typical loden. And for a wool, it’s super soft and not scratchy in the slightest.
So I made another “chic sweatshirt” out of this wool – does this make this one my “luxe sweatshirt” or something?
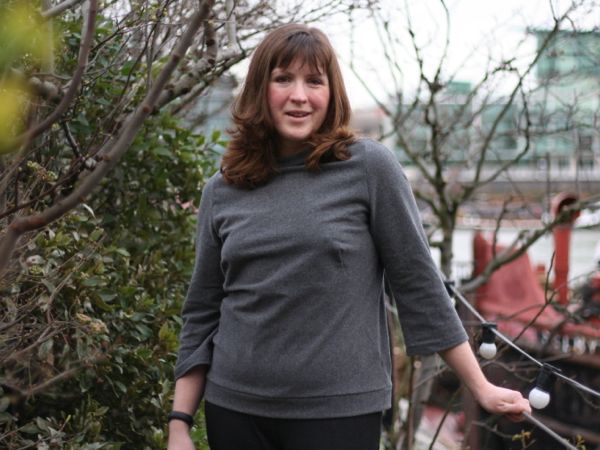
As before, you’ve really got to baste those curved front darts carefully so they’re accurate when you sew them. I always do my hand basting with silk thread (hot pink so it stands out against pretty much everything I sew) because it pulls out so much easier than polyester or cotton thread when you’re done.

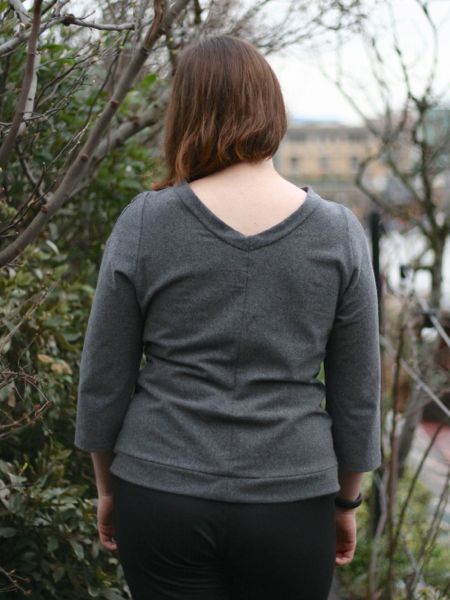
I really like the detail of the curved, darted sleeve head, which makes the construction of this more like a raglan sleeve than a set in one.
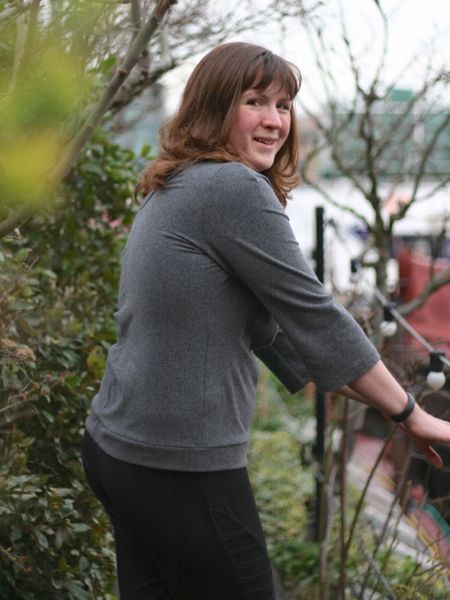
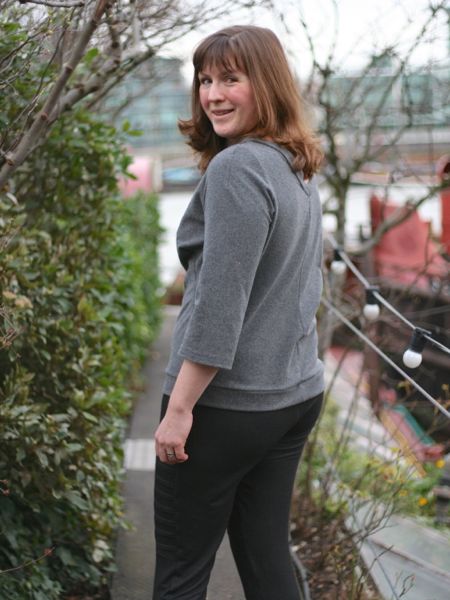
And of course, the back V neck is just fantastic! There’s a centre back seam, but no darts, so you wouldn’t want to eliminate that seam or you’d lose all the shaping that comes with it.
The pleated leggings
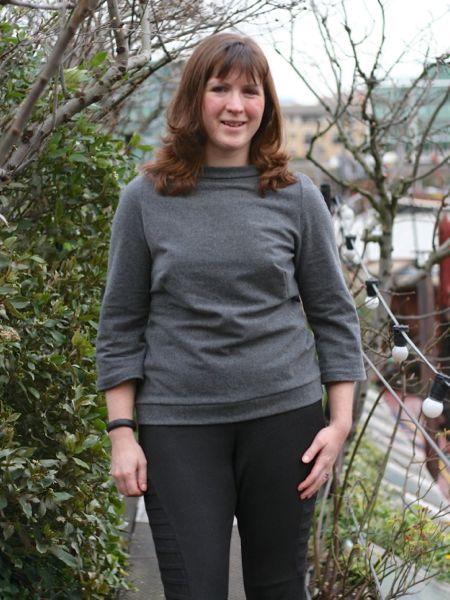
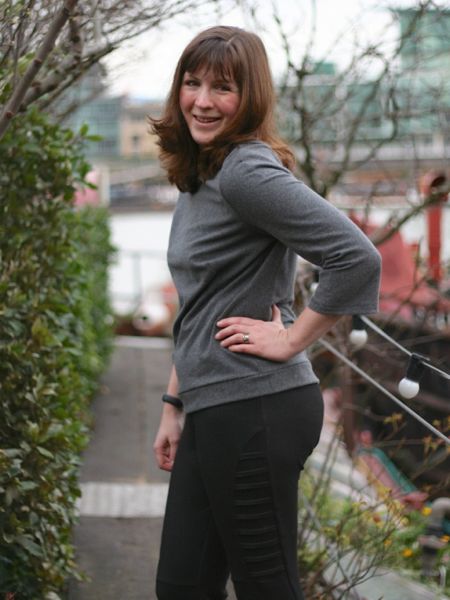
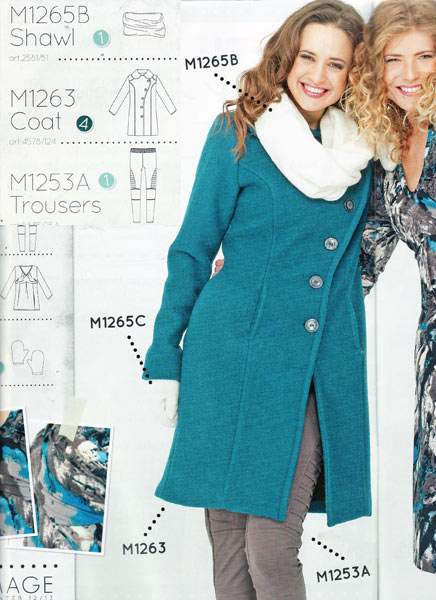
These trousers with pleated side panel and curved seams were the standout pattern in the My Image Winter 2012 issue as far as I’m concerned! The pattern calls for stretch woven but I wanted another pair of “not jeggings” since I wear my others all the time, and I thought this pattern would do nicely here with the elastic waist and all the interest in the legs.
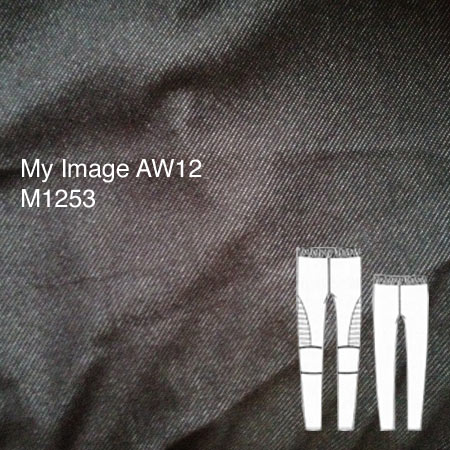
The denim-look jersey is again from the wonderful Tissu. This is the second time I’ve used this fabric, and again, the leggings only need one metre so they cost me a whole £5! Beyond being such great value, this fabric is also so soft to wear.

I absolutely loved the style lines of these the first time I saw this issue – the curved thigh seams on their own would’ve got my attention but the pleated section – WOW! I really, really love the look of the pleated panel and I might even incorporate this into my running gear somehow. I included these in my Fall/Winter 2012 Sewing Shortlist even though at the time I wasn’t sure which fabric I’d choose – that’s how much I wanted to sew this pattern!
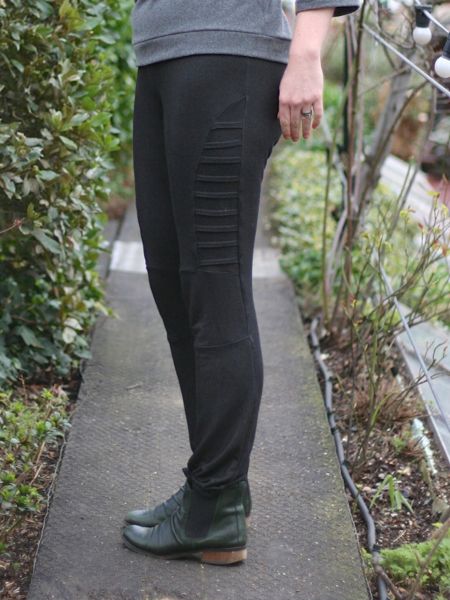
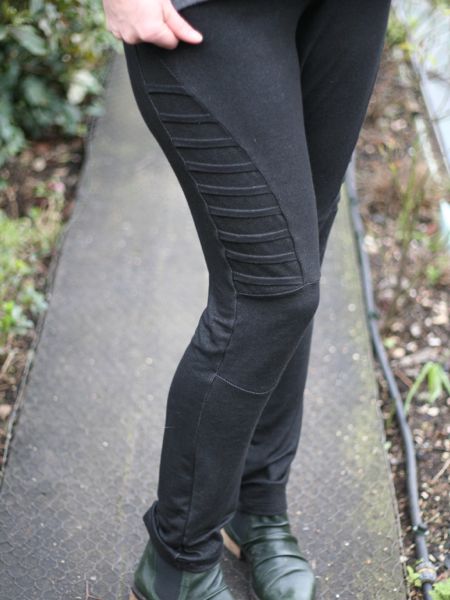

The pleats are all sewn together, so there’s no danger of them coming apart as you move, but you do need to pay attention as you sew – I had to rip out a few because I wasn’t paying attention and I matched up the wrong marks and made a few diagonal ones! Oops! But it was worth it in the end, because the pleats look fantastic.
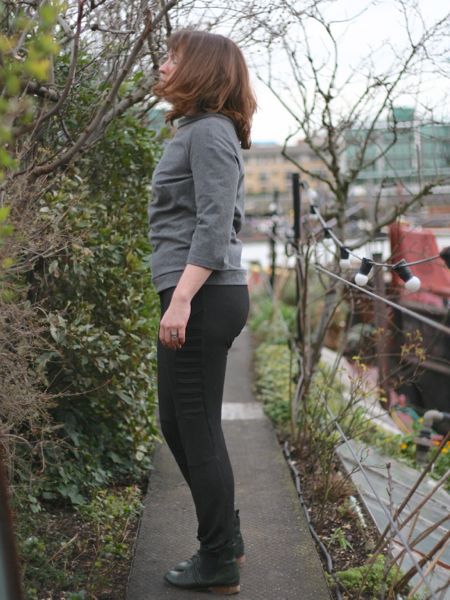
It’s not just the pleated panel though – there are curved seams around the knee, too. The only thing I’d change about these is that the ankles are a bit baggy here (I might even rip out the hem and take in the sides a bit myself), but they’d probably be fine in a sturdier stretch woven as the pattern intends. The back is pretty basic and boring, though.


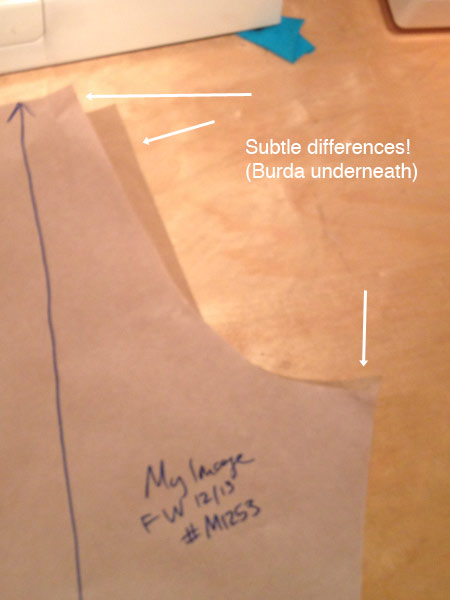
I was asked on Twitter how the fit of MyImage trousers compare to Burda, and since these are my first pair, I thought I’d be scientific about it. I compared crotch curve to a favourite pair of Burda trousers – the two are exactly the same in front (except for the waistband height that is), and only slightly different in the back (less than 1/4” off). The only real difference is that the waistband was much higher here, and in fact, I didn’t use the pattern’s extra waistband piece at all, choosing instead to just fold down the top edge and use my preferred elastic waistband technique.
One point on the instructions – they tell you to hem the “pipe” and insert one “pipe” into the other. They mean the legs. I don’t know who’s doing the translation, but I’ve never, ever heard legs called pipes before. Thankfully, the rest of the instructions weren’t too bad, though I really went my own way anyway, and I chose not to topstitch my seams since my denim-look knit is quite stretchy and it just seems like a recipe for popped stitches after a few wears.

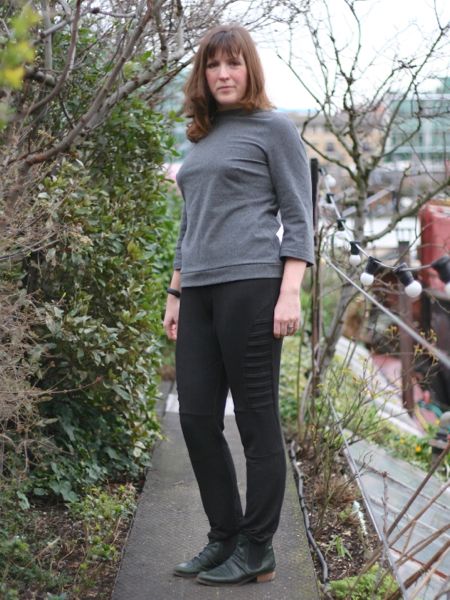
The top and leggings look great together, and it’s a perfect look for this time of year when it’s still chilly, but occasionally warm in the sun!
More MyImage stuff coming up later this week, including a chance to get your hands on the latest edition, and I can also finally share photos of the version of this top I made for my mom, too!