Coverstitch binder attachment tips & tricks
Way back when I was making my first muslins of my new running gear, I realised that the methods I’d previously used to finish knit necklines (elastic, FOE, serged bindings, etc) were just NOT going to cut it on slippery exercise lycra. The results were awful and sloppy, so I allowed myself to be convinced by Pattern Review that a coverstitch binder was the way forward.
At £80 a pop, they’re not a purchase to be taken lightly, and they’re probably about the most expensive thing you can buy for your sewing room, short of a machine or a dressform! But I wanted to ensure the most hassle-free experience, so I went for a brand-name Janome attachment rather than one of the cheaper, much more hacky eBay jobs. I bought mine from Jaycotts and Janome shipped it directly to me:
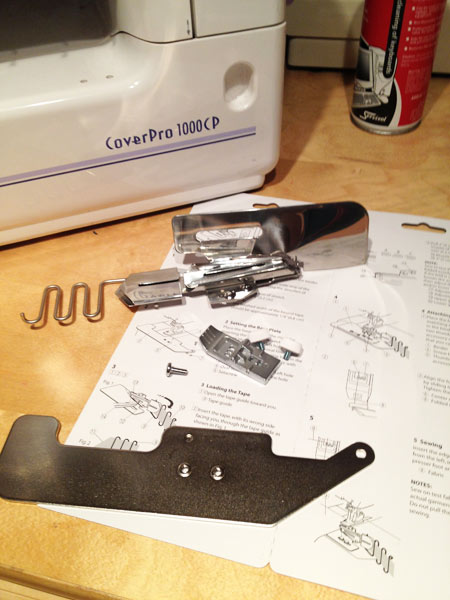

Unlike a lot of the eBay binders, this comes with everything you need to get started – the big metal plate, the shorter foot, and a big set of instructions on top of the binder attachment itself. So it’s expensive, but you don’t need to then go and buy all the non-optional bits separately – but I can understand the allure of just buying the binder for your second or third if you’ve already got the plate, foot, and instructions!