Yes, this is both a big project AND yet another make inspired by “Interview with the Vampire“! Big enough that you’re going to get at least one In Progress post, in addition to the final reveal. I’m really excited about this one, though, and in a way that I’ve not been fired up for a long time…
The Inspiration
So what is the “Wolfkiller cloak”? In the second novel of Anne Rice’s Vampire Chronicles series, the (still human) Lestat heads out into the woods to kill a pack of wolves that were terrorising his village in 18th c rural France. After barely escaping with his life, the villagers thank him by presenting him with a cloak (and boots!) made with the pelts of the slain wolves. This scene is absolutely iconic, and it’s his wearing the cloak later in Paris that partially attracts the notice of the man who attacks him and makes him a vampire.
Now, because, in the show, they’re not adapting The Vampire Lestat book until season 3, no one was expecting to see anything of Lestat’s 18th c past, let alone THE cloak. But we got a surprise taste in episode 3 of season 2, as part of a 15 minute flashback sequence (entirely in French, too!)
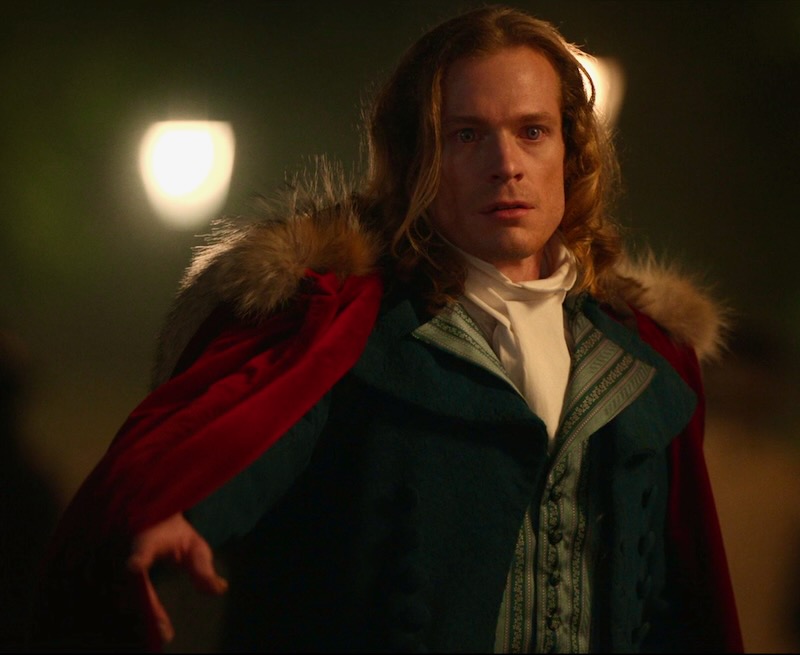
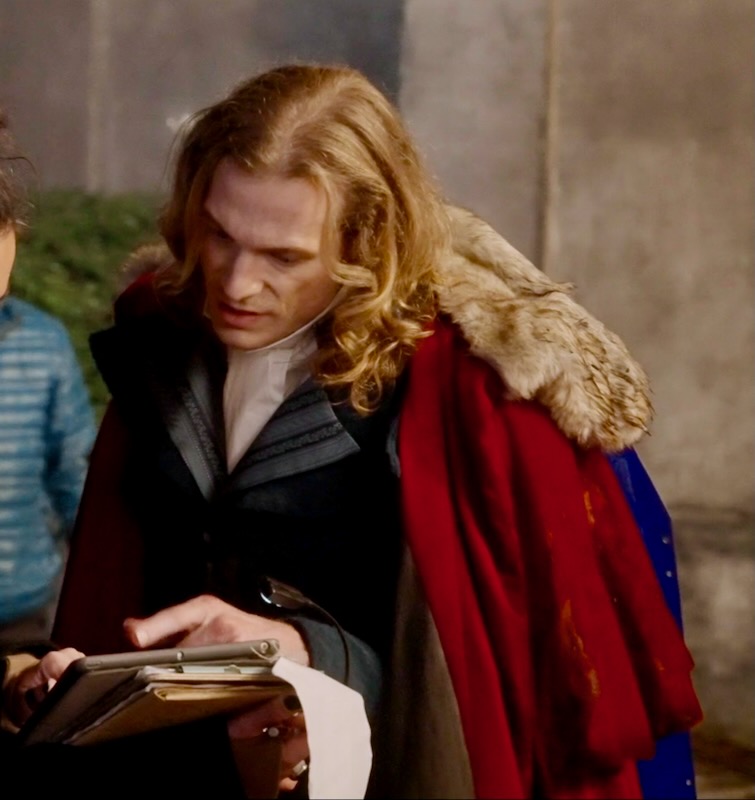
It looks incredible in the show, but then we also got to see more of it in better lighting during the short, behind the scenes “Episode Insider” for the episode.
Essentially, this is a calf-length, blood-red velvet cape with an additional, elbow-length capelet on top, and a fur-lined hood.

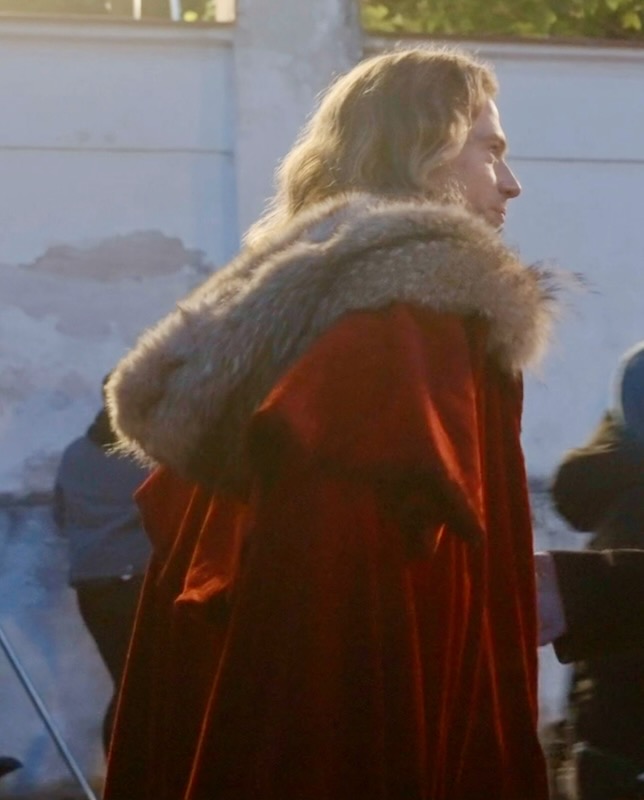
(This one’s actually the stunt guy but you can see the length really clearly here!)
And from here the idea wormed its way into my head that I should spend the hiatus between seasons making my version of the Wolfkiller cloak…
The Plan
But having made capes in the past (particularly my Burda cape) I realised that the reason I don’t wear the capes I’ve previously made very much is that a) I can’t wear a bag on my shoulder and b) limited mobility T-Rex arms when you use the hand openings (or, conversely, you can put arms through the front opening for greater mobility but then freeze to death).
So I was like, well, Lestat’s has the extra capelet layer on top that goes down to elbow level – what if I had sleeves attached to the bottom layer which I could tuck inside when I wanted authenticity (since they’d be hidden by the top layer anyway)? And I could also sew hidden hooks into the front opening so I can close it and not freeze to death, but also allow it to swing open and free when I want the drama… Basically I’m trying to make something that is somewhat authentic to the look of the original, but also practical to wear as an every day winter coat!
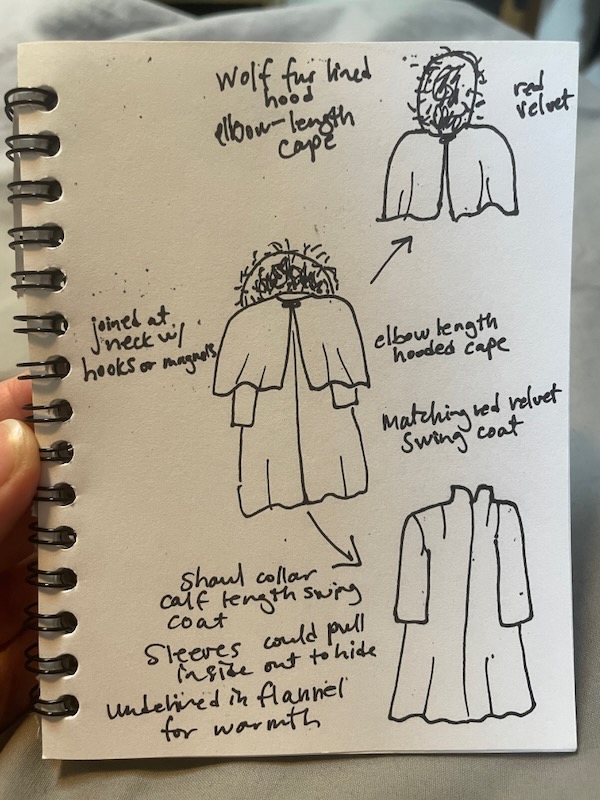
So then my sewing brain is like – actually what you’re sewing is a swing coat + little capelet on top with fur-lined hood! This was a Eureka! moment for me.
So then I went googling for sewing pattern inspiration and it turns out I already own the Charm Patterns Swing Coat back from when I was a Patreon subscriber for a while and downloaded a bunch of previous patterns.
BUT! I had the idea (while trying and failing to fall asleep – thanks, brain!) that rather than joining the capelet and the swing coat at the neck seam (because this would be bulky AF), I should have the hood on the capelet and then attach that to the swing cape with hidden hooks or magnets so it’s ✨removeable✨!
So I could wear the swing coat or hooded mini cape on their own, or together!
Making the muslin
My first step was to sew a muslin of the coat, capelet, and hood to make sure they fit properly and gave the look I was after. I don’t often sew muslins, but with a project this expensive in terms of effort, time, and fabric cost, I knew it would be a must.
My first hurdle was in printing the Swing Coat pattern – a whopping 6 A0 sheets to print!?! On closer inspection, this was wholly unnecessary as the way it was laid out meant you had to print the Front pieces for BOTH cup sizes! I don’t know about you, but the last time I checked, I only had one set of boobs so precisely ZERO sewists would need to print both Fronts. Grrr. It also did a really unecessary addition of have separate lining and exterior pieces – when the pieces are this largre and there’s 80% overlap between the lining and exterior, it’s crazy to print both. So I removed the bust cup Front piece I didn’t need and overlapped the exterior and lining pieces and only had to print 3 A0s instead. Thank god I’m proficient at Adobe Illustrator or I would’ve paid twice as much!
Thankfully the pattern itself fitted well as-is, size 16, except the sleeve. There was a little too much sleeve cap ease in the back, and I needed a full bicep adjustment. I didn’t want a wide sleeve for warmth reasons (drafts?? Brr) so I narrowed the sleeve to 11in at the hem initially, but this was a little too close fitting to get sweaters under in future so I widened it to 15cm when I did the bicep adjustment (and added 3cm to the bicep width).
For the removeable capelet I reused my Claudia NYE capelet pattern but modified the hood so that it’s less peaked, and wider at the sides to show off the faux fur better. I had to do three different hood muslins to get the shape I wanted. For the hood to have drapey bits on the side of face, it needed to be very tall but not deep.
I also wanted the fur to wrap around to the outside to be even more visible, so I took a good 10cm (four inches) from the hood opening and added that to a new hood lining piece, with a smaller exterior hood piece. This way the fur will wrap around the opening edge without any extra seams. I learned from sewing my faux fur coat 15 years ago(!!) that fewer seams are definitely better when you’re working with faux fur!
For the capelet pattern I just shortened my previous pattern to be at elbow length but realised that to look like an even length all around it actually needs to be longer at the shoulder/side seams and shorter at the Front and Back, because… shoulders protrude and means there’s further distance for the fabric to travel. Duh!
I didn’t actually take photos of the muslin, but tbh it required a lot of creative thinking to see my vision, so you’ll just have to take my word for it!
The Fabrics
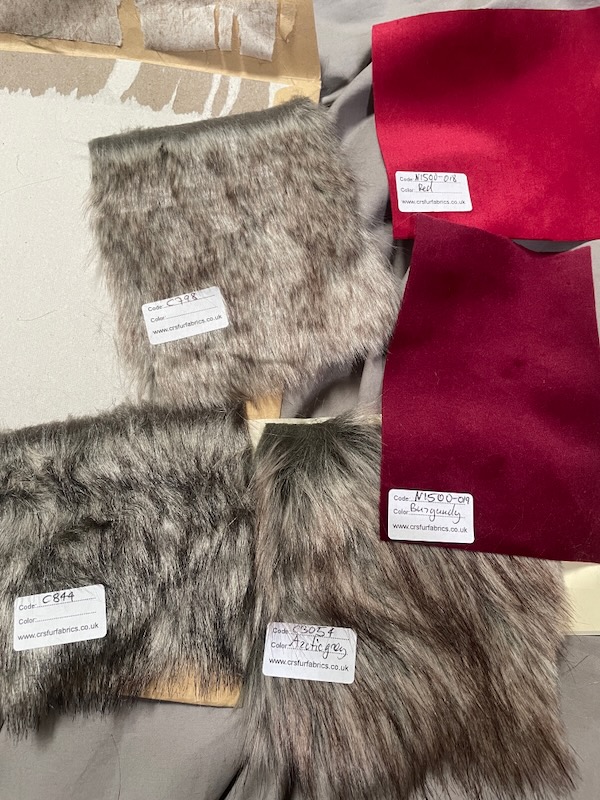
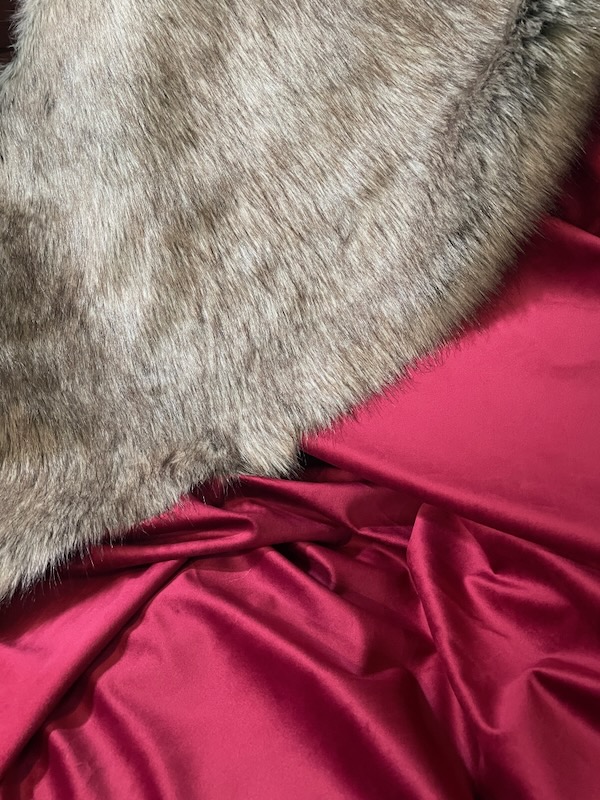
I did a LOT of hunting for both the perfect velvet and the perfect faux wolf fur. The velvet not only had to be the right colour (not too bright red, but not too dark burgundy either) but also a short enough pile that I could still iron it easily. I definitely learned my lesson from sewing James’s silk velvet pirate coat nearly 20 years ago(!!) on that front!
The faux wolf fur also had to be the right colour – a mix of white, grey, and taupe, but also the right length, and also soft to the touch. Some of the faux furs felt super synthetic to the touch, and I knew they’d wear out and tangle really quickly.
Ultimately I found my two winning fabrics at a new-to-me CRS Furs – 5m of burgundy velvet at £12.99/m and a half metre of arctic grey wolf faux fur for £30.
At this point I’d like to extend my warmest thanks to Carol Cutshall, costume designer on the show, for only lining the hood with fur instead of the entire cape like in the books, because I would’ve needed a mortage to buy that much fur!!
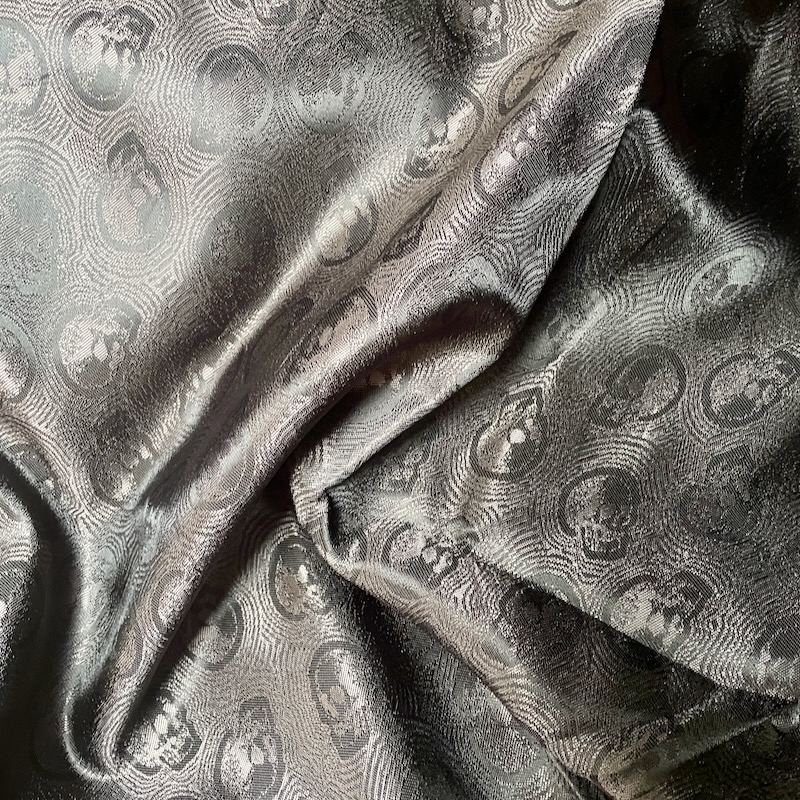
After searching so long for the other two fabrics, my lining fabric found me somehow! When I saw this black/charcoal skull jacquard at Mood Fabrics online, I absolutely knew I had to have it for this cloak! Shipping anything from outside the UK means absolutely punishing customs and import charges though (often double what you already paid!) so I was super happy to find a friend who didn’t mind hauling 4yd of it in her suitcase from America!
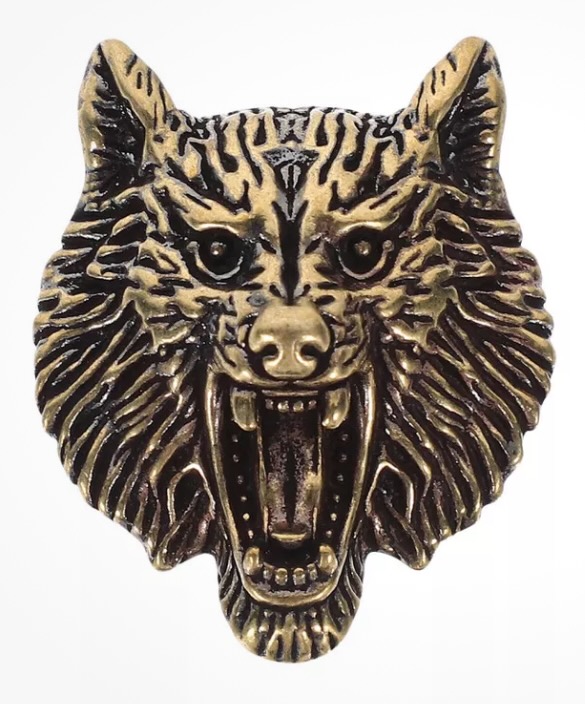
The Swing Coat has one big button closure at the neck, and for this I went in search of a suitable wolf-themed button and found the perfect brass one on eBay (the rest of the closures will be hidden).
The velvet was reasonably priced but I had to buy 5m so the total for just the two exterior fabrics was £80, ouch. 😭 And that’s not counting the ~$50 I spent on the lining already, the £20 on muslin/calico to test it first, or the ~£30 in flannel underlining I’ll need too… 😩💸 Why do I have Lestat tastes with a Children of Satan income??
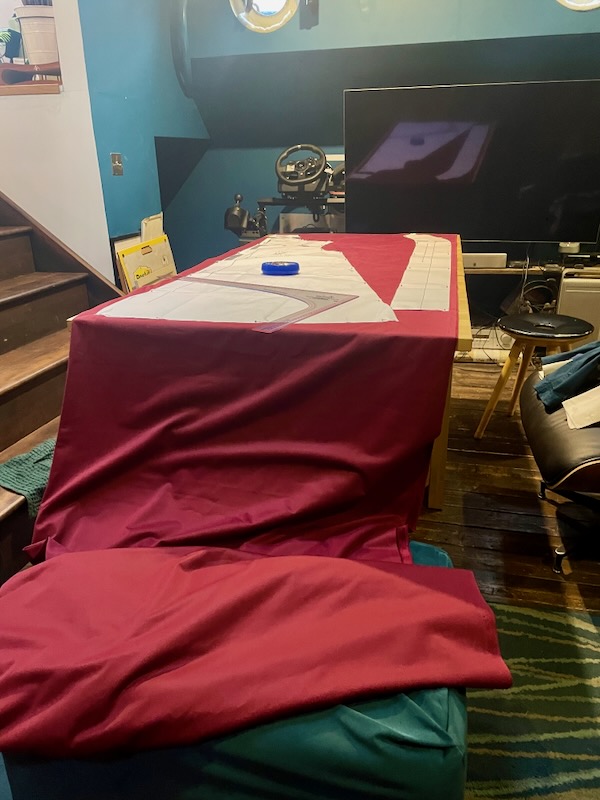
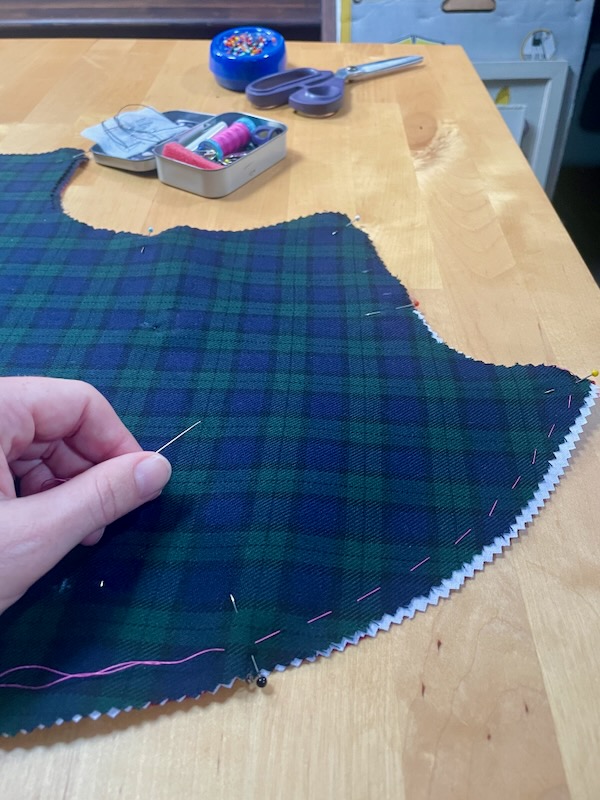
The Cutting and Prep
I thought I would be ending this in-progress post here but I’ve actually been on a roll with the cutting and prep so I might as well tell you about that, too. The Front and Back pieces of the Swing Coat were so huge that I needed to get James to haul our folding table to the snug lounge so I could unfold both leaves. Normally I have this table in our corridor, and unfold one leaf to cut my fabric, but there was no way it was going to fit, and I wanted it to lie flat to minimise distortion.
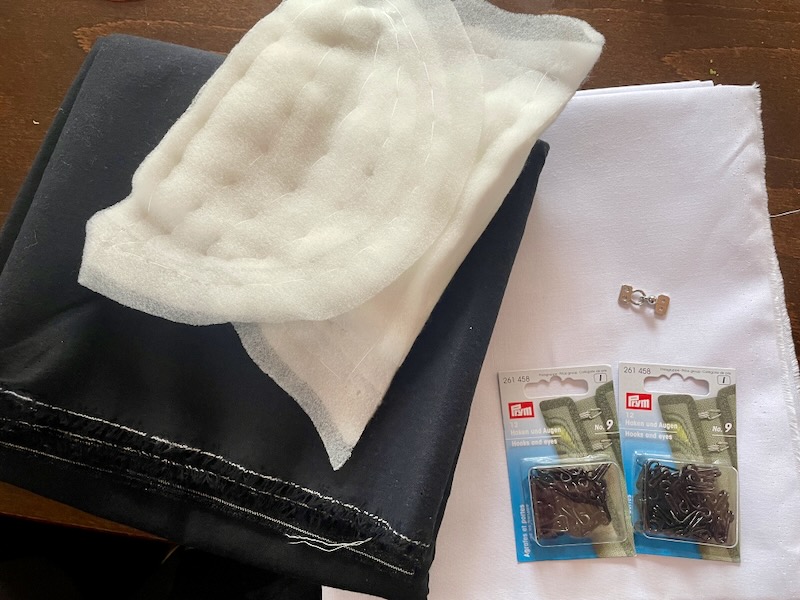
Once the velvet exterior pieces and facings were all cut, I then moved on to the interfacing. Since I needed so much, I bought black midweight and also stiffer “collar” interfacing from MacCulloch and Wallis. The midweight was fused to the entire Fronts and facings, plus hems of the Fronts, Backs, and Sleeves, sleeve cap area, upper back shoulders, and the neck area of the capelet. The stiffer interfacing was only used around the front and back collar area to make that stand up nicely. While I was ordering, I also bought the shoulder pads, hooks for the capelet attachment and front coat closure, and hook & eye for the capelet front.
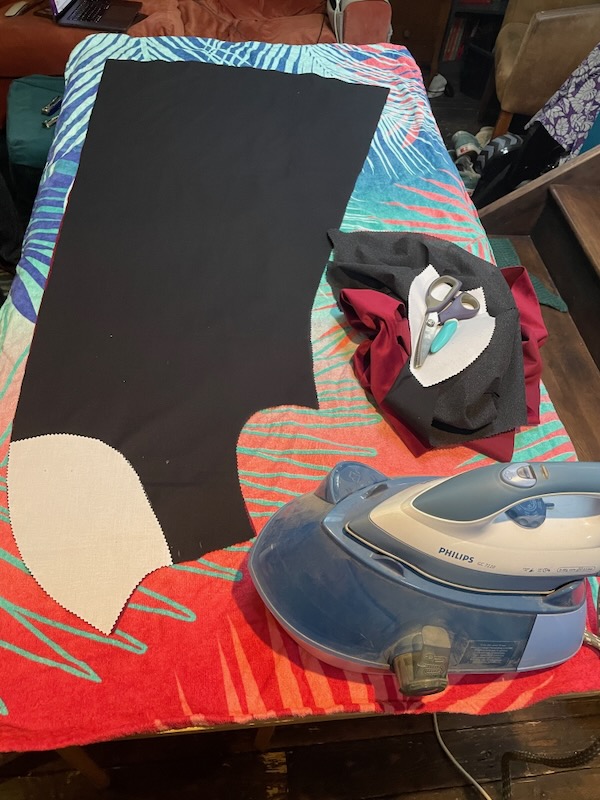
Fusing the interfacing took an entire day even after I realised that I could just lower the ironing board to fuse sitting down (eureka!). The Front piece wouldn’t fit on my ironing board, however, so I had to lay two beach towels on the folding table to fuse those pieces flat.
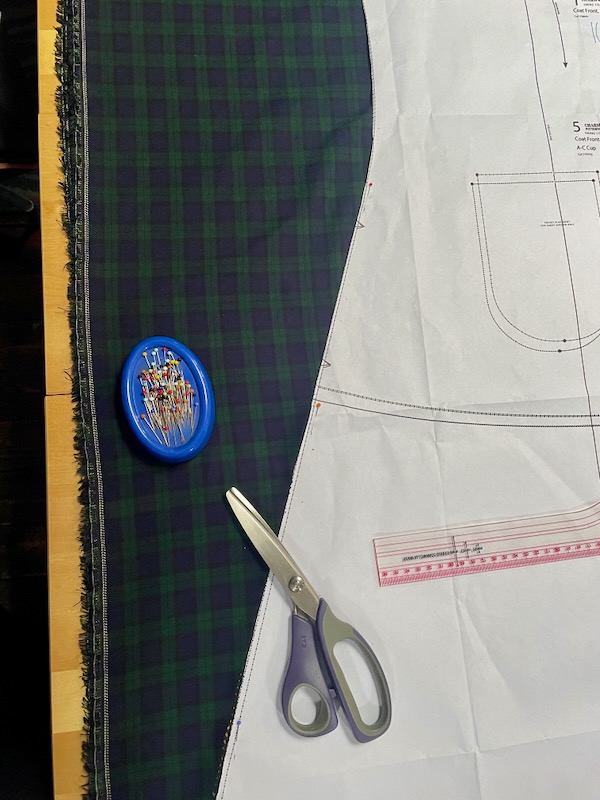
Next up was cutting the flannel underlining for the main coat pieces (Front, Back, and Sleeves) and then hand baste their edges together, which took another two days!
Then I could finally cut the lining pieces! At this point the pieces were so big that I had to store them in the guest bedroom so they wouldn’t get crushed or creased in my little sewing cave.
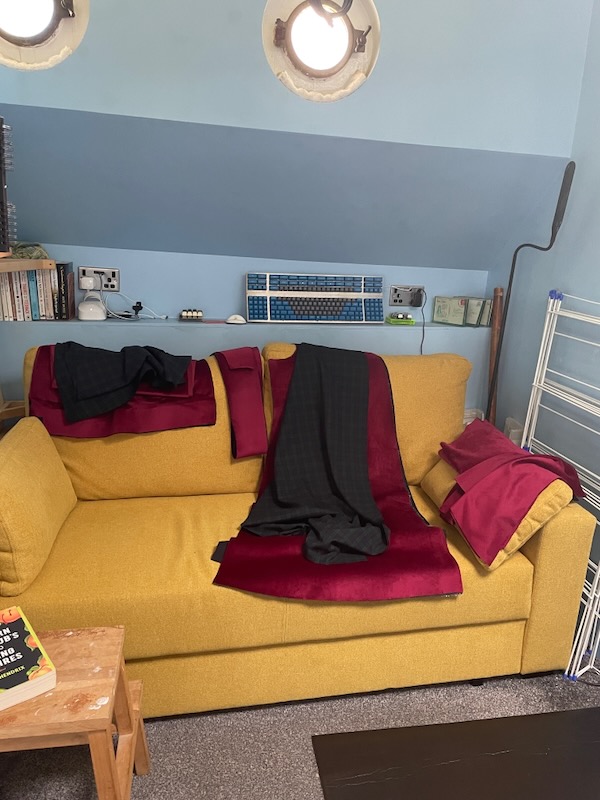
And now I’m finally ready to start sewing! It is amazing what you can get done, even with fatigue-based limitations, when you’re motivated for a project!