Blog

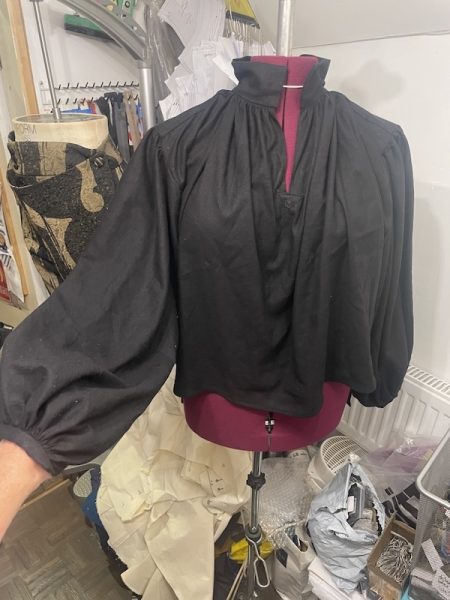
Sewing an 18th c shirt

This post is part three of my “making of” series of posts for my 18th c outfit for a friend’s Halloween wedding. If you missed the others, you can read part one, about sewing the 18th c frock coat, and part two, about sewing the 18th c breeches before reading this.

Unlike the other two garments, I actually didn’t use a pattern for this shirt, instead using the (slightly) modernised drafting and sewing instructions here which took the original historical documents as the base. (Though it’s only now as I’m writing up this post that I see Black Snail Patterns have a very similar shirt pattern on their full site which I did NOT see on their Etsy shop?! Honestly, using their pattern would’ve saved me so much stress!! If you’re reading this planning your own outfit, definitely go for the pattern rather than what I did here!)

These instructions give dimensions for all the various rectangles that make up the shirt, only a few of which actually depend on your own body measurements. I used the various rectangles to work out in Adobe Illustrator exactly how much fabric I’d need for a few common widths. So when I went to Fabrics Galore and bought a viscose/linen/elastase mix that was 135cm wide, I knew confidently I could buy 2m and have very little leftover.
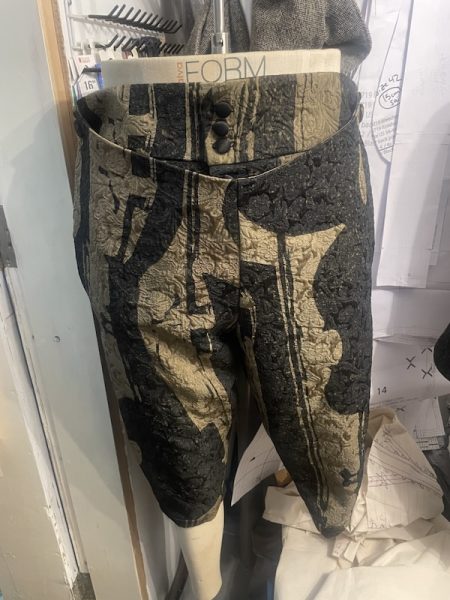
Sewing the 18th c breeches

This post is a continuation of the “making of” the three garments in my 18th century costume for a friend’s Halloween wedding, so be sure to read the post on sewing the 18th c frock coat to get all the context!

As I mentioned with the frock coat, the options for men’s patterns of this era are just a sea of awful pirate costumes, so I was thankful to find Black Snail Patterns’ “Late 18th c men’s breeches” pattern as it’s got the right historical details and is drafted to be an actual garment rather than just a “silly halloween costume” (my experiences with Big Four Halloween costume patterns have been they’re extremely poor quality). Since it’s a men’s pattern, I chose size 42 for me based on my hip measurement (I’m 40 in the waist but these breeches have eyelets to cinch in anyway).

There were, however, some interesting drafting choices in this pattern, which, while historically accurate, were not the look I was going for!

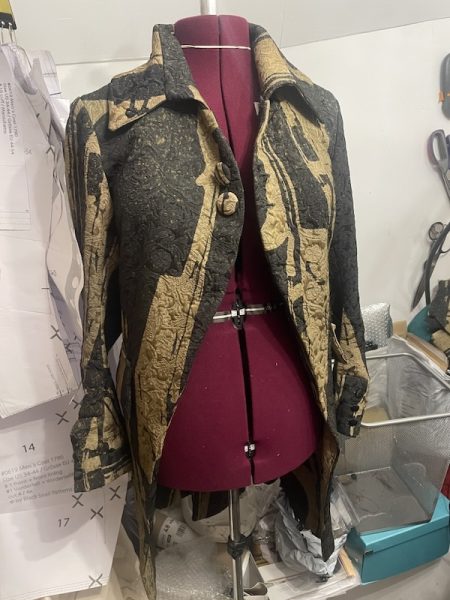
Sewing an 18th c frock coat

Thanks to your input, I’m posting about this complicated, several-months-long, three garment 18th century outfit a little differently than usual. In the past, I’d take notes as I sewed, but then wait until everything was completed before posting the final outfit photoshoot, then sharing all the “making of” details afterwards. But as this is all for a friend’s wedding in Ireland on Halloween, I wouldn’t be able to even start sharing everything until mid-November, and you told me you didn’t want to wait that long to hear all about the sewing! So I’m posting the details of the muslins and sewing of each garment now, and I’ll share the final photoshoot of the full outfit when we’re back from the wedding.

The impetus for the idea to make a full late 18th c men’s costume for myself came partly because our friend’s are getting married on Halloween and encouraging fancy dress (costumes), but also because I won 7 huge abstract violin brocade panels from the IWTV props auction in Feb/March. And this seemed like the most perfect use for the fabric!

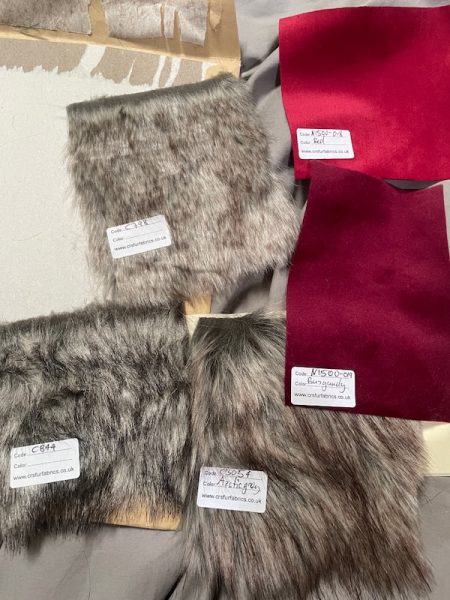
Planning a tribute Wolfkiller cloak

Yes, this is both a big project AND yet another make inspired by “Interview with the Vampire“! Big enough that you’re going to get at least one In Progress post, in addition to the final reveal. I’m really excited about this one, though, and in a way that I’ve not been fired up for a long time…

The Inspiration

So what is the “Wolfkiller cloak”? In the second novel of Anne Rice’s Vampire Chronicles series, the (still human) Lestat heads out into the woods to kill a pack of wolves that were terrorising his village in 18th c rural France. After barely escaping with his life, the villagers thank him by presenting him with a cloak (and boots!) made with the pelts of the slain wolves. This scene is absolutely iconic, and it’s his wearing the cloak later in Paris that partially attracts the notice of the man who attacks him and makes him a vampire.

Now, because, in the show, they’re not adapting The Vampire Lestat book until season 3, no one was expecting to see anything of Lestat’s 18th c past, let alone THE cloak. But we got a surprise taste in episode 3 of season 2, as part of a 15 minute flashback sequence (entirely in French, too!)

Coming Soon…

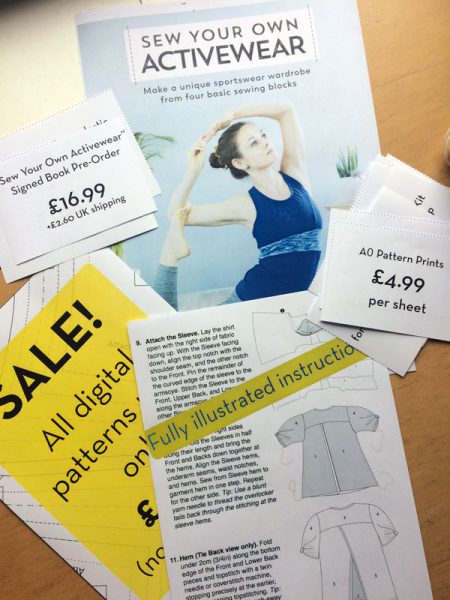
Apologies for the radio silence recently, but I promise it’s for a very good reason! Actually, two reasons, because I have been spending every single second of FehrTrade time for the past few months working to release a new, beginner-focused activewear pattern AND a full beginner activewear-focused eBook to accompany it. Wooooo! And even though the pattern is aimed at beginners, there are plenty of opportunities for upskilling that have won it rave reviews from my more experienced, testers, too.

The GBSB Live and storewide sale

If you had told me from the start that buying my first ever stall at an expo would require so much time, effort, stress and money, I’m not sure I would’ve ever said yes in the first place. But back when the Great British Sewing Bee Live event was announced, I was tempted, talked it over with J, and decided to go for it and stretch myself as a small business owner.

It’s been a huge learning process, even just moving from a purely digital business into one that not only has to fill a space (which the organisers kept making bigger!) but also taking in-person card transactions, and ordering supplies to try and really show off what Fehr Trade Patterns really is to someone just walking past who may have never heard of us. If you’re coming along, we’re on stall H1 (turn left once you enter, and I’m in the corner with the workshop rooms).

The show is finally upon us, and hopefully now the panic attacks and stress and dwindling bank balance can give way to the enjoyment of meeting new people and putting faces to long-time customers’ names, too. But if I don’t manage to get a pattern released this calendar year, we can definitely point a blame finger in the show’s general direction as much as the book’s!

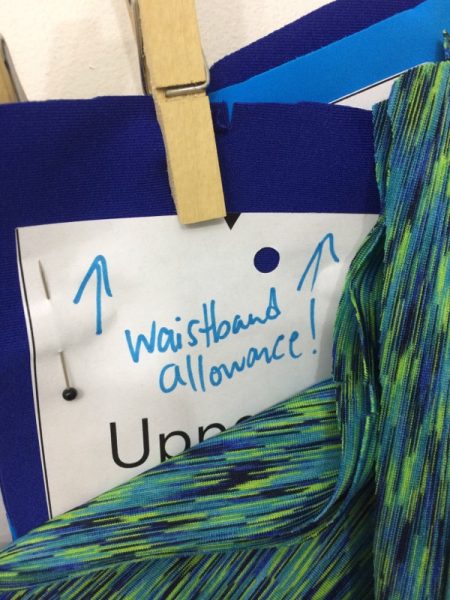
A quick tip for topstitching activewear seams

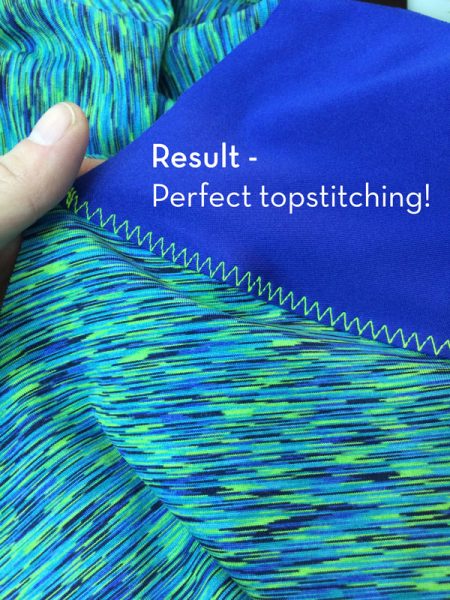
I’m sure some of you may know this tip already, but if you’re someone who prefers to topstitch down all your seams for your activewear makes, get yourself a roll of Prym Wonder Tape, stat. I’ve known about this stuff before, as I’ve seen other people use it for basting zippers in place, but I hadn’t realised exactly how great it could be for topstitching until I decided to give it a try on a pair of Steeplechase Leggings I’m sewing for Cambridge Half next weekend.

Wonder Tape is essential double-sided, sticky, washaway stabiliser, and it comes in a narrow 6mm (1/4in) tape roll. You stick one side, peel off the backing, stick something to the other, and that’s it. No need to heat up the iron or anything and it comes out in the wash, leaving you with perfect topstitching. When I’d topstitched my seams before, I’d usually use pins (and always my trusty walking foot!), but pins can make things lumpy and you’ve still got to constantly feel for the seam allowance underneath if you’re stitching around curves (like on the Steeplechase’s curved yoke yokes). This stuff just made it easy.

A cape in progress

I don’t tend to post about in-progress garment much anymore. I think part of the reason is that I tend to make projects quickly, so there’s not much to document and I roll any construction notes into the finished garment post, but also because I’m not not exactly light on garments to post about and it takes enough time putting together the ones I do share without adding any more to the To Blog pile!

But I’d been making a lot of quick garments in the past few months and decided I wanted something a bit more involved to sink my teeth into, so I started making a cape, using this Burda magazine pattern from 2011 (still available to buy as a pdf). I had some gorgeous teal wool coating a friend had bought for me in Tokyo in January, and I thought it paired really beautifully with some black and pink abstract tartan fabric I chose from Sew Essential as my #sewphotohop prize draw. It’s a lightweight John Kaldor satin with a lovely hand that you really could believe was silk, but alas, it doesn’t appear to be on the site any longer!