Blog

Monochrome silk blouse

You saw a peek of this in Monday’s post about my mustard wool shorts, but today I can tell you all about this sleeveless blouse.

The pattern is No115 from the May 2020 Burda magazine and is available to purchase as a pdf here. This was a real standout for me from this issue and I knew right away that I’d be sewing it up – it has a distinctive gathered front neckline with no shoulder seams and it only requires 1m of fabric as a bonus, yay! And frankly I love anything with a cutaway shoulder…

My bias silk 40th birthday gown

Happy 40th birthday to me! Since it’s a big birthday year I kinda felt like I just had to celebrate big, too! So we rented the whole of a private members cocktail bar near Kings Cross, invited a bunch of people, laid on pizzas, and let the rest just happen! Every year I like to make myself something special to celebrate my birthday, and I felt like I should sew a big, glamorous dress for myself to feel like a total star at the party, too.

I happened to have four meters of gorgeous copper-coloured silk satin (charmeuse) in my stash which I’d bought from Truro Fabrics back in 2015 with the intention of sewing a gown for the World Transplant Games gala dinner in Argentina. But I didn’t quite have enough time to sew it before we left, and the silk has been in my stash ever since. I still had the receipt in with the fabric, too, and the price reflects the incredible quality of this silk – I’d paid about £75 for it.

A matching silk hardshell clutch

When I make a nice dress for a formal occasion, I often like to create a small handbag to match the dress (or jacket!) as it just creates a more “pulled together” look, and it’s something I can do that RTW often can’t!

So when I was cutting out the silk noile for the Pamela dress you saw earlier this week, I realised I had a small rectangle leftover – perfect for covering one of the U-Handbag hardshell clutch cases I’d bought!

All the clutch bags I’d made previously had been sewn (a favourite being the Cake patterns wristlet), so a hardshell case involving lots of glue was totally new territory for me! Luckily, Lisa provides really great, printable instructions for these, and honestly, it was SO easy to make!

A watercolour silk noile dress

At my last shopping trip down to Ditto Fabrics in Brighton last December, I bought a great mix of spring and summer fabrics with a few cold weather ones thrown in for good measure. So far I’ve already sewn up a Fair Isle sweater (which I was too sick to blog about properly), that muted turquoise lace dress, a pair of cycling jeans (with another coming later this week).

But I’d bought a length of silk noile with a watercolour-esque muted floral print that the owner, Gill, was raving over, saying it made the most comfortable summer dress. It’s long sold out now, but Ditto have a few other silk noiles in stock. I knew I wanted to make a dress from it – preferably unlined to take advantage of the silk noile’s comfort and coolness, but I needed an occasion to actually sew it up. Luckily, two friends I’d know for years from Run dem Crew got married this weekend, so I had the perfect excuse!

Vintage silk roses for a wedding bouquet

The main reason for our recent trip to the States was to celebrate my Aunt’s wedding, and since I still had some scraps of my grandmother’s (her mother’s) gown leftover from when I refashioned it into my wedding gown back in 2010, earlier this year I offered to make her something from the silk so that her mother could be a part of the day, too.

I thought perhaps she’d want a clutch bag, or cropped jacket or something, but she requested fabric roses instead. And a lot of them!

I made my own “pattern” so all of the roses would be the same size, but the pattern was really just two different sizes of pointed ovals. To make each rose, I just folded the oval in half lengthwise and gathered together the cut edge by hand with some running stitches. I rolled up the larger one, tacked it together at the base, then wrapped the smaller around the outside of it, and tacked that together by hand, too.

It took a few minutes to make each rose, so I made myself a little kit and tried to do one or two each lunchtime at the office (after I’d finished any messy eating!!).

And before too long, I had a whole herd of roses to post off to DC!

Then her florist used floral tape and wire to create “stems” on each and worked them into the bridal bouquet, the flower girls’ crowns, and the buttonholes for all of the men on our side of the family, including my granddad. Apparently as my Aunt pinned his buttonhole onto his label, she told him that the roses were made from Granny’s gown, and he was so touched he started crying!

Named Harriet lumberjacket in wool & vintage silk

I am both back from our trip to the States and feeling back on form now, so I’ve started to tackle documenting the absolute mountain of finished makes from the last four months. I have some garments from early January, some made more recently and well, I’m just going to share them with you in no particular order! The photos are a bit more slapdash than usual, but I know that if I waited to do proper photoshoots of all of these then it’d be another 6 months before you’d get to see them!

So I’m going to start with a garment that was the longest in the planning, and also quite possibly my favourite of the early 2016 makes. It all started back in summer 2014, when I bought some fabulous navy wool coating & vintage silk twill from Ditto when I was down in Brighton. I knew I wanted to use them together for a transitional, short coat, but then I had quite a journey in finding the right pattern!


The psychedelic 1960s vintage silk twill lining that was originally made for neckties!

Over the course of 18 months, I ended up making five different muslins before I was happy enough to cut into the wool and silk:

  1. StyleArc Audrey (the silhouette and proportions were just so bad on me. So bad.)
  2. Burda Jan 2015 jacket in size 42 (way too small for non-stretch outerwear, oddly, though Burda’s fit is usually very standard)
  3. Burda Jan 2015 jacket in size 44 (traced ALL the pieces again and it still fit very weirdly)
  4. Patrones 342 No23 dolman sleeve coat (ridiculously tiny sleeves and zero arm mobility even with the underarm gusset)

And then finally I muslined Named’s Harriet lumberjacket pattern, bought during a flash sale during their advent calendar promotion. And I was like Goldilocks, it was juuuuuuust riiiiiight.

An extended weekend full of sewing

Last week saw the end of a very good but busy work project, so what do I do when faced with a bit more time and mental energy than usual? Why, I sew of course!*

Liberty, but not as we know it

I received some lovely Liberty gift coins for my birthday, and because Previous Me knows Future Me so well, I had stashed some extra birthday cash along with it in the suede pouch, knowing I’d forget all about it and be pleasantly surprised. Which is precisely what happened!

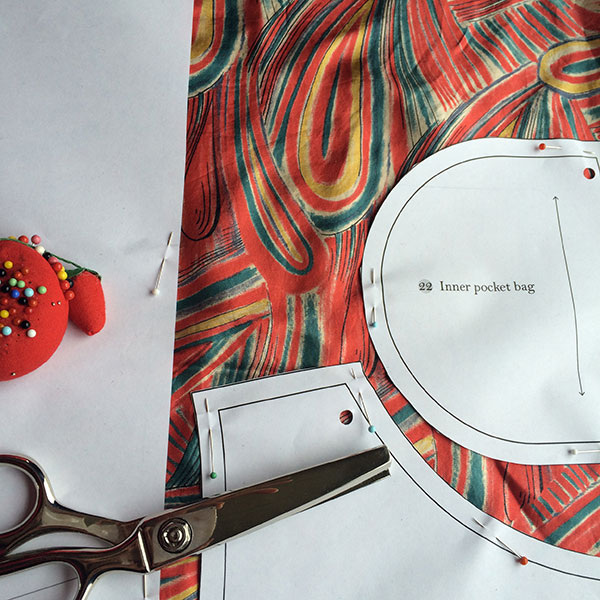
So now armed with £60 to play with in Liberty, I decided to take advantage of a rainy day and go shopping. Now, I know loads of you go weak at the knees for anything Liberty, but I don’t. I find most of the traditional Liberty prints to be painfully twee and nothing I’d ever, ever wear. So I was thinking I’d see what was on offer in their jerseys, but first I got waylaid by the remnants table, where I scooped up a vaguely-African print silk twill (1m for £25, seen lower left).

The jersey selection was really small and mostly ditzy print (gag), but I kept being drawn to a dreamy, blurry, triangular print that came in a few shades, but only in Tana Lawn. I finally decided that if I kept coming back to this print then I should buy it and figure out a project later. So 1.5m of the palest colourway came home with me (seen upper left above) and brought my grand total to £58. Now that’s budgeting!

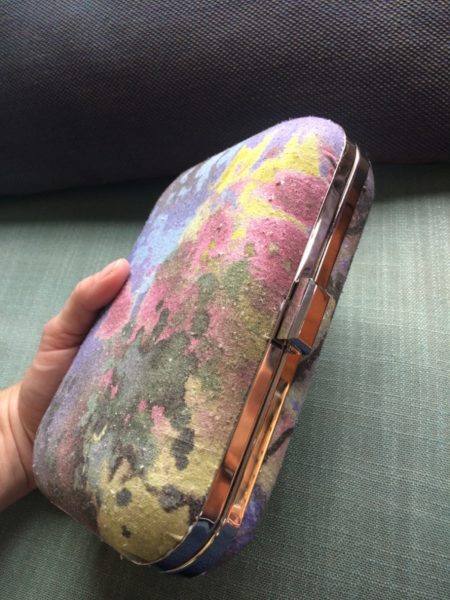
Refashioned suede wristlets

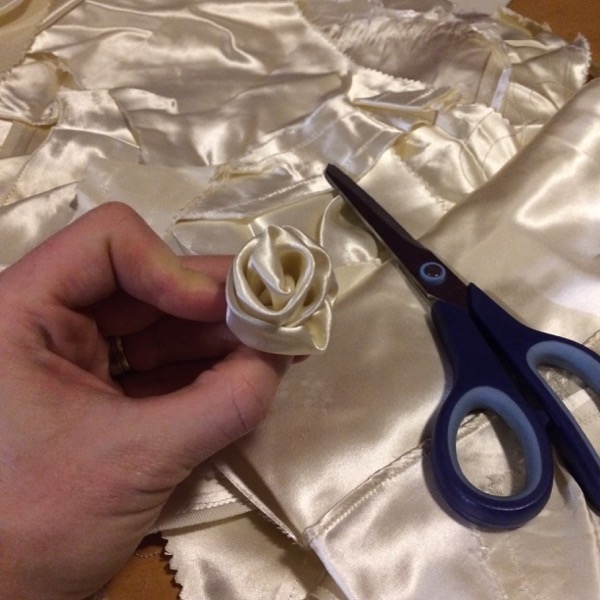
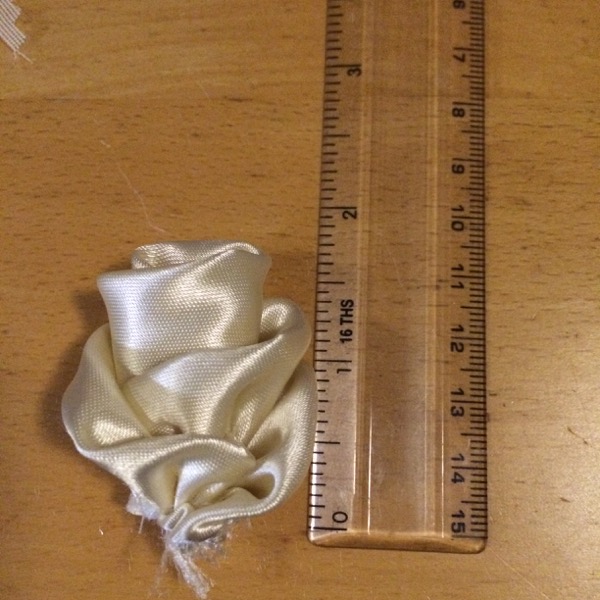
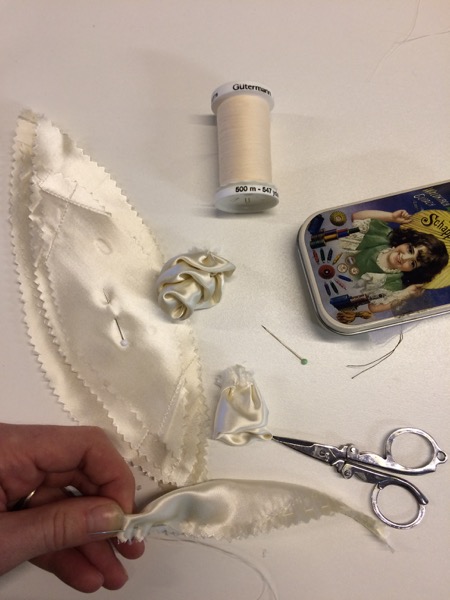
A friend had recently given me two skirts which no longer fit her, a suede one and a silk one, and mentioned that I might want them for the fabric. Of course! So I chopped up the suede one on Sunday, making two of the free Cake mini wristlets.


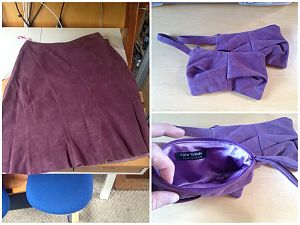
(The colour on the left is more accurate…)

The "Eyelash" black lace bra

After I completed my world tour, I had four and a half days at home to recuperate, so I of course spent a good portion of that in my sewing cave! The first of my finished garments is this bra, which I’m calling the “Eyelash” one because the layer of black lace on the top just made me think of the bra batting its eyelashes at me!

I used the same self-drafted/traced pattern as my third muslin, but with zero-stretch silk-cotton woven leftover from the slip I made almost exactly a year ago, and some black stretch lace I’ve had in my stash (not the same as I’d used in the slip, but that’s only noticeable if you squint really hard!).

The cups are fully lined and the wings/backs are made from a black power mesh that was in my lingerie sewing stash.

First I made each cups separately (two fronts and two linings). Then I basted the lace across the fronts and joined the fronts to the linings along the top edge. I could’ve then topstitched, but I opted to understitch instead, then basted around the other edges so the fronts and linings could then be treated as one for the rest of the construction.

Here you can see the cups as I was constructing them. You can see that the lace is hanging free, only really attached at the top edge, and for an inch or so at the sides. I carried on the lace motif over the bridge so it looks fairly seamless from afar.

Golden silk asymmetric blouse

From a total loser of a silk blouse to a triumph of a silk blouse, all in one afternoon! After the Burda FAIL, I turned around, cut into my gorgeous butter yellow floral silk charmeuse I bought at Ditto in Brighton last weekend, and sewed up this blouse in about two hours flat!

The layout of this blouse is really cool, and the entire blouse is just one piece, with only one side seam (and two shoulder seams). I took a photo of my fabric when it was laid out on the floor, and I added some annotations in pink (below) to help show where the drapey side comes into play. I hadn’t realised it from the diagram, but the CF neckline is on the straight grain, and the CB neckline is on the cross-grain, with the only side seam on the bias. Very cool, and the design feels quite Bunka.

I used the leftover silk in the bottom left corner to make several bias strips about 4cm wide, as I prefer a narrow bias edge on my silk blouses instead of finicky facings. I also left off the shoulder bow, as I felt there’s enough going on in this blouse already!

We were very lucky to catch the “golden hour” on Monday evening, which just makes this silk come alive in these photos! I’ve paired it here with my grey leather skirt to try and give an edgier look to the twee floral of the silk.

A rare dud of the highest order

Last weekend I cut into cut into one of the oldest fabrics in my stash, a dark turquoise silk charmeuse bought in January 2009, to make the cover top from the Burda April 2012 issue:

There are so many things wrong about this pattern that I’m going to revert to list form to get the rant out of my brain:

  • The recommended fabric is silk, yet the instructions don’t tell you to sew French seams, or indeed finish the raw edges at all. As far as I can tell, even if you follow their insane instructions, you’re left with a triangular area of raw seams at the shoulder. If I’d liked the top enough, I’d have had to make my own weird facing to handstitch on to cover this.
  • There’s a ridiculous amount of ease in the bodice – way more than Sorbetto, for example, and that’s also a non-bias, slip on shell. I ended up cutting this with the front and back pieces a centimeter or two off the fold simply to fit it onto my narrow silk, but I checked first to make sure it’d not be too small. And having completed the shell, I can say that it’s still on the loose side, even with my reductions!
  • Facings on a silk. WTFOMGBBQ? Why?? I said Nuts! to the facing and did a narrow bias edge (in leftover silk from my birthday top which I still had lying around) on the neckline, and did a two-step narrow edge for the hem.
  • Burda tells to to cut an extra wide hem allowance on the sleeve edges, press in and out (and shake it all about, do the hokey pokey- oh wait) and mess about with it until the sleeve is entirely completed… and then sew an invisible hem by hand. On silk. And it’s a reeeeeeally long hem. I’d rather eat glass, Burda. The much better option here would be to cut a regular hem allowance, and machine-stitch a narrow edge or rolled hem before basting any of the sleeve pleats. Realising they’re crazy and trying to do this later is much more difficult (ask me how I know).
  • The sleeve instructions are absolutely incomprehensible. Burda would have you flip the entire pleated edges around the neckline and back to the armscye at the shoulder, which a) completely contradicts the photos, and b) there isn’t enough seam length to do. So I had to try and make the best of pre-basted pleats, attach to placement lines that may as well have not existed (since the pleated edges didn’t match up anyway), and a mess of raw edges (see above). My best attempt was not good enough.
  • And finally, when I tried the top on to see if I even wanted to carry on finishing the raw edges, the sleeves are just ugly. Less “quirky chic” and more “80s shoulder pads”. Ugh.