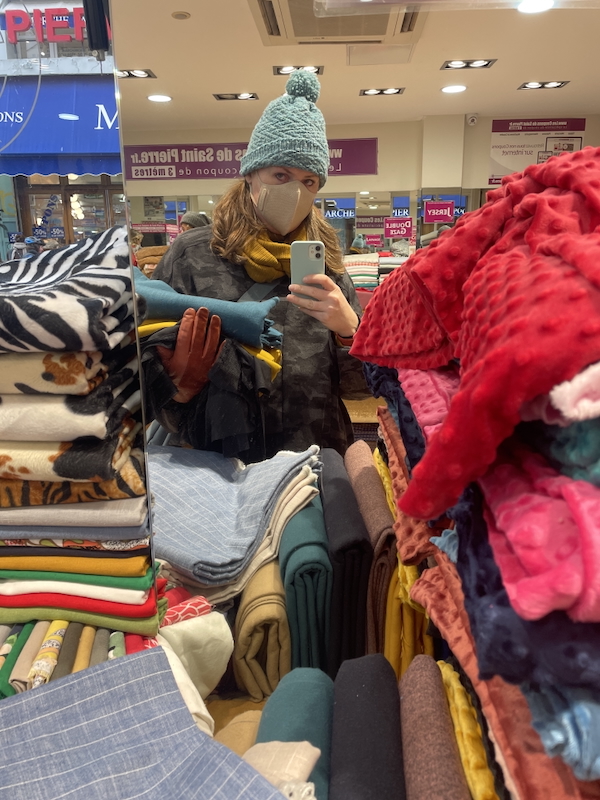
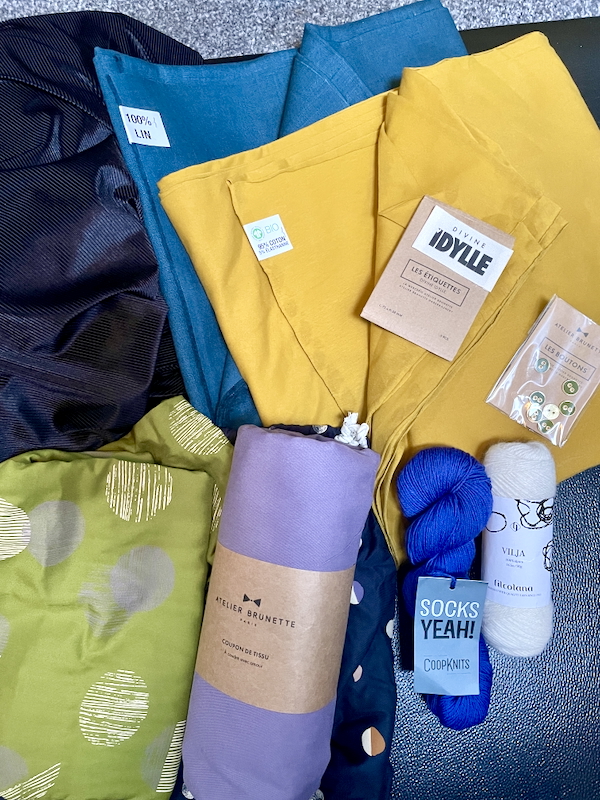
We had a lovely little getaway week in Paris in February, and I took the opoprtunity to do some fabric shopping while we were there – both in Montmartre and at the Atelier Brunette shop. From the former, I ended up with 3m of teal linen bought at the Coupons de Saint Pierre for €40. This was the most expensive of the three coupons (pre-cut lengths, usually 3m) I bought but it was a good weight and great price for 100% linen and in a very Me Colour, too. When I bought it I thought the 3m might stretch to a shirt for both J and I but when I changed plans to a dress, it turned out I needed pretty much the whole yardage! (Sorry, J!)
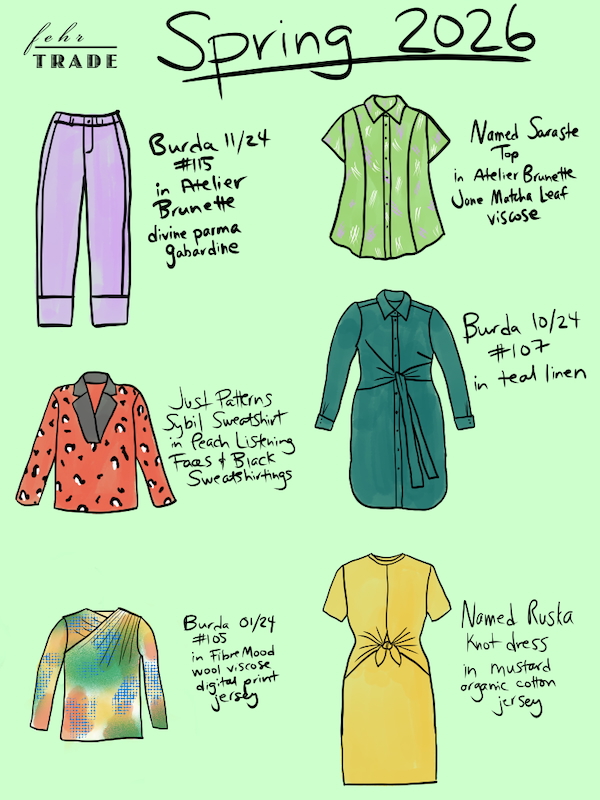
I’ve been on a bit of a Burda kick recently, trying to make use of the subscription magazines I accumulated while I was sick and could neither fit into their sizes nor had the energy to sew. So I flipped through my last few years of issues looking for a dress that might work for my linen and absolutely fell in love with Burda 10/2024 no107.
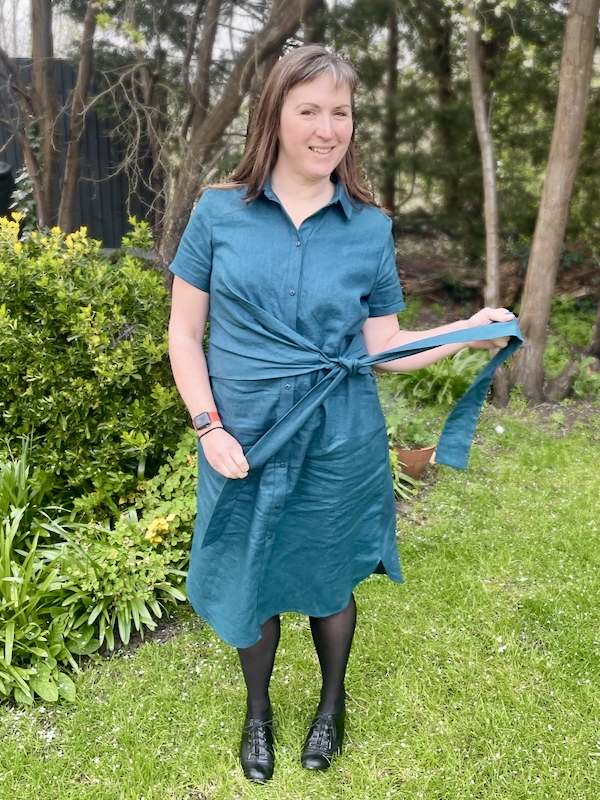
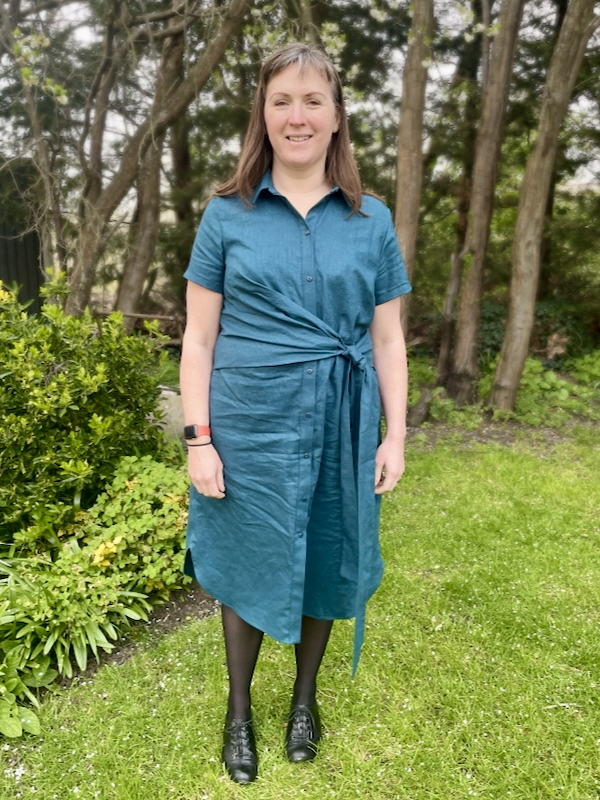
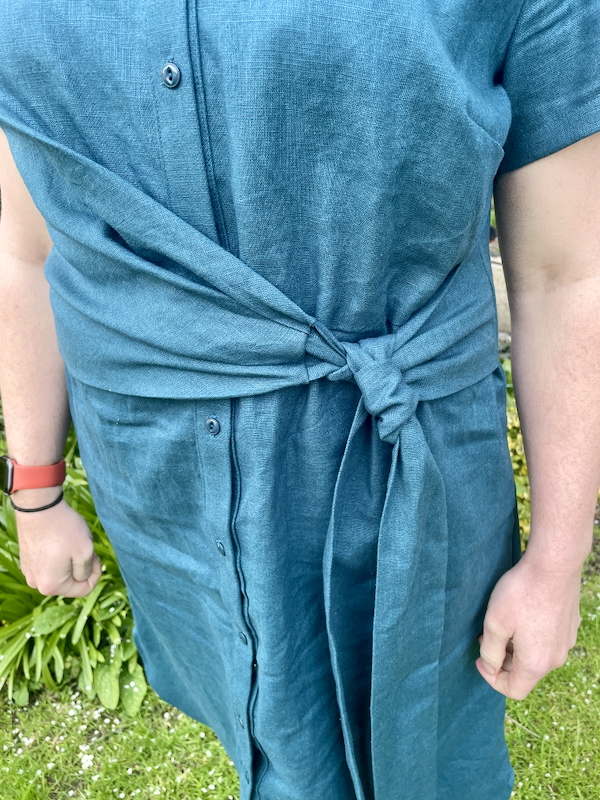
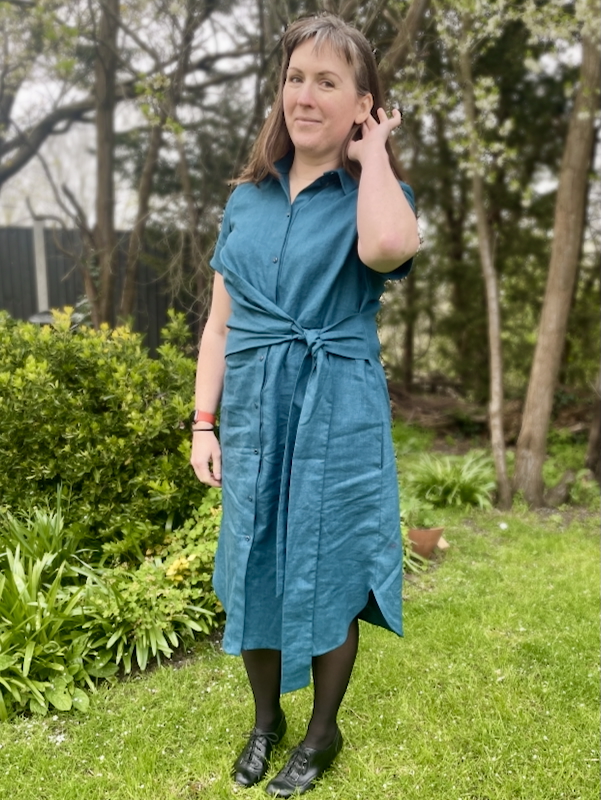
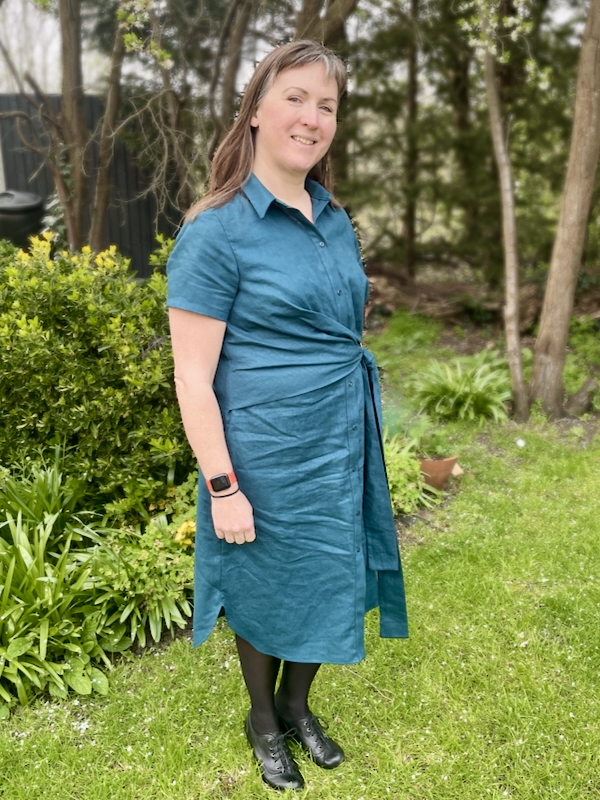
Despite looking like a basic shirt dress with added belt at first glance, the fronts are actually asymmetric and the tie is integrated into the right front so that the pleats/darts feed into the tie itself. But the front opening placket remains intact, with the tie tying overtop of it. It’s honestly a really clever bit of drafting, and the details really help elevate it, in my opinion.
I also thought the tie cinching might make it a bit more forgiving to wear over the summer since I’m still losing my Covid weight. I sewed a Size 46, but to be honest I probably could’ve gotten away with a 44. Burda puts this at a Difficulty rating of 3/4, which I tend to agree with, though it couldve been half that had the instructions been clearly written and/or illustrated!
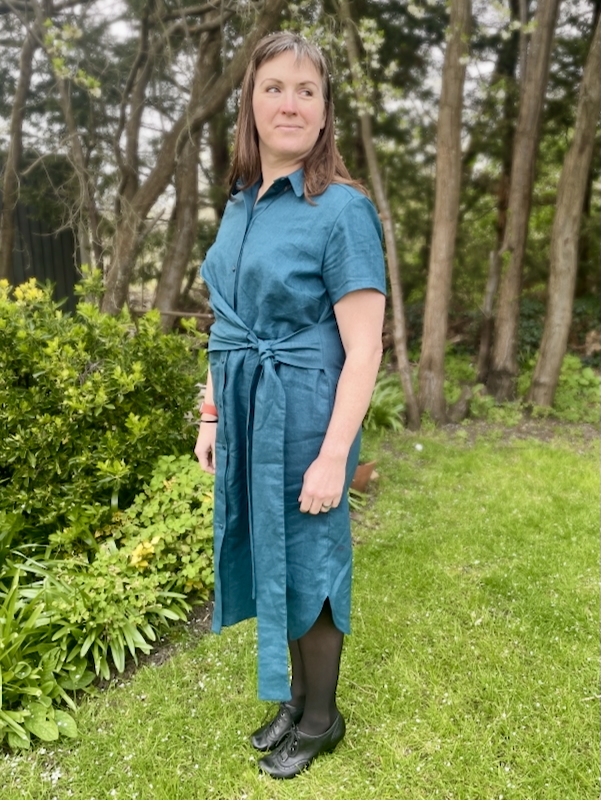
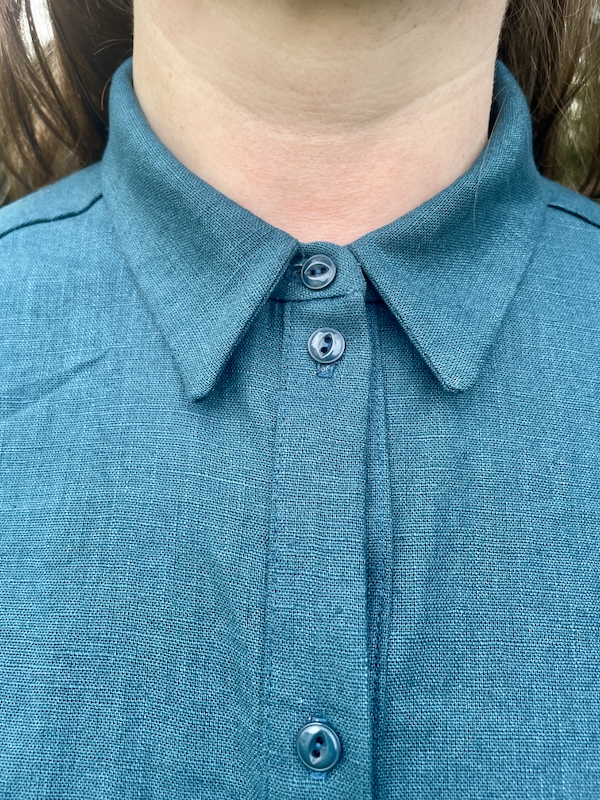
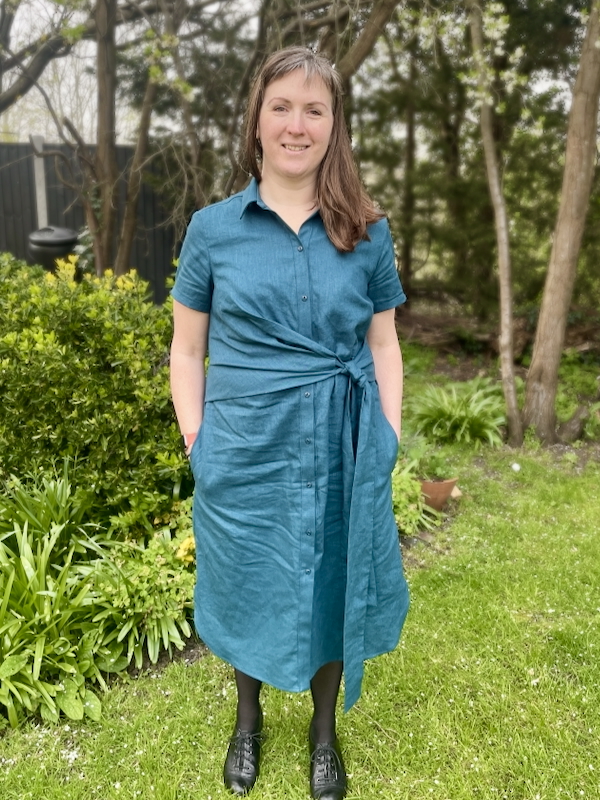
I find that short sleeved dresses can be worn for more of the year, so I shortened the sleeves. As a result, this dress only took 10 buttons instead of 16!! I didn’t have any suitable buttons in my stash, so I bought these 10mm Egalantine et Zoe buttons in “Deep Lagoon” from Lamazi Fabrics, hoping they’d be close to the colour of my linen, and… they are EXACTLY the same shade!
I can never remember when tracing Burda patterns whether to add seam allowances onto the rectangle piece measurements, so I usually err on the side of adding them, just in case. That was a mistake! It’s important here to NOT add seam allowances onto the tie pieces especially as they need to match up to the pleated sections. I was able to fudge it by narrowing the tie section near the join and re-pressing the ties, but I could’ve saved myself some trouble had I cut the rectangles to the exact measurements given.
I added side seam pockets cos those are non negotiable for me. I can’t conceive of a dress without a pocket for my phone, and a pocket for my tissue. I just used a basic inseam pocket piece I had lying around, and placed the top of the pockets 10.5cm below the waist notch (which means they shouldn’t get pulled in by the ties).
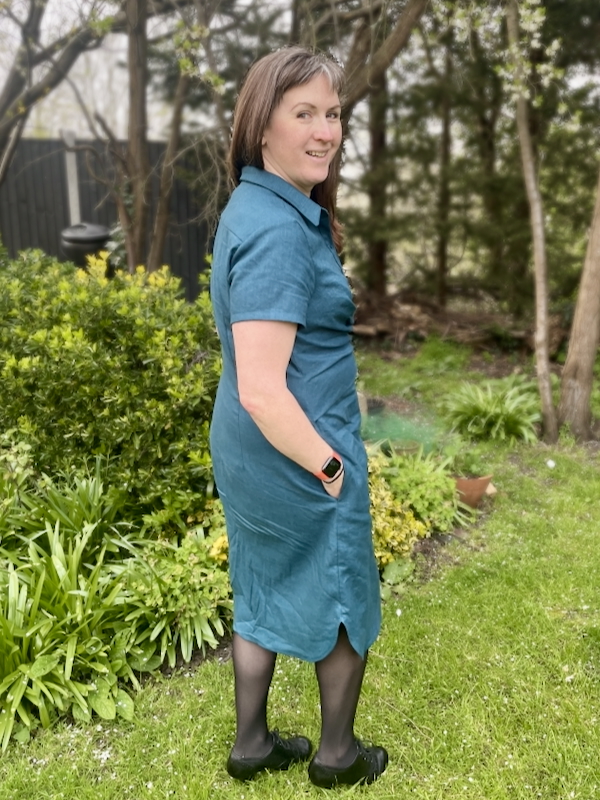
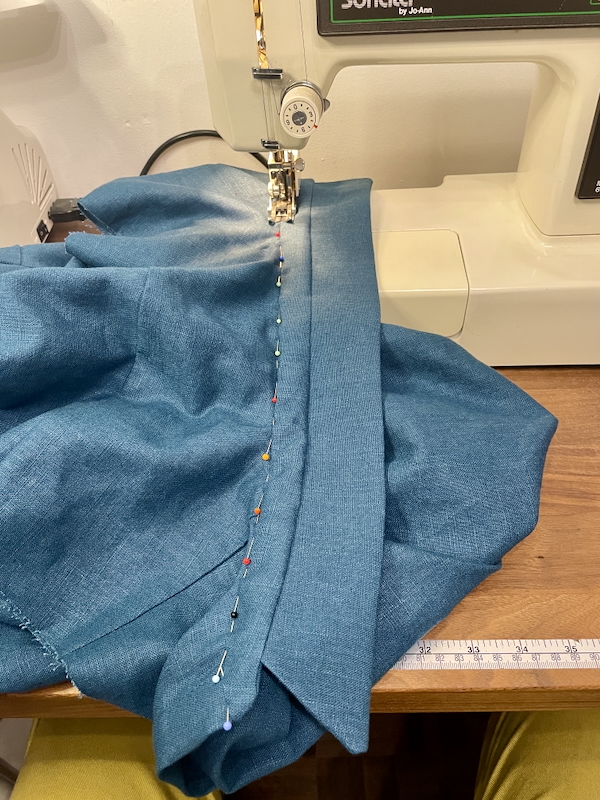
The order of construction is generally pretty sane, but it felt truly unsettling to be sewing the curved hem before the front placket, sleeves, or collar. This is something that only sewing folks will understand! There were reasons for the order being this way, but it still felt wrong. 😂
The instructions are… “very Burda” (ie: sparse, unillustrated, and strangely worded) but in the end I worked out what they wanted me to do, for the most part. And speaking of that front placket, I read Burda’s instructions three times and I still have no idea what insane method they intended, so I just pressed back the seam allowance on one long edge, attached the other to the wrong side of the dress opening edge, then pressed it overtop and topstitched (after sewing the bottom edges together & flipping).
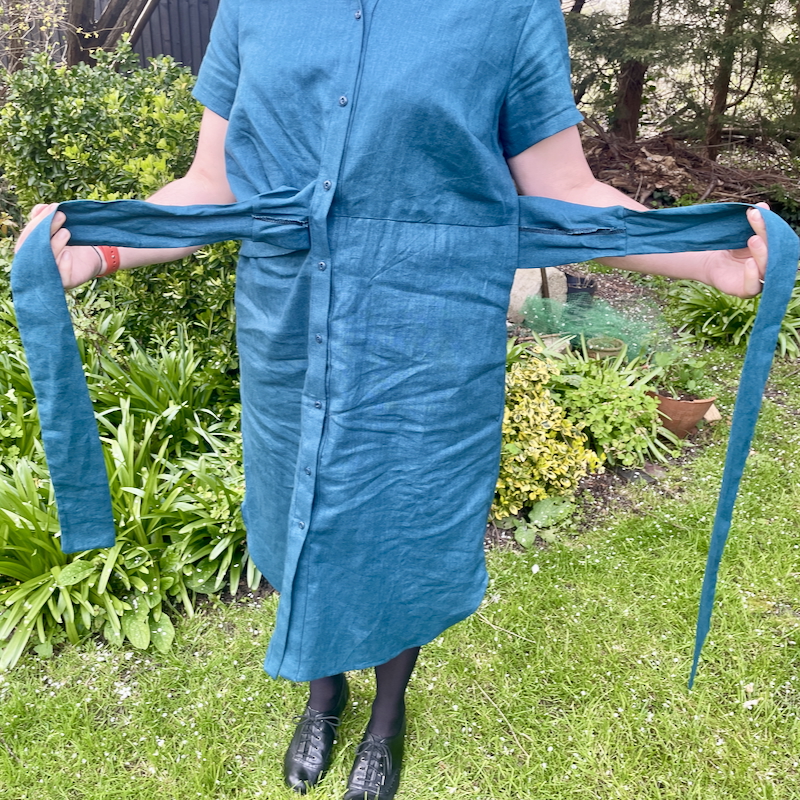
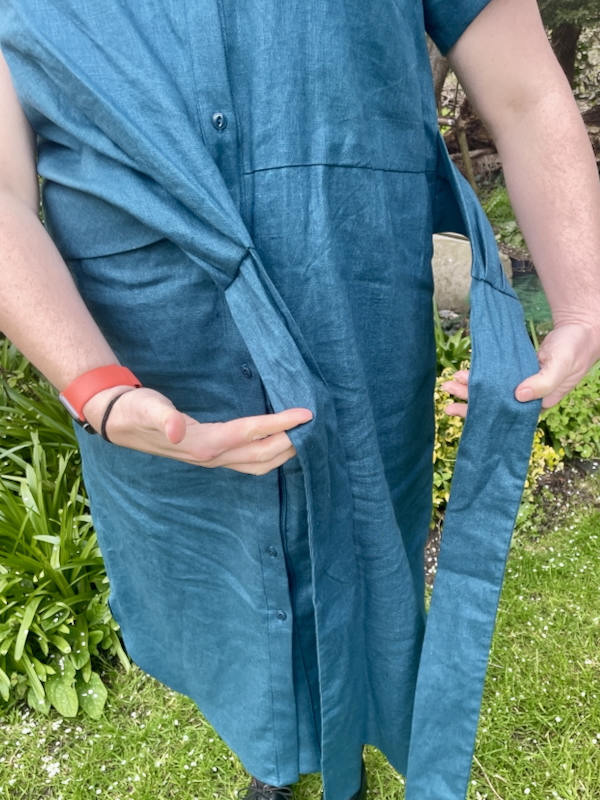
The right side tie is quite cleverly drafted – it’s integrated into the pleats of the right bodice but that means there’s a few cm that can’t be caught in the front placket (Burda note this too, so it’s not just my method). I got it pretty neatly sewn, if I do say so myself, but I did have to deploy the fray check to a few centimeters inside as an insurance policy.
Likewise, the collar construction instructions were also batshit insane. I literally read them, laughed, then sewed it the way the Named Saraste constructs the collar, which is my preferred method (Briefly: sew the collar pieces together, flip & press, press up one edge of one band piece, sandwich the collar between the bands, and then attach to the dress with the pressed edge caught by stitch-in-the-ditch on the outside).
Oh, and I always use directional sewing on collars, sewing from the centre outward when constructing the collar and bands, as this prevents the finished collar from flipping weirdly out on one side. Burda don’t say to do this, but I don’t think I’ve ever seen any sewing pattern reach that level of detail either.
Burda are usually pretty good about not including excess sleeve cap ease into their woven shirts and dresses, but this one was an exception. 😫 I knew I’d need to reduce the sleeve cap height when I saw “ease” on the pattern piece itself, but rather than faff with measuring it against the armscye pieces I just winged it as I inserted the sleeves. In the end I needed to lower the sleeve cap by about 2cm to make it fit nicely. (There is ZERO need for sleeve cap ease in a shirt dress like this!!)
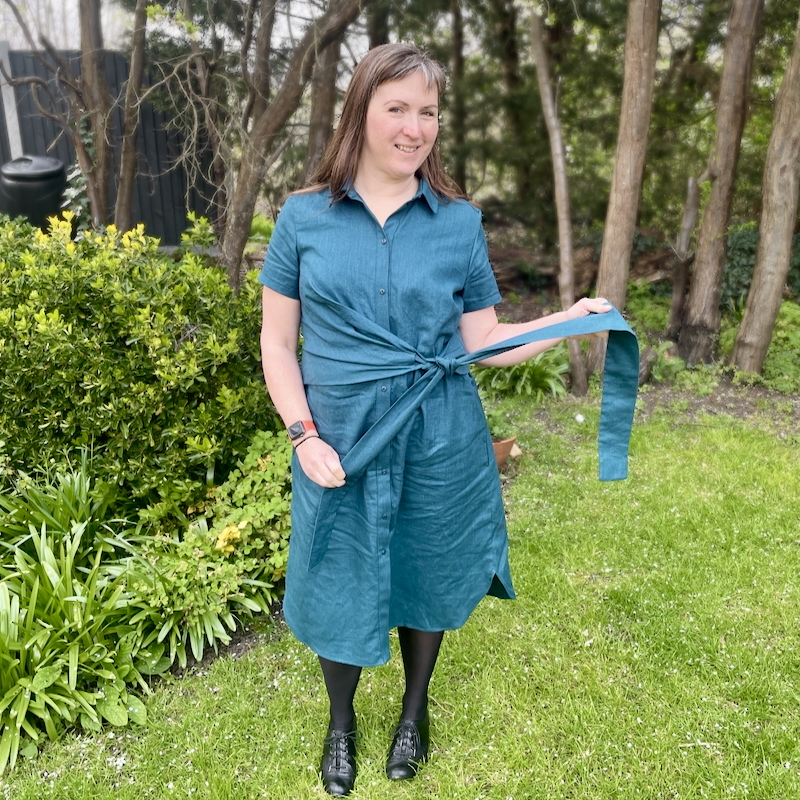
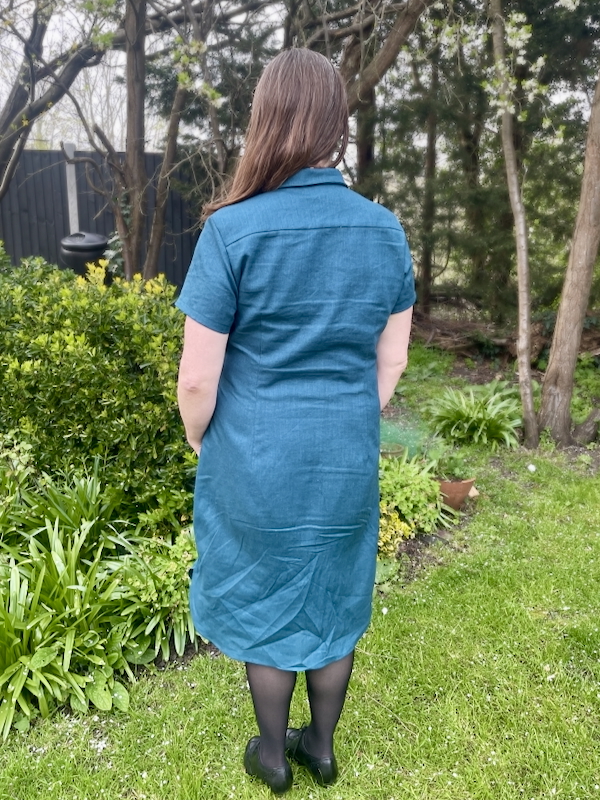
Despite the challenges in sewing this dress, I actually really love it. It treads the line between “casual” and “dressy” and will be suitable for a wide range of temperatures, too. Since it’s 100% linen, it does wrinkle (as evidenced by these photos being taken after sitting for two hours), but it’ll also soften up beautifully with each wear, too.
This dress marks the first of the Paris fabrics to be sewn, and 2nd garment in my Spring Sewing Plan (because I’m posting out of order and my birthday top was number three!).