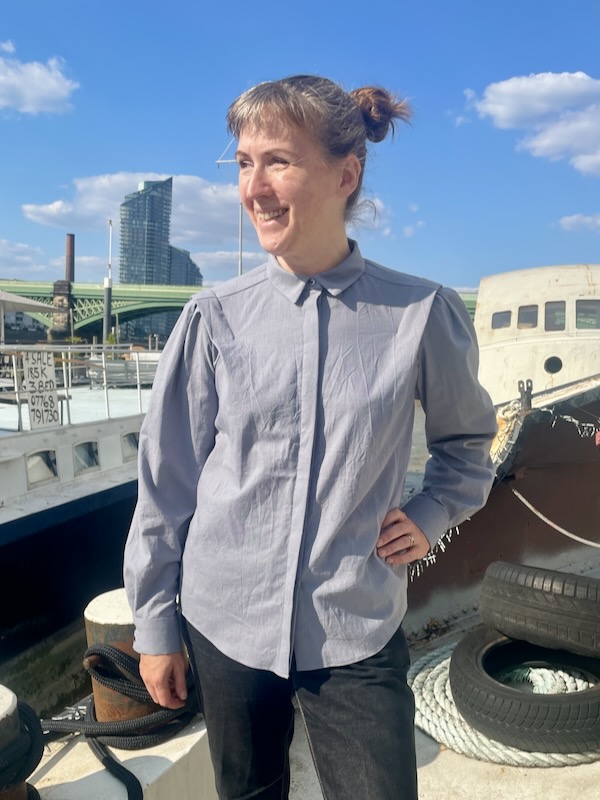
When I was looking for potential candidate patterns for Lestat’s pink silk satin blouse (worn with the corset in ep1), I came across Burda 06/22 no113, which looked like it had potential. On top of being a pretty standard button-down shirt pattern, it also had deep pleats across the shoulders which I thought might give me the look of broader shoulders that the actor has. The only thing the pattern didn’t have that I needed was an invisible button placket. Strangely, the ONLY pattern in my stash to have one was from Burda 12/23 no106 so I grafted that onto the other pattern.
Then I needed a fabric to create a wearable muslin from. I didn’t have a plan for a ~1.8m cut of dove grey cotton(? a burn test indicated it’s entirely natural fibres) shirting from the IWTV props auction so it seemed like a good use for it here. The colour is pretty drab, and I thought about adding some fluorescent stitching details to liven it up a bit but ultimately decided against it. I traced both patterns in size 44 and it was easy to frankenpattern the invisible placket on by just aligning the Centre Fronts.
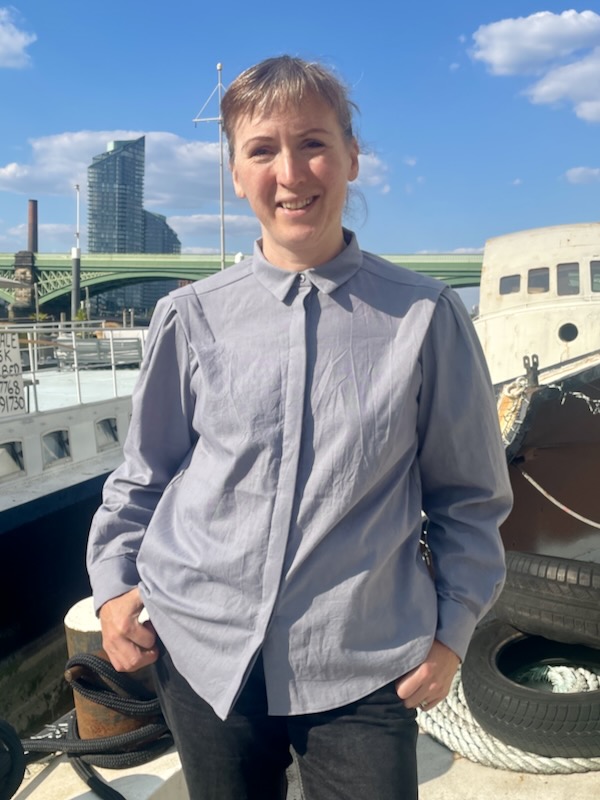
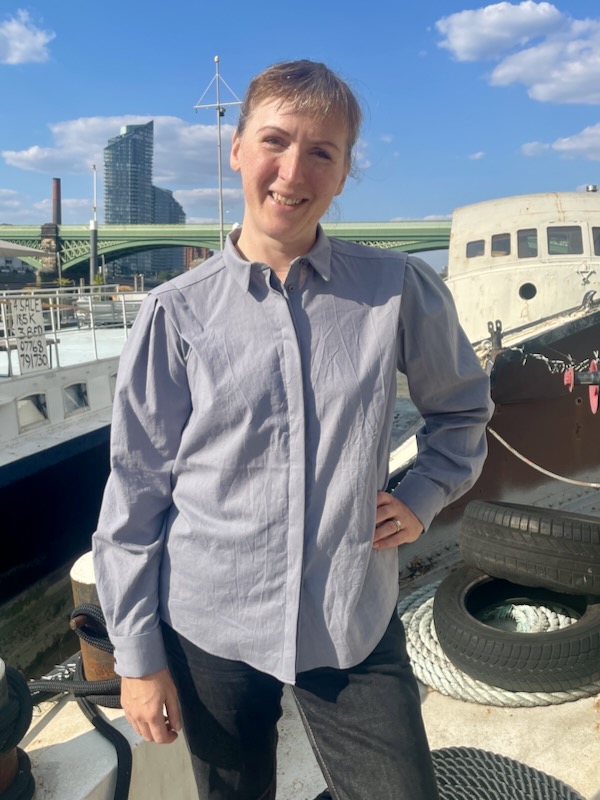
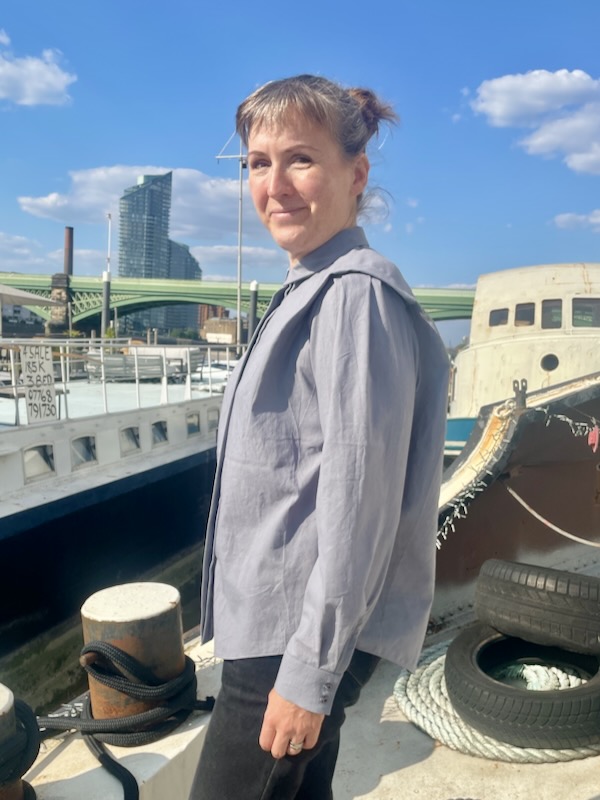
There’s lots of strange little pleat details in this pattern – it took me a while and some head scratching to figure out how to construct the shoulder yoke pleat/topstitching because the instructions are very sparse here, even by Burda standards! But eventually I figured out that they wanted a mountain fold at the marked fold line, then topstitch along the other marked line, and fold the excess fabric on the right side over towards the shoulder/sleeve.
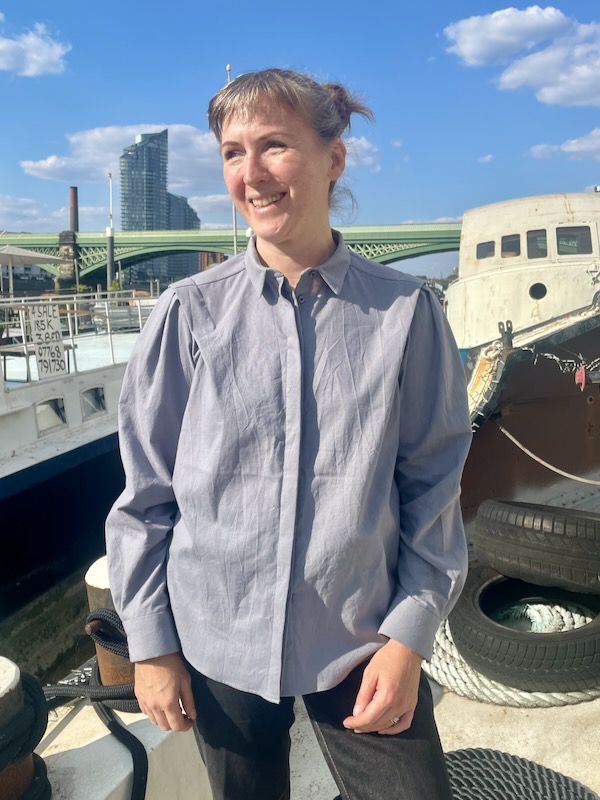
It’s been at least 15-20 years since I last sewed a concealed placket and the instructions were incredibly sparse on the other pattern, too, but I folded a bit and pressed and eventually figured that out too.
Maybe I shouldn’t have lined the yoke and done burrito seams on the construction because it create a fair amount of bulk when I created the shoulder pleats, but I love the look of the little bats inside and it makes me happy. The collar went in without any drama, thankfully – I just ignored Burda’s instructions and used my usual (Named Saraste) method.
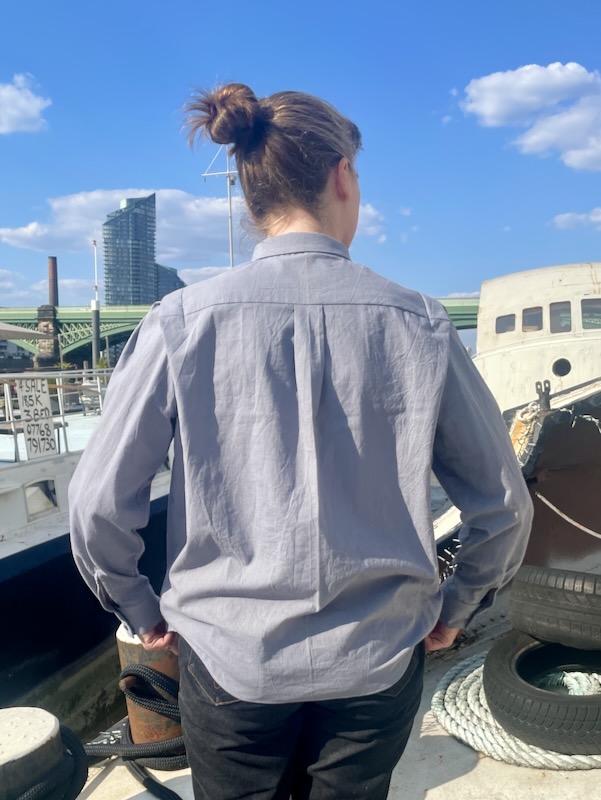
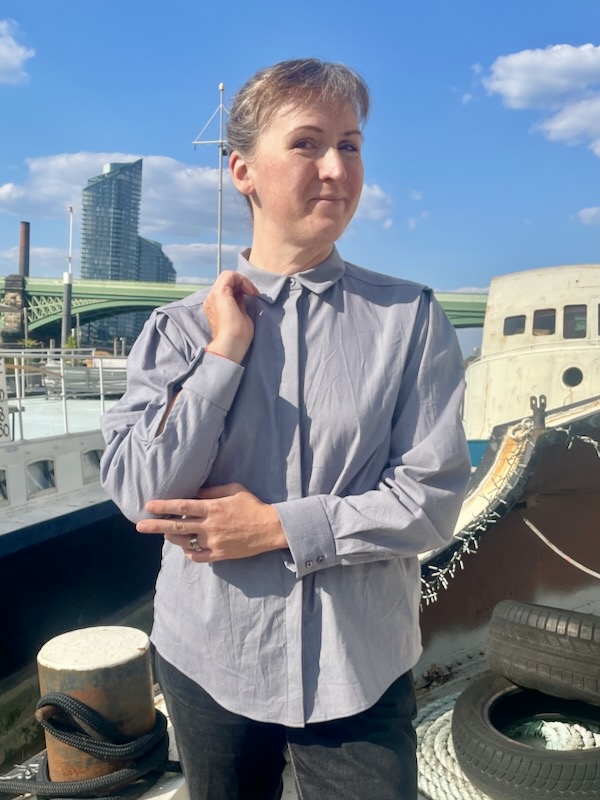
I remembered why I loathe bias-edged sleeve vents – they always look messy no matter what! And the cuff instructions were ludicrously bad – they didn’t even mention anywhere that you need to leave a tab on the back edge for the button underlap! If this was my first shirt cuff I would’ve given up tbh.
Oh and I was incredibly dumb when sewing one of the sleeve seams and I realised after I’d sewed and overlocked it that I’d sewn it wrong sides together!! 😩 So I had a long sitdown, unpicking that overlocking (I would usually just cut it off but I didn’t want one sleeve to be tighter than the other).
The marked “ease” on the sleeve cap should’ve been a major red flag, but since there’s already pleats in the sleeve head, I just added two additional small ones. If I’d sew this again, I’d redraft the entire sleeve to not have any pleats or excess ease. But as it is, the pleats actually look pretty intentional underneath the shoulder pleats.
I used some dark mother of pearl buttons I found in my stash – I have no recollection of buying them but they looked nice with the grey and were roughly the right size, and I had enough for the front placket and the sleeve cuffs. And finally, I finished the hem with a narrow double turn since it’s so curved.
To be honest, I’m not sure how I feel about this style. From the first try-on, it just felt exceptionally “Laura Ingles Wilder meets 1980s” with those shoulder pleats but I figured I’d finish it and wear it a bit to see how I feel about it. Sometimes new styles have to grow on me (like barrel leg trousers, which I now love). And a friend absolutely loves this shirt so if I don’t end up liking it, it’ll still go to a good home.
What do you think? Would you wear this style?