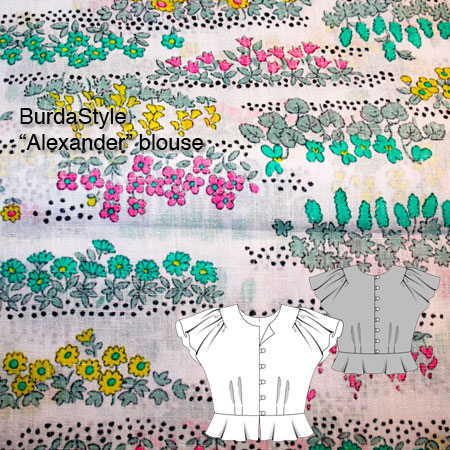
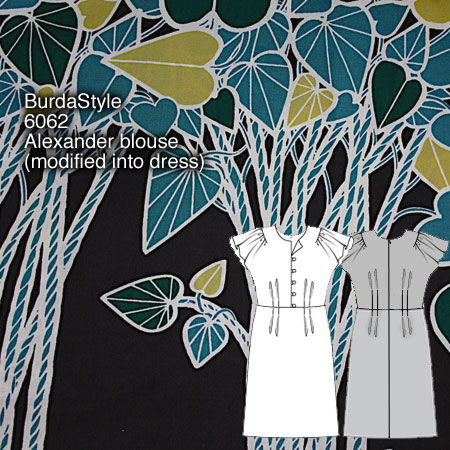
Before I jumped in with both feet in my quest to turn BurdaStyle’s “Alexander” blouse into a dress, I thought it wise to first make the pattern as intended – a cute blouse with flowy, gathered sleeves, front and back buttons, and a vintage-inspired peplum.
I had some vintage flower-print lightweight cotton in my stash that had been in my Granny’s stash for some time and she’d given it to me last time I was over in the States. As it turns out, she’s ill at the moment and in need of some cheering up, so I thought it fitting to send this blouse back to her since she liked the print so much and we’re roughly the same size!
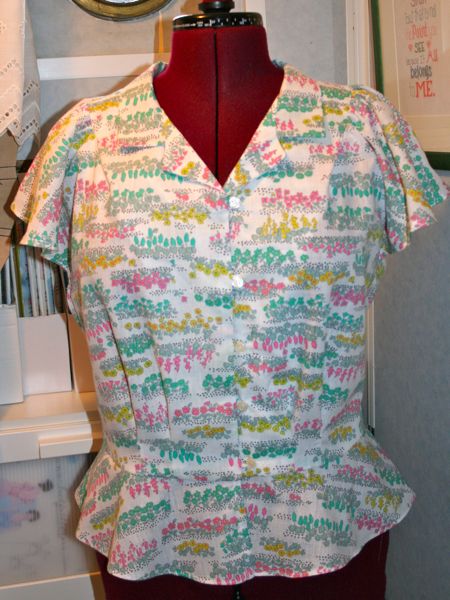

Unfortunately this is one of those patterns that look SO much better on a real person than a dress form, but you’ll see that when we get to the dress!
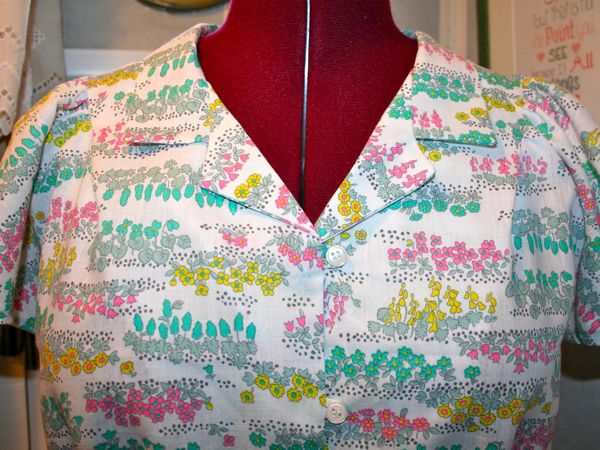
Here’s a view of the collar , which I altered using Gertie’s “drafting a convertible collar” tutorial. This was a super easy way of lowering the quite high collar and adding a little something extra to the neckline:
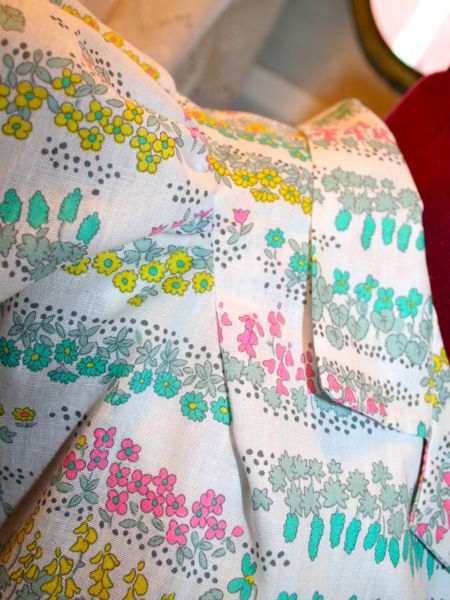
Here’s a peek at the button loops and pleats (which are sewn from the inside and pressed to one side):

I really love all the gathers at the shoulders – you get a nice fitted line at the neckline and a cute line of gathers at the outer shoulder/sleeve, and there’s no shoulder seam for the outer gathered areas which cuts down on bulk for lightweight fabrics, too:
One problem with the lack of a shoulder seam, though, is that when you combine the front and back pattern pieces at the shoulder, either the front or the back is forced slightly off-grain.
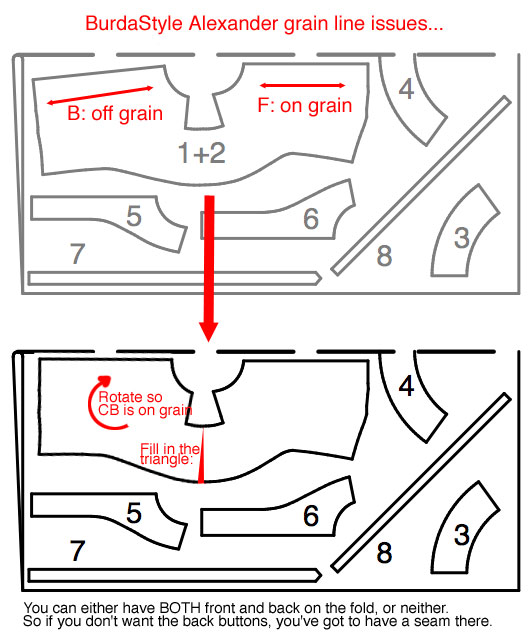
After playing with the pieces for a while on our big table (using the table edge as a great visual cue for the straight grain!) and getting input from Neighbour Helen, I decided to keep both front and back on grain, and in order to do this and eliminate the shoulder seam, I had to add a thin triangle into the shoulder seam area. All in all, a ridiculously easy fix that took about 30 second to achieve! And with all the volume in the sleeve anyway, another centimeter or so isn’t really here nor there.
So to recap, the changes I made here are…
- I fixed the grainline issues above
- I added a convertible collar
- I omitted the back buttons and made the centre back a seam (annoyingly, there’s no room to make the back on the fold and keep the front buttons with their seam allowances, because I played with the pieces quite a bit trying to do that, too!)
- I put 5 buttons on the front instead of 6 (because that’s what I had)
- I made much narrower button loops than called for
- I cut off the large vertical portions of the back facing since I wasn’t having a back buttoned opening (so my facing was just curved around the neck edge)
- I used a very narrow hem on the curved sleeves and peplum edge by pressing about 1/4” over, stitching very close to the folded edge, trimming the seam allowances off, then pressing the edge over again and edgestitching. Yes, it takes longer than just folding the edge under twice, but you get a nicer finish, and my ^&$% rolled hem foot never, ever works and just makes me frustrated!
Changes to make going forward into a dress:
- Decrease the facing widths by 3cm as they’re pretty freakin’ wide
- Shorten the waist by 5cm at the designated lines to bring the waist seam up to my natural waist
- Stitch the back pleats 10cm higher to create a slimmer back waistline
- Leave off the collar as that’s just how I roll
- Use an invisible zipper in the centre back seam and leave the centre front buttons just as decoration
- Leave off the peplum as peplum AND pleated skirt is a bit to much for me
I made the above changes, sewed up, and wore the Alexander dress to the amazing BurdaStyle London event last night, so stay tuned for photos and a rundown of the fantastic, lovely, incredible people I met there as well as a bunch of birthday book reviews!