While I’ve been showing you all sorts of books and magazine reviews and drafting up free bag patterns for you, what’s been going on in the sewing room, I hear you ask! Well, I set aside April and May to sew my two bridesmaids dresses, and after a long muslin period, I’ve been getting stuck in with the most time consuming portion of the dresses first – the pleated, silk satin (charmeuse) waistband/cummerbunds.
If you recall, I’m sewing the Gant exclusive design dress from the 09/08 Burda magazine:

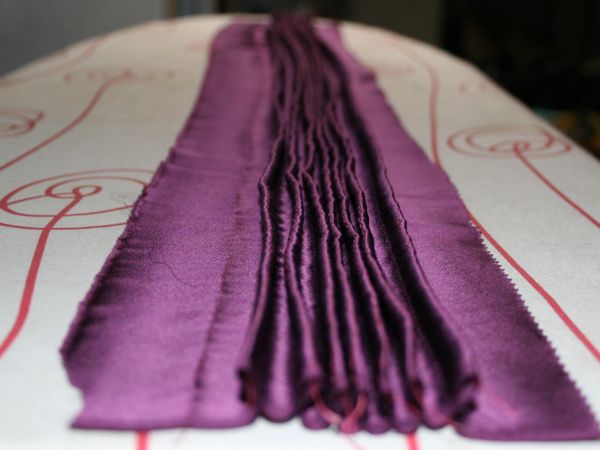
The fabrics were bought over a year ago, so I fished out the bag and got to work on the reeeeeeeally long pleated sections using Burda’s magazine instructions (which are surprisingly helpful) and a bit of info from my The Art of Manipulating Fabric book (thanks, Cindy!). These are knife pleats, one centimeter apart, and Burda called for seven pleats down the band, but after my test piece, it looked a bit sparse at the top and bottom edges, so I decided to go for eight pleats in the final versions.
So in order to help any of you attempting this on your own (and sadly, a Perfect Pleater is way too narrow to help me here), or those of you wondering why professional designers outsource their pleating to professional firms, here’s what’s involved…
How to pleat
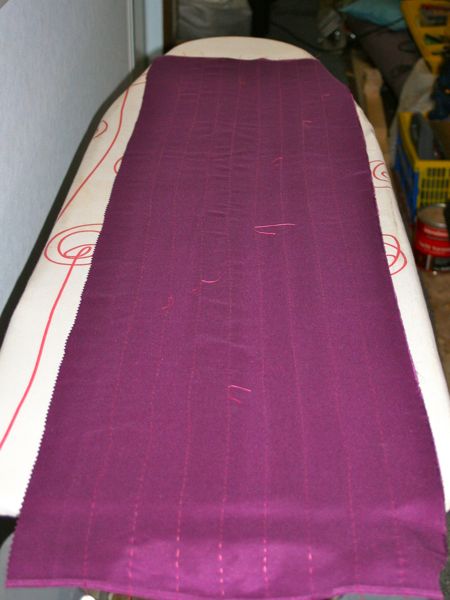
Step 1 – On the reverse of the fabric to be pleated, mark chalk lines exactly 3cm apart, one for every “mountain” pleat.
Step 2 – Using silk thread, hand baste along each of these lines so they can be seen on the right side of the fabric.
This was the boring bit! It’s really tedious, the chalk disappears by the time you’ve done a couple of rows (so you’ve got to squint in natural light or re-measure and re-chalk every few lines), and I couldn’t even have a cup of tea or pet the cat for fearing of marring the silk!
Since I didn’t want the pleats to be interrupted at the side seams, I made my pleated sections long enough to go the whole way around the girls. And since I was pleating that long anyway, I decided to do the whole width of the fabric so I could pick the best section for the dresses.
That’s 2 cummerbunds x 8 “mountains” each x over a metre in length = yes, I hand basted well over 16m in the last fortnight!
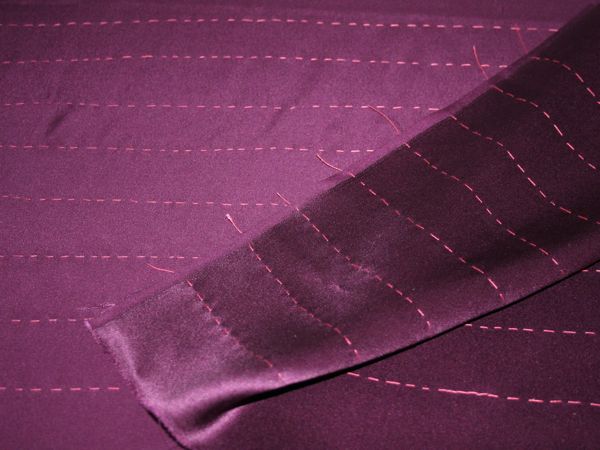
Step 3 – Working from the right side, press a fold into each of the basting lines, except for the top one
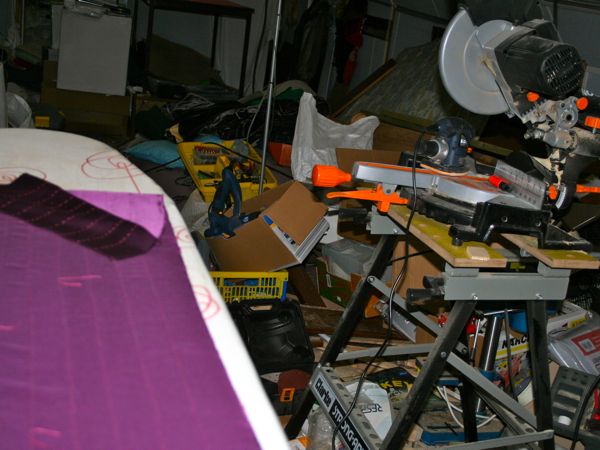
(As an aside, have a look at the conditions I’m dealing with here in keeping my silk satin pristine! Every time I press, I’ve got to get out the canned air to clean sawdust off the iron, board, and wall!!)
Step 4 – Fold back each “mountain” pleat and baste 1cm away from the fold to create the “valleys”. Burda wanted me to hand baste this, too, but the sewing machine is SO much more accurate (especially with a post-it stuck there to show me the 1cm mark!), and most of these “valleys” can stay in anyway since they’re hidden.
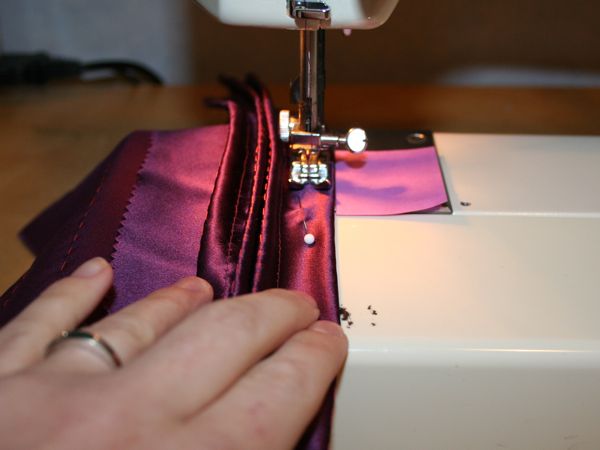
Do not sew the “valley” of the top pleat, as this would show on the finished pleating. Press all the pleats down, making sure the layers are pulled taut (they like to squeeze together!)
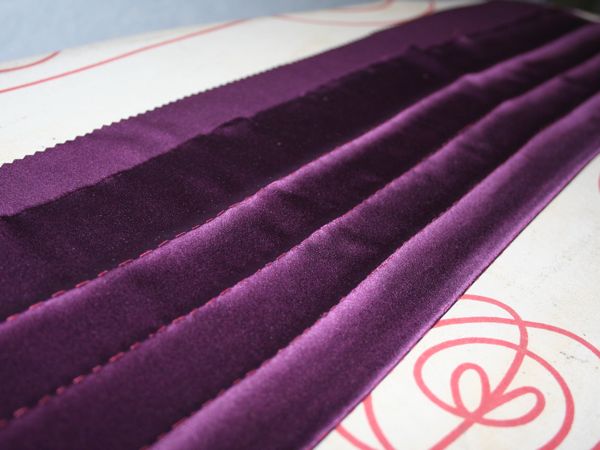
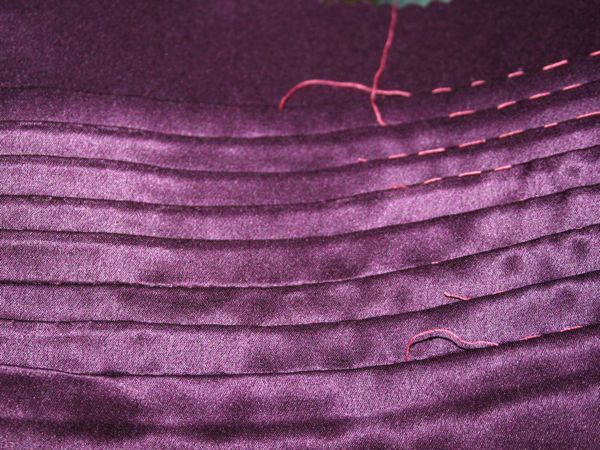
Step 5 – Fold the top “mountain” over so it covers the “valley” stitching of the 2nd one, and press well.

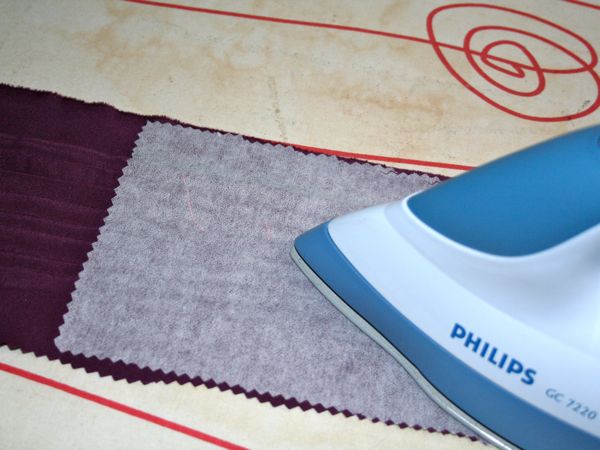
Step 5 – Fuse lightweight interfacing onto the reverse of the pleating, fixing them all in place. I’m a big fan of Vilene H180 for this sort of “keeping stuff together but not adding stiffness” fusing (as you may remember from my Patrones duffle coat).
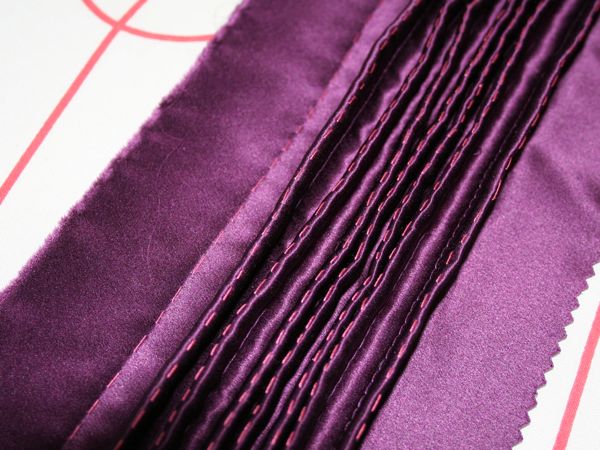
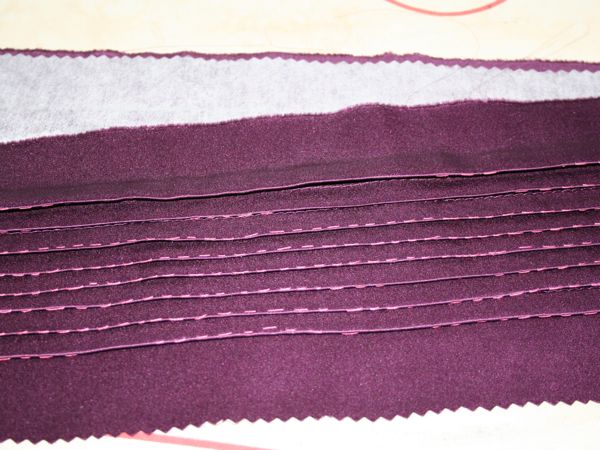
On the correct side, it should be looking pretty good, though I’ve got a few places where my “valley” stitching is peeking through, so I’ve got to go back and remove those.
Step 6 – Remove all the hand basting from the “mountains”. This is where you’ll thank yourself for using silk basting thread, because you can snip it about once a foot and the rest will pull out really easily. Mmmm.
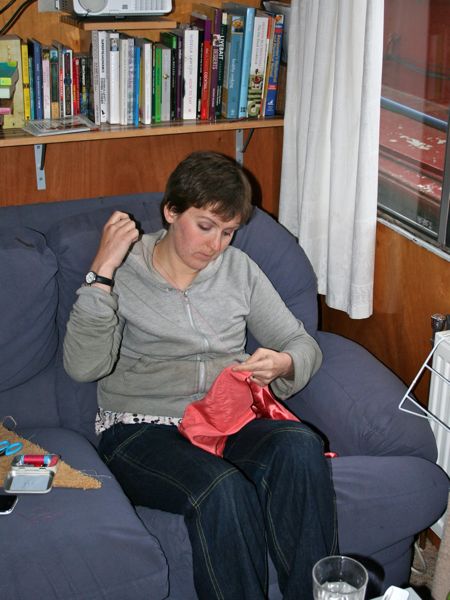
Sadly, I don’t have a finished photo of these cummerbunds, but honest, I did finish both this weekend! Or rather, I finished G’s peachy/salmony band this morning in the hospital waiting room as I created a small nest of pink silk thread from my unpicking.
So now with the tedious, meticulous, repetitive stuff out of the way, it’s time for the fun silk jersey and overlocking part! Hoorah!