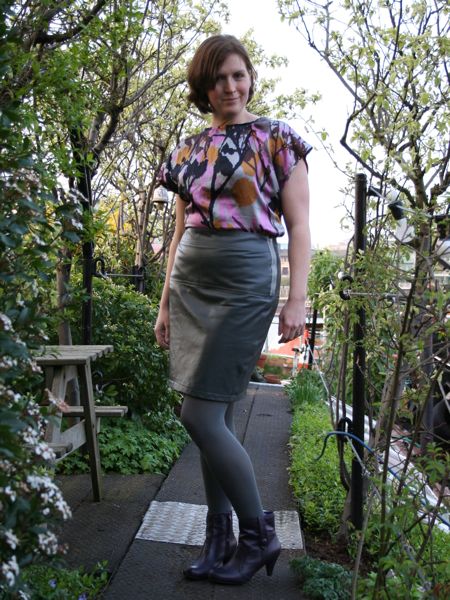
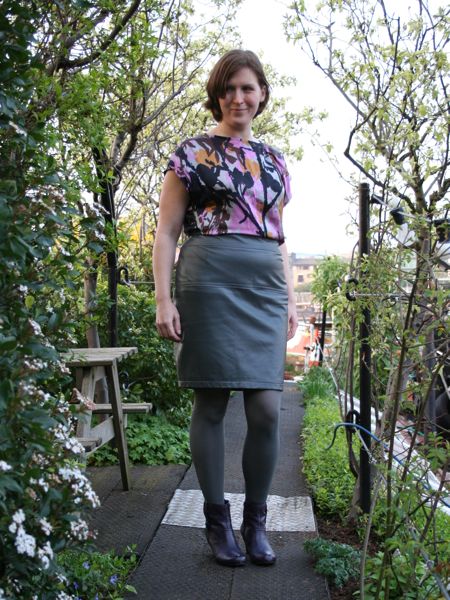
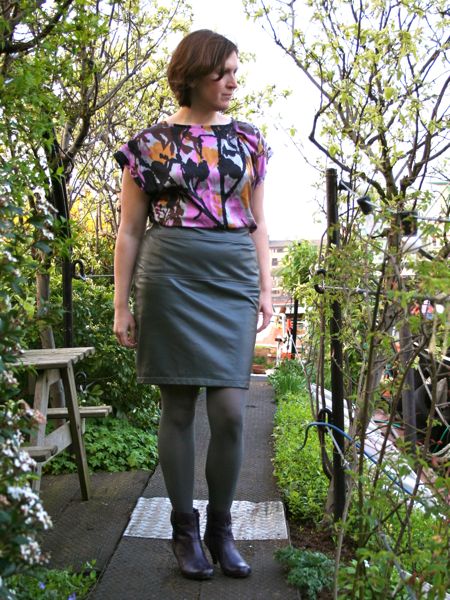
I’ve now finished the fourth garment in my March Mini Wardrobe plans and I think you’re going to love it as much as I do!
I bought some utterly luscious grey leather when I was in New York in September, and I’d thought about a few different patterns (even going so far as muslining one I never showed you), but I finally settled on the long, slim pencil skirt from the August 2010 Burda magazine (#128).
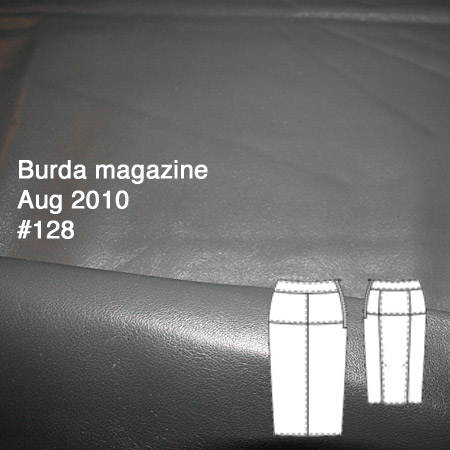
Since we’re talking about leather here and you cannot unpick any stitches once they’re sewn, I made a muslin, which revealed a few minor fitting issues which needed fixing in the final skirt. Other than that, I shortened the length to make it above the knee (which also eliminated the back vent) and removed the centre front seam to improve the look.
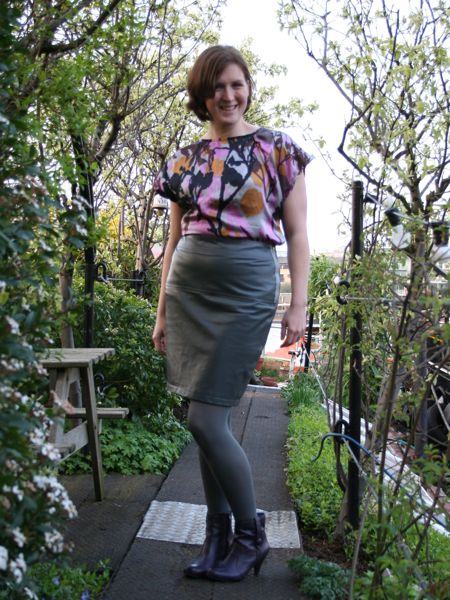
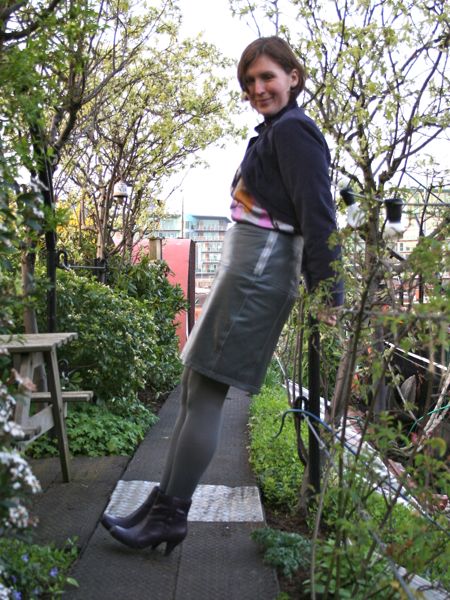
…worn with my Manequim silk blouse!
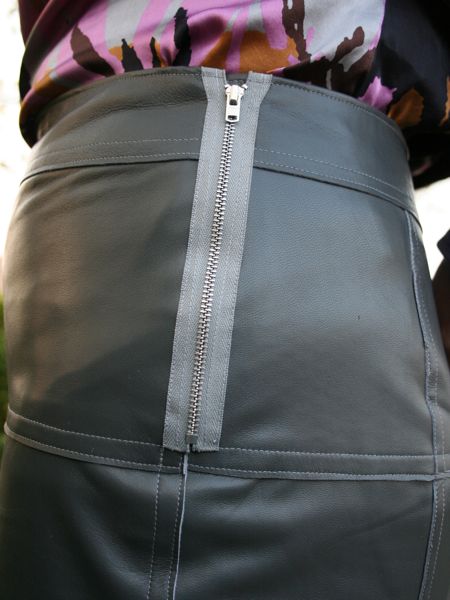
Luckily, this Burda pattern called for lapped seams (perfect for leather!), so I took a few ideas from their instructions and lapped mine as well. Rather than confuse myself later, I chose to cut all my leather pieces using my muslin, so seam allowances were included everywhere, and only trim away the top piece’s seam allowance when I was ready to sew. I then edgestitched the top piece, and then about 1/4” away to make a nice, sturdy seam.
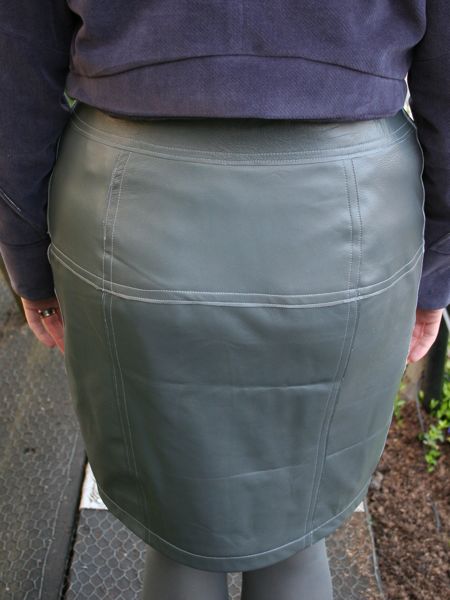
In general, I opted to favour the top and centre pieces when lapping the seams, so the waistband is lapped over the yoke, which is lapped over the lower skirt (and in the back, the central yoke and skirt pieces are lapped over the side pieces).
It wasn’t the easiest to sew accurately, seeing as how I couldn’t pin it, and my usual leather trick of using plastic “prawn” clips from men’s shirts wouldn’t work, either! But a bit of chalk on my seamlines did help to keep me on track, especially on those curved back seams.
You’d think looking at all the things I’ve sewn before that I wouldn’t still be coming across new techniques, but this is actually the first time I’ve ever sewn an exposed zipper!
I wasn’t quite sure how it’d work with a lapped seam, so I sat down with some scrap leather and had a bit of a play and figured out how I’d do it before trying the real one. Luckily I could use pins here since the zipper tape covers my few excess pin holes.

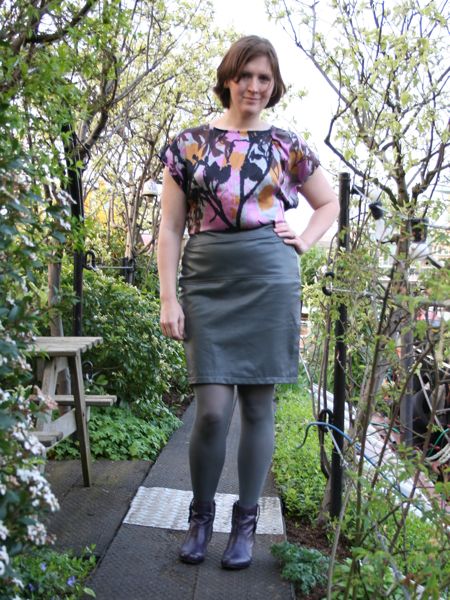
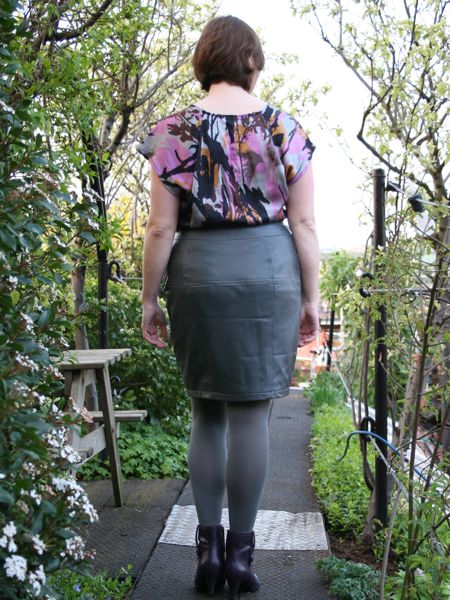
Here’s the back view, with those nicely curved panels over my bum!
Since this is part of a wardrobe, I thought I’d show you how it looks with my velvety MyImage bolero jacket, too! (I didn’t quite stretch to running inside to change into my blue ASOS top, sorry! You’ll just have to imagine that this skirt looks good a bit more casual, too)

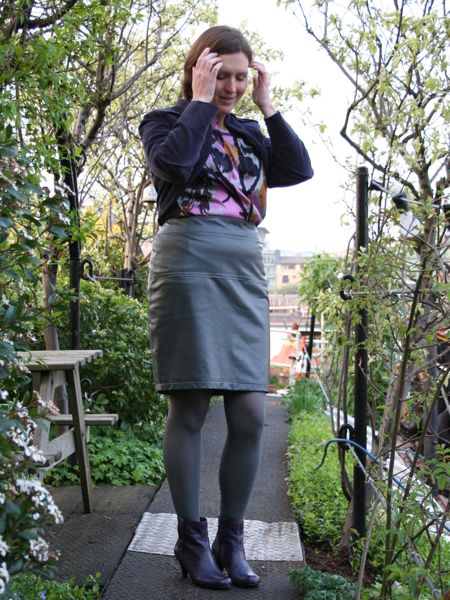
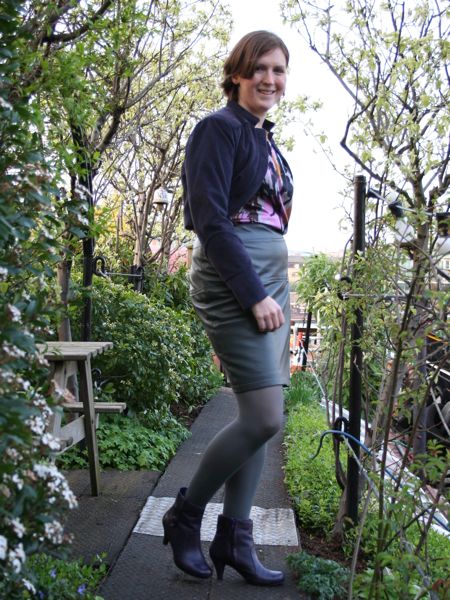
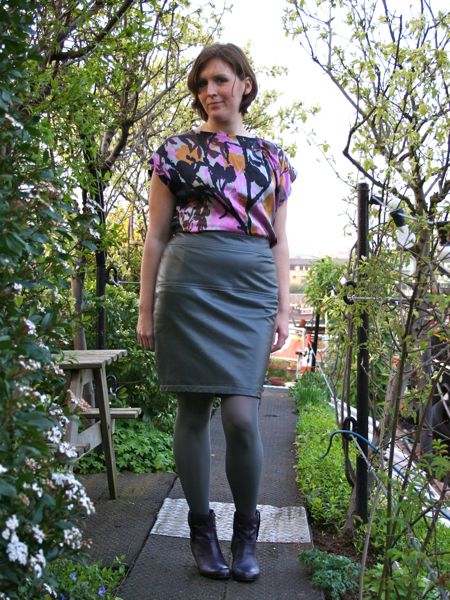
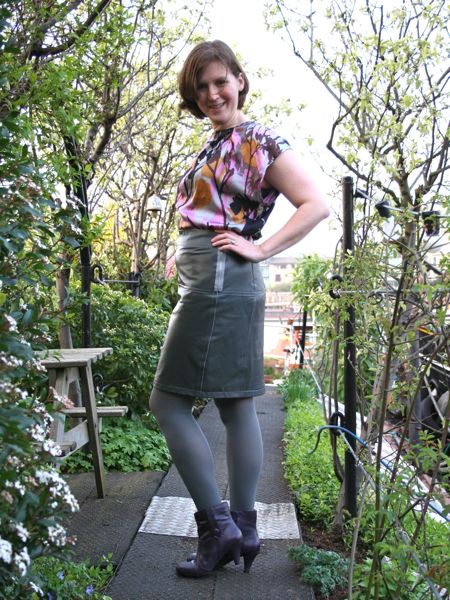
I thought I’d try and copy that Burda magazine pose while I was at it!

(Trena, this one’s for you! I still remember your Burda jumper jumping escapades!)
The leather is just so buttery soft, and the suede interior side just feels like lush minkee fur, but I still wanted a lining to prevent it sloughing off onto my tights. So I finally got to use up the last of that pale blue lining fabric I also used in my grey wool skirt and cropped jacket last year…
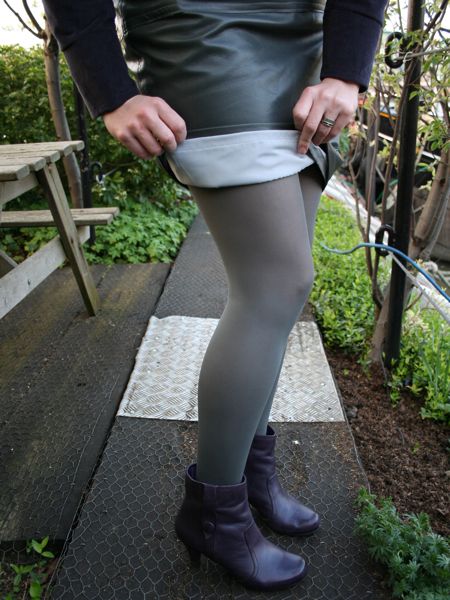
The lining is attached only at the top of the waistband and handstitched around the zipper opening. Like most skirts, I just left the bottom edge hang free and independently of the outside hem.
As this is the fourth sewn item in March Mini Wardrobemy March mini wardrobe, I’ll be doing a roundup post for my entry in the PR contest, but I’m still planing on going beyond their contest (in terms of the time limit and garment limit!) and making the KnipMode seamed trousers, too.