A few months ago, I went and sewed up the Clover trouser pattern for the first time, in dark green sateen. Having fixed the zipper (my own mistake), I realised that I love the great fit of these trousers, but they’d be even better with traditional pockets and a front fly more like jeans… in fact, I’d actually just like some Clover jeans.
So that’s exactly what I did!
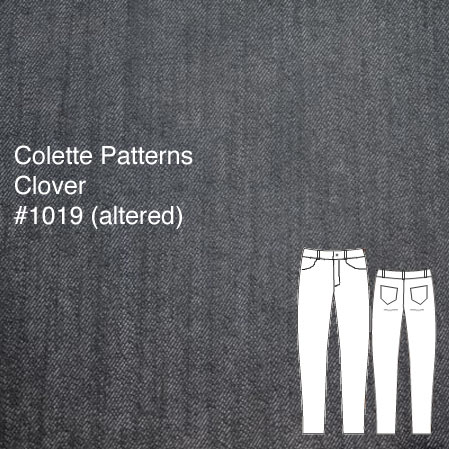
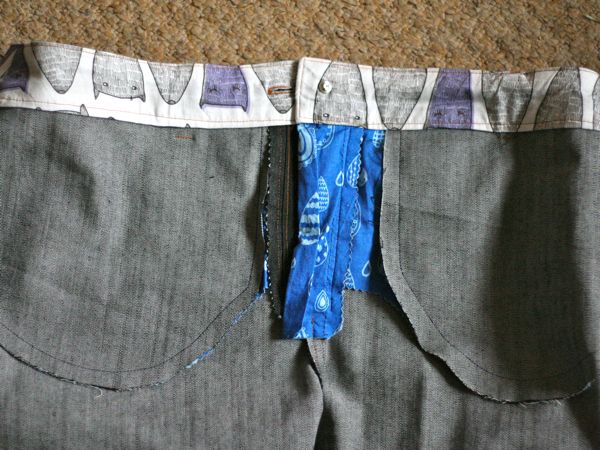
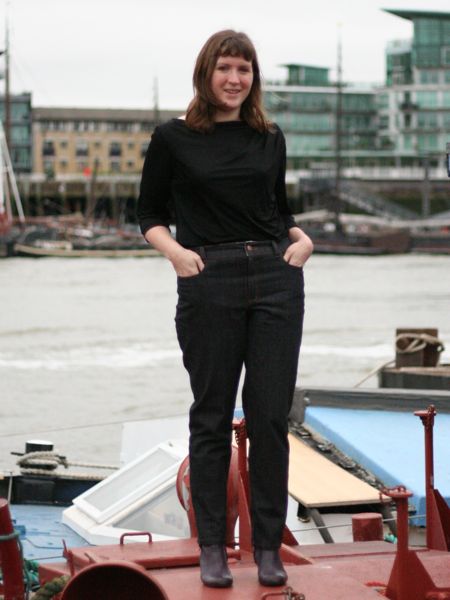
I first altered the pattern to create the front pockets (and I extended the pocket lining piece to the centre front to make a “gut slimming” panel), add a fly-front, and extend front waistband to match the fly underlap. I also added back pockets and belt loops off another jeans pattern. I didn’t bother to draft a back yoke as I actually prefer the look of jeans without them, and the back darts just disappear into the pockets anyway.

This stretch denim is ex-designer from Ditto Fabrics and it’s the exact same stuff I used in these designer jeans (I loved it so much I bought more). The pocket linings and waistband facings are fun Spoonflower cotton prints – Rainy Day Doodles for the pocket linings and fly underlap, and foxes for the inner waistband (the latter by my mate Galia!).
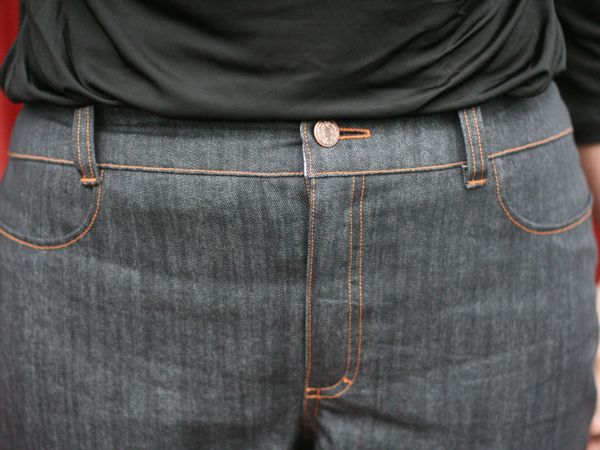
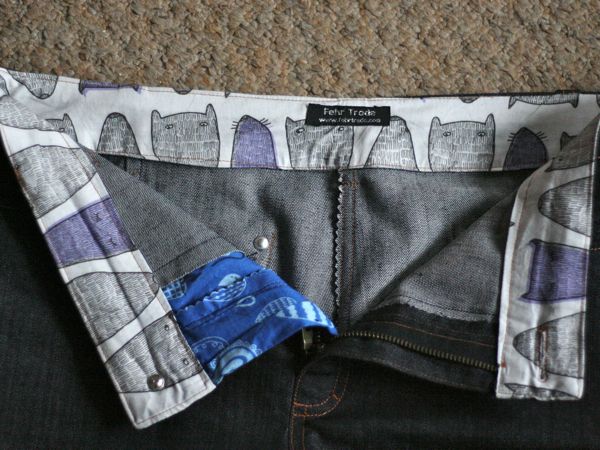

As per usual, I topstitched with bronze Gutermann upholstery thread (not “topstitching” thread!!) using my vintage handcrank Singer, because it is the best machine EVER for topstitching. And I used my awesome vintage buttonholer attachment to make the keyhole buttonhole, too. (Seriously, I linked to a LOAD of jeans-sewing information back in this post if you’re hungry for more)


I used the same metal zipper with pull from Walthamstow market I used on my Jalie jeans, plus an all-metal button (no plastic shank here!) and rivets from Junior. You can read my earlier tutorial on installing jeans rivets here.
K-Line was musing recently on how to topstitch jeans leg seams without everything bunching up in the machine, and my answer to her was to throw away the pattern instructions that say to insert one leg into the other and sew the crotch as the last step. I always sew my trousers in Fashion-Incubator’s “Order for sewing pants” (Sew the CF, then CB seams, then the inseam, then the outer leg seams, and finally attach the waistband) – it means you topstitch the inseam while everything’s nice and flat. In any case, I thought it was a good question and one that I’m sure others are wondering, too.
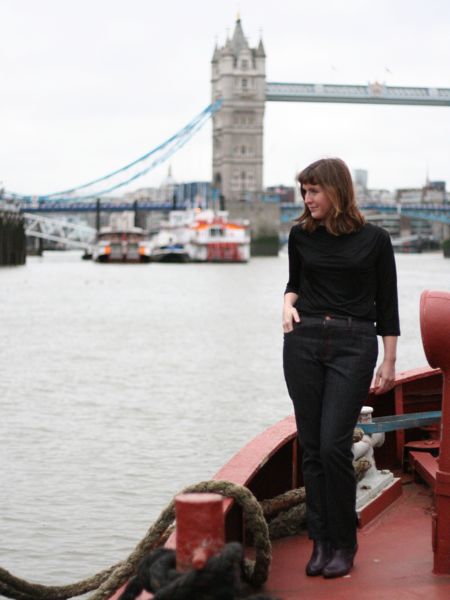
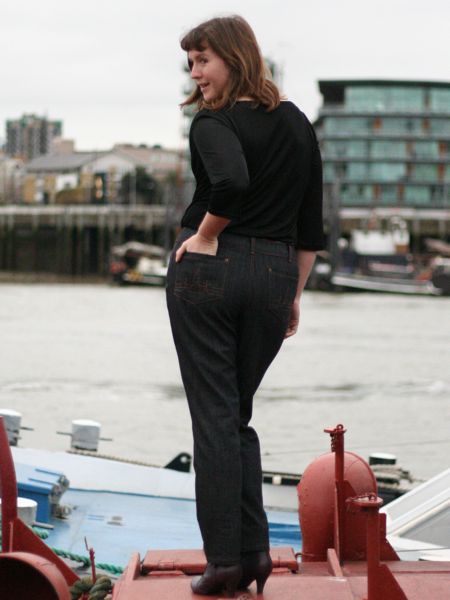
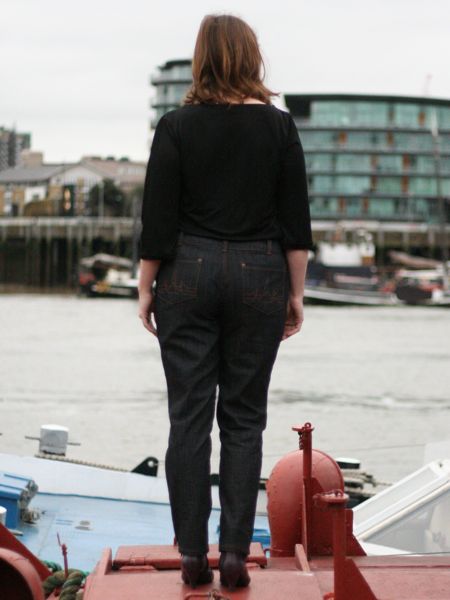
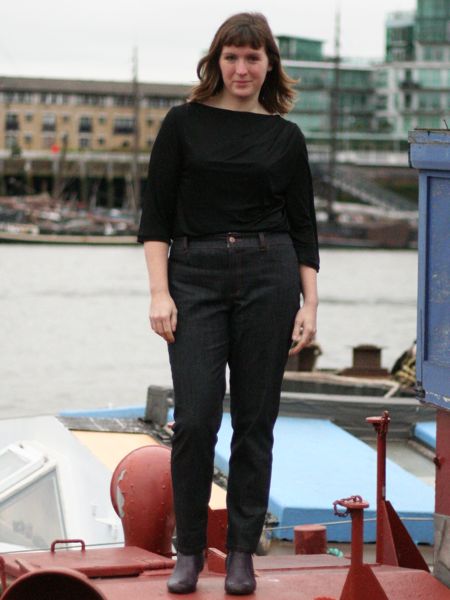
I’m not sure entirely why (maybe the denim is stretchier?) but the fit on these is a bit looser than my previous dark green staeen pair. You can definitely see this in the back of my thighs, but they’re also a bit loose around my waist, and around my hips when I sit. I don’t think I’ve lost that much weight, anyway, so it’s probably just an increased Lycra content in this fabric.
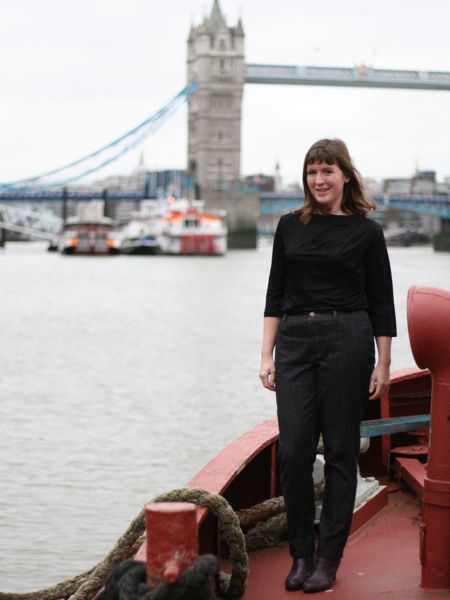
Oh, and about the black shirt in these photos – that could be an entire post unto itself, but the short version is that it’s a self-drafted, lined silk jersey top made as part of an assembly line back in 2009. It was a journey of self-discovery wherein I discovered that sewing the same item multiple times bores me to tears and that’s why I only just did the hems on this one a few weeks ago. The other 4 still just need hemming, but I don’t know if I can be bothered to sell them after all this. Family, you may get presents…
One last photo for you, since it amused me so much to get attention from the London fire bridgade boat!
