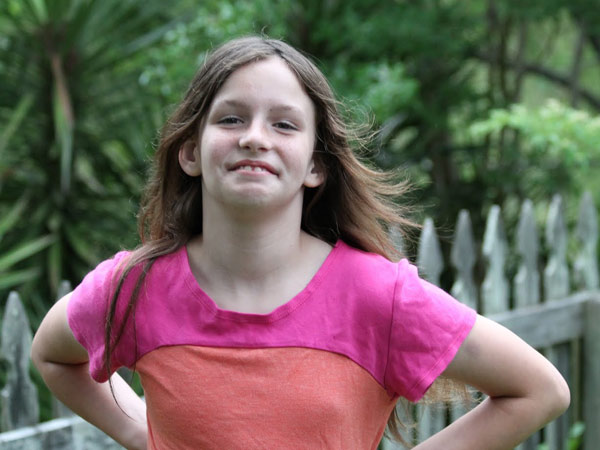
I’ve got so many finished garments to show you this week, and I thought I’d start with one that I actually made back in February (while I was in a drug-addled shingles haze of pain). This top was a gift for my niece, from the Young Image SS2013 magazine.
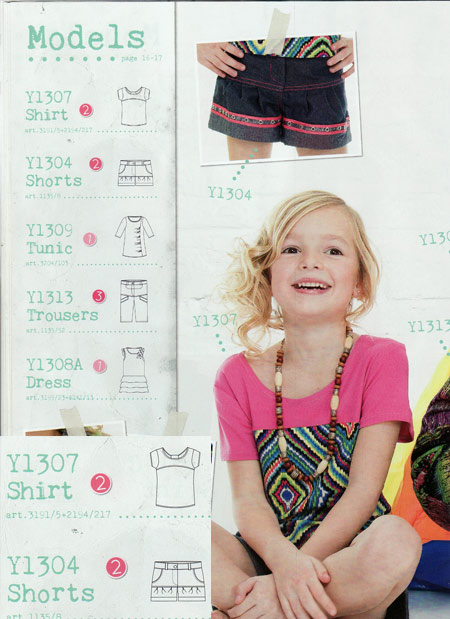
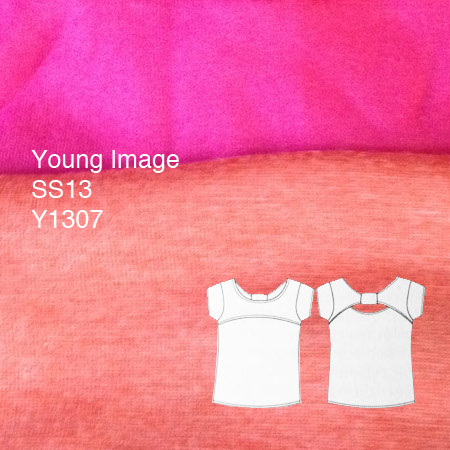
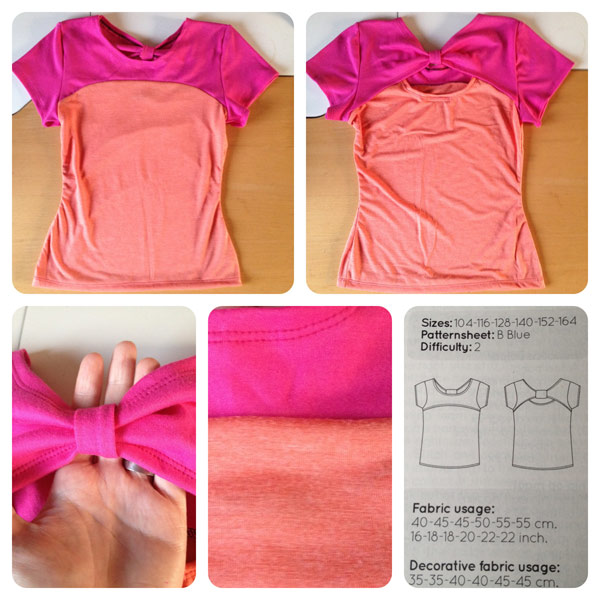
I loved it as soon as I got this issue, and I went and traced and sewed it right away! The front has got a subtly curved yoke seam, but the back is where all the action is – a double layer with a tied yoke! It’s kinda hard to tell in the magazine photos though, because they don’t show the back at all, even though it’s the standout feature of this pattern!
I made size 164 and lengthened it as everyone says she’s so tall and thin, but those were the only changes. The only thing I’d change in future is to remove a ton of ease from the sleeve cap – there’s way too much in there, arrgh! Jersey tops really don’t need any ease at all, let alone several inches!
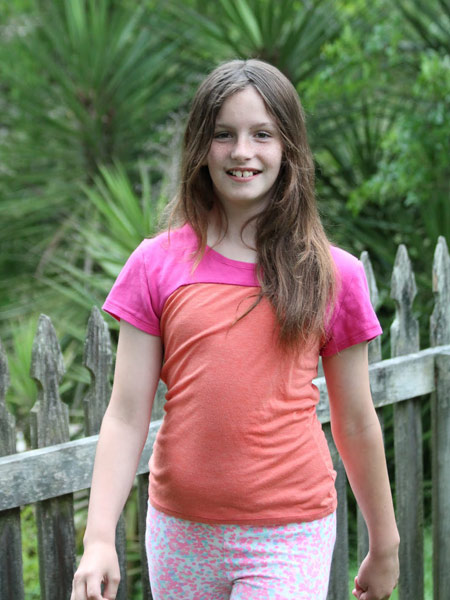

So even though I made this back in February, I had to hold onto it until I visited her in Baltimore in April. The shirt was a big hit, but I didn’t want to impose a photoshoot on the kids there and then, so my dad took these back in Virginia, and they only just came through a week or two ago. Thanks Dad!

I love that this used up scraps from my stash, too – here I used a viscose lyrca jersey in an “orange sherbert” colour on the bottom, and a fuchsia cotton interlock for the top and sleeves.
My Image/Young Image magazine provides instructions in four different languages, but I usually like to go about things my own way anyway. It’s a nice mental puzzle, and it means everything’s finished easily!
My order of construction
- Attach upper front to lower front
- Bind lower edge of upper back piece
- Bind neck edge of lower back piece
- Bind neck edge of front
- Bind neck edge of upper back
- Sew shoulder seams through all 3 layers (“burrito” method!)
- Baste underarm seams
- Bind underarm seams (if using sleeves, sew sleeves to armscye)
- Sew side seams
- Sew long edges of loop together & flip right side out
- Loop around CB of upper back and stitch closed (though you may want to hand stitch to keep the seam hidden at the back)
- Coverstitch the hem (& coverstitch sleeve hems if using sleeves)

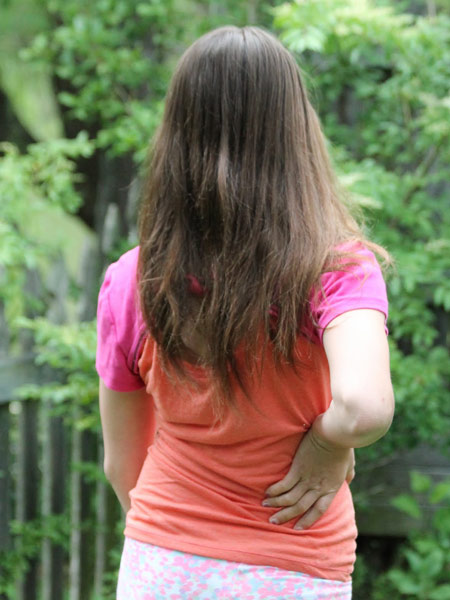
Yes, it appears we’re as bad as the magazine – that back detail is destined never to be shown on a human! ha!
I loved this design so much that I modified my knit sloper to make a disco running version of this for myself, too!
My nephew’s photoshoot has been delayed for a few weeks, but I’ll share his top with him once I’ve got the photos! And later this week I’ve got no less than three tops for me to show you, too!