While I was ill, I found myself mostly working on two in-depth projects – both of which were navy blue jackets for some strange reason! You’ve already seen my wool lumberjacket but I also made myself another StyleArc Steffi jacket pattern, too.
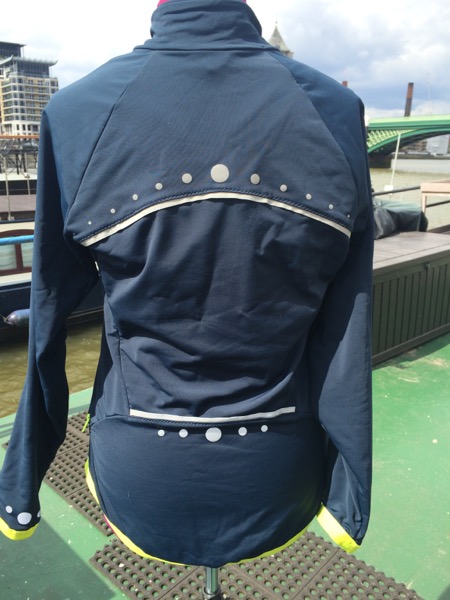
Some of you may recall that I made this a pattern few years ago and sewed some twinkling LEDs into the back of it! At the time, there were a bunch of problems in the instructions (as well as an inadequate seam allowance in one spot, too) so I let StyleArc know about them, and they corrected them, and posted me the corrected version along with another pattern of my choice. Which is freaking awesome customer service if you ask me! I’m pleased to report that the corrected version of the pattern is much, much better. There’s still a major step missing (if I recall, it’s one of the vertical body seams), but everything else is better so it wasn’t quite as frustrating to sew this time around.
But this isn’t my best work, not by a long shot – I made this when I was feeling really bad and couldn’t sit up for more than 10min at a time, and felt like a zombie for weeks on end. But it’s nice enough for a functional cycling jacket when the weather is warmer, and possibly for winter running, too, though I’ve missed that almost entirely this year. Boo.
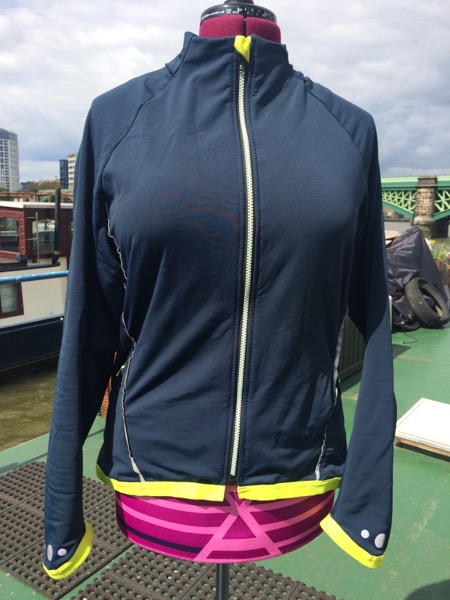
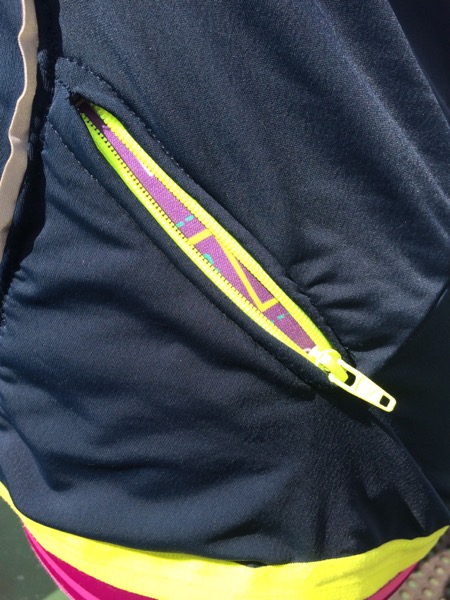
The main fabric here is some off-cut stuff from my Sweaty Betty industry friend – it’s navy lycra on the outside and super soft brushed fleece on this inside. At the time I received it, I’d never seen anything quite like it, but as it’s been maturing in my stash, the FunkiFabrics thermo range has since been released, and I can tell you that it’s really similar. So if you’re after a fabric that’s both stretchy and warm for a jacket like this, I’d definitely recommend the thermo. The pocket linings and zip shield use offcuts of Laurie King X Fehr Trade Spoonflower fabrics from my zigzag XYT Workout Top, and the two neon yellow pocket zips I bought off eBay.