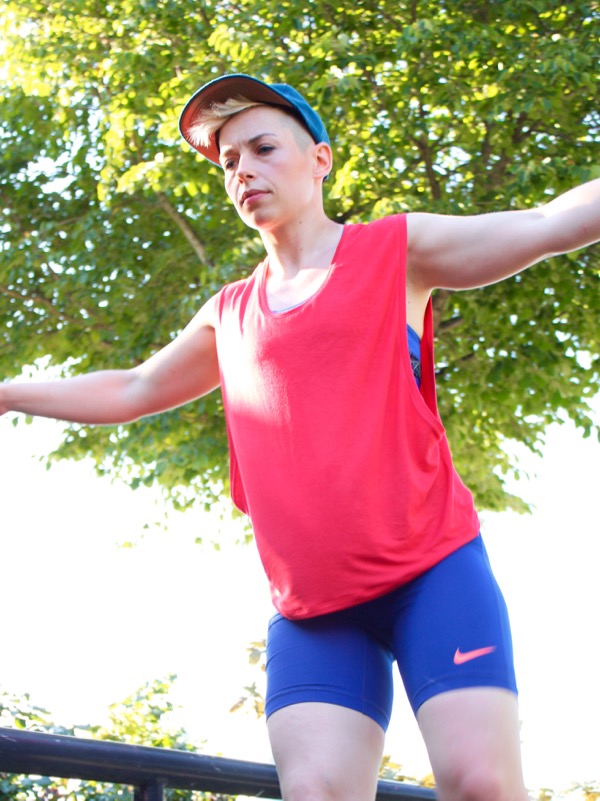
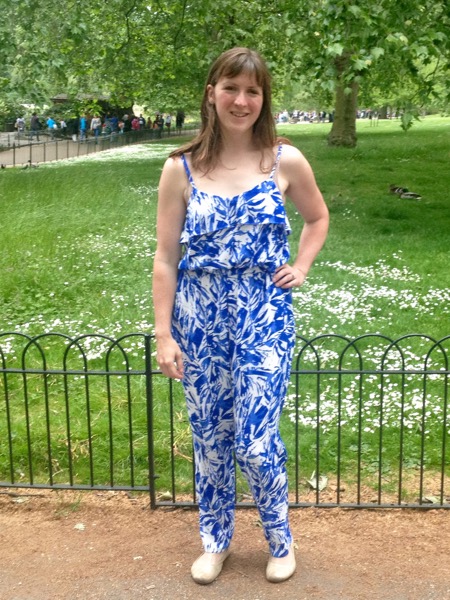
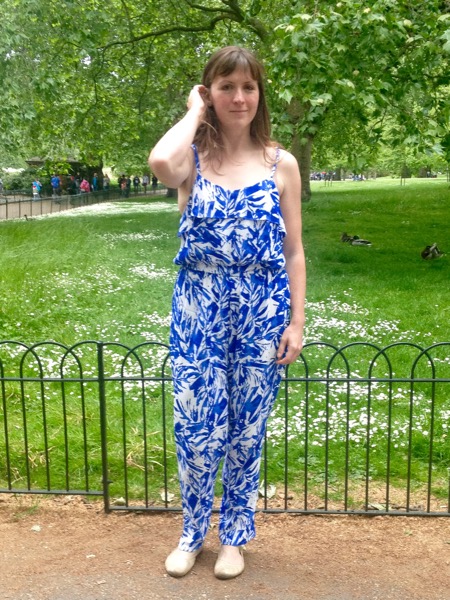
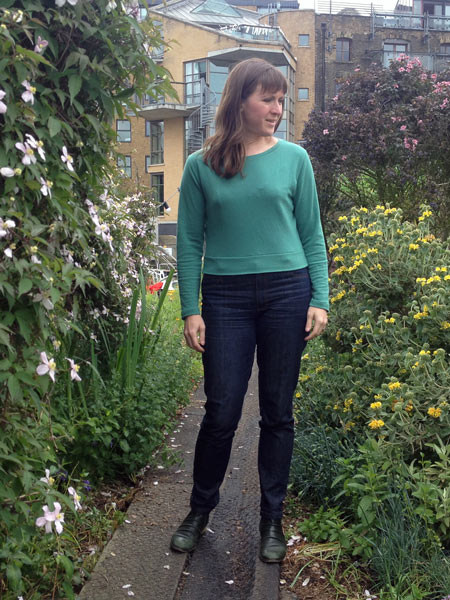
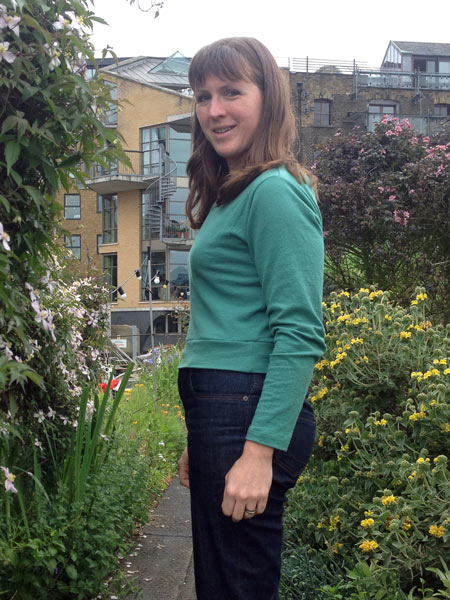
Posting was a bit light around here in September, but not intentionally so. Coming back from Argentina immediately into building work (which pretty much occupied every morning, most Fridays, and some evenings too) and being away every single weekend in September just left me flattened. A month on and I’m still exhausted, and frankly, trying to figure out if I’m ill, or if it’s diet-related, or just a really slow recovery from international competition.
So I must apologise to all the people out there who are waiting on emails from me – when I’m too tired to sit up, I don’t tend to open my laptop to write out proper replies, let along blog posts (this one has taken me about 4-5 sessions spread out over a week to write). But I did manage to get all the Sewing Indie Month posts together that I needed to, and I wanted to gather them together along with a bunch of other bits and pieces you may have missed if you’re not following me on Twitter or Instagram.
Imagine Gnats Wrap-style Bess top Tutorial
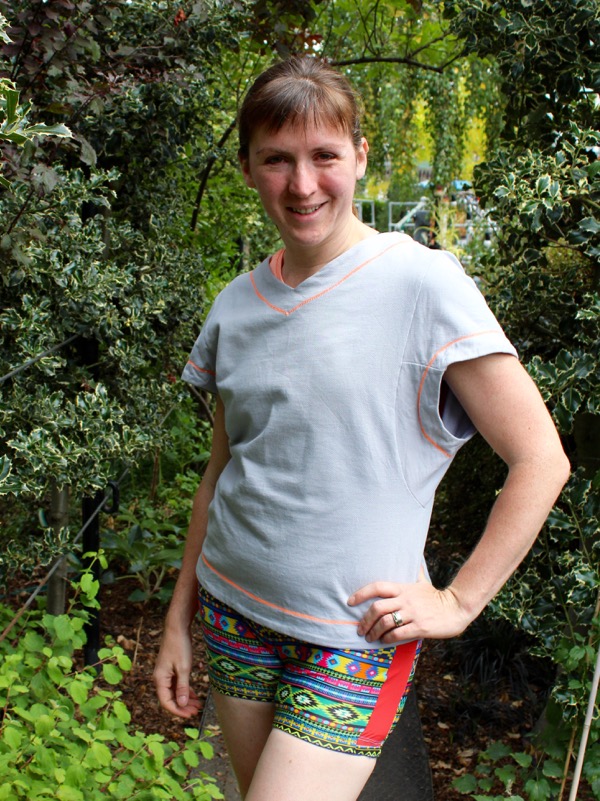
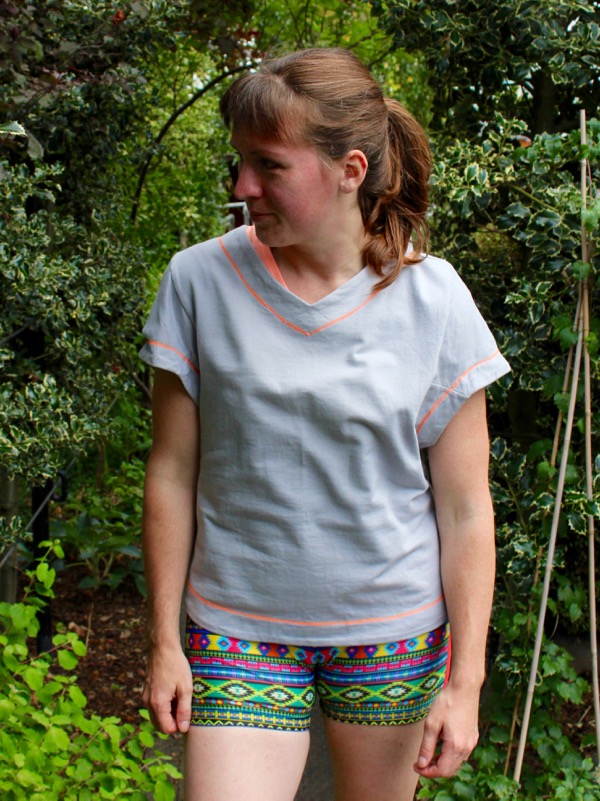
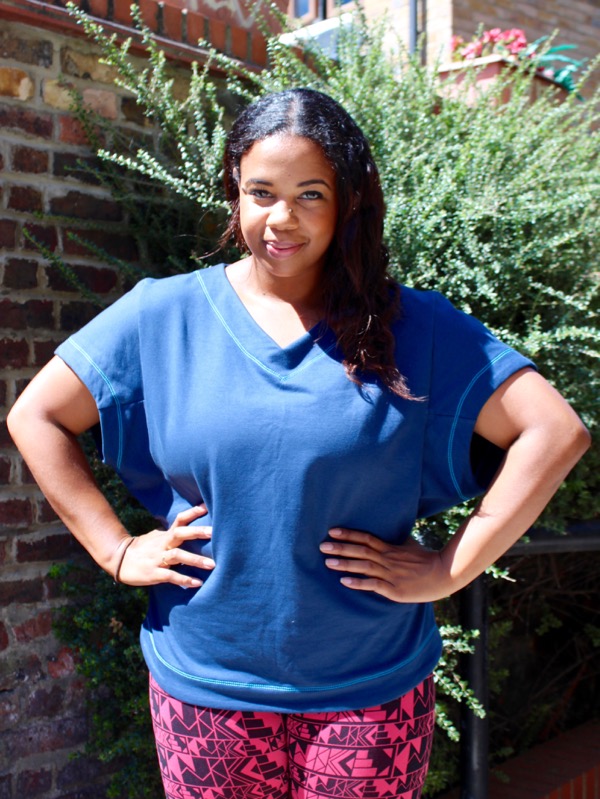
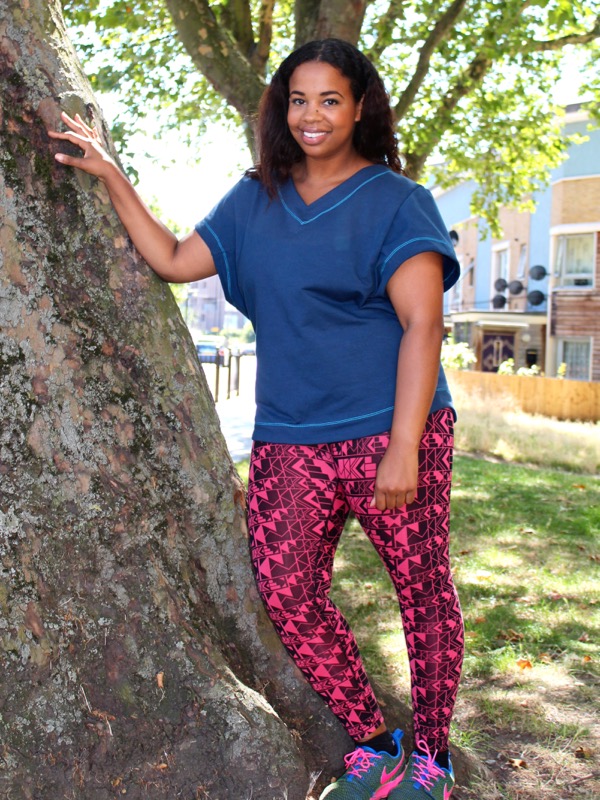
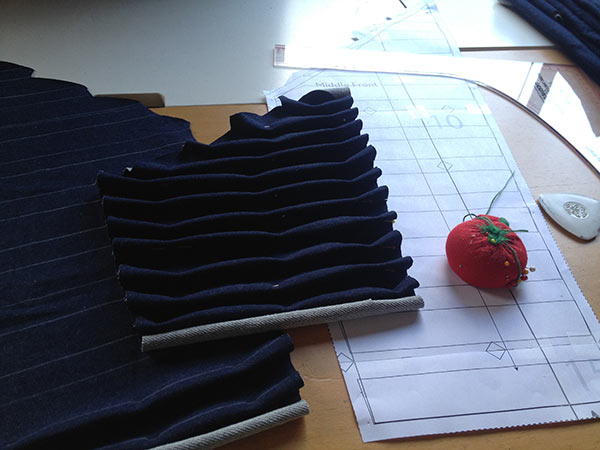
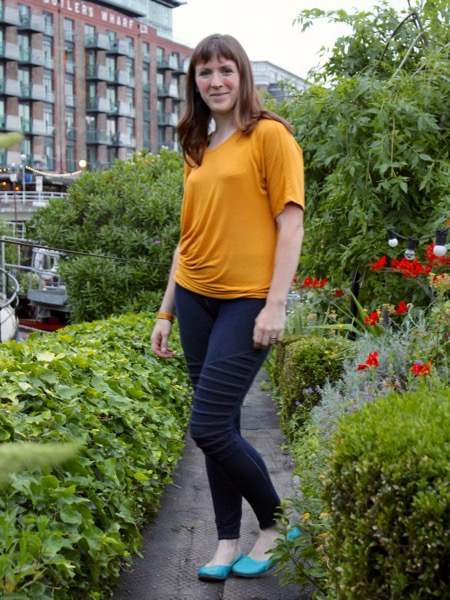
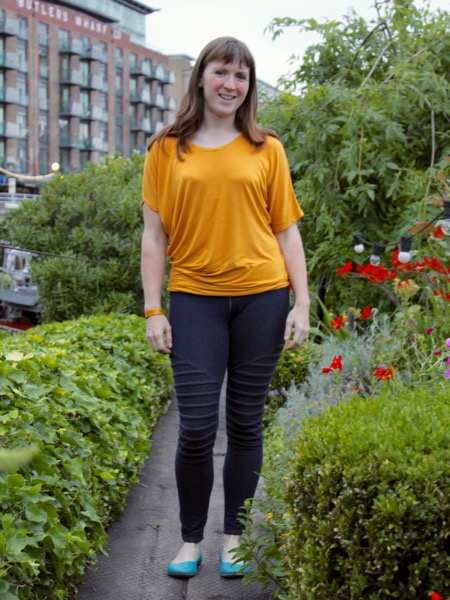
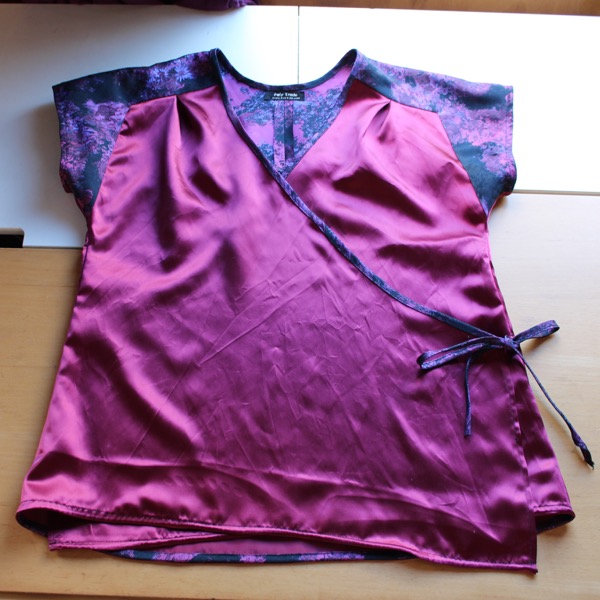
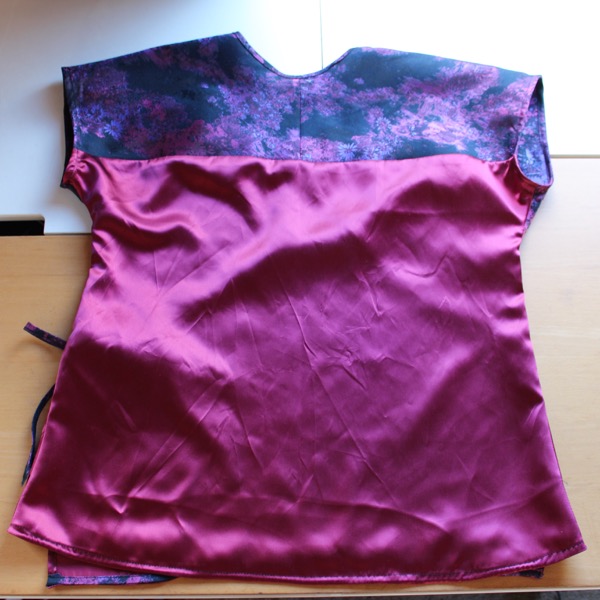
One of the few finished garments I managed to make in September was a fancy, wrap-style hack of the Imagine Gnats Bess top, which I wrote a full tutorial for, too.
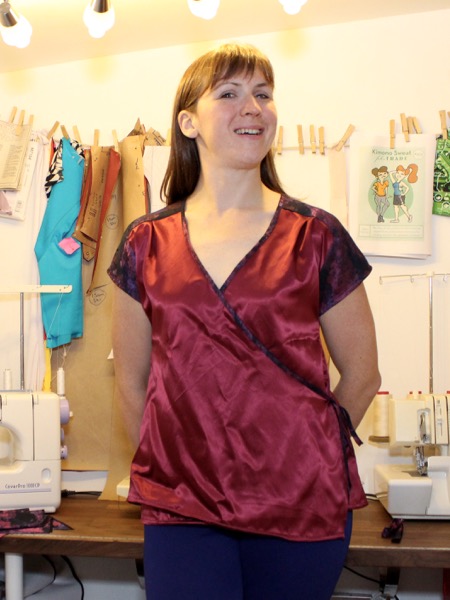
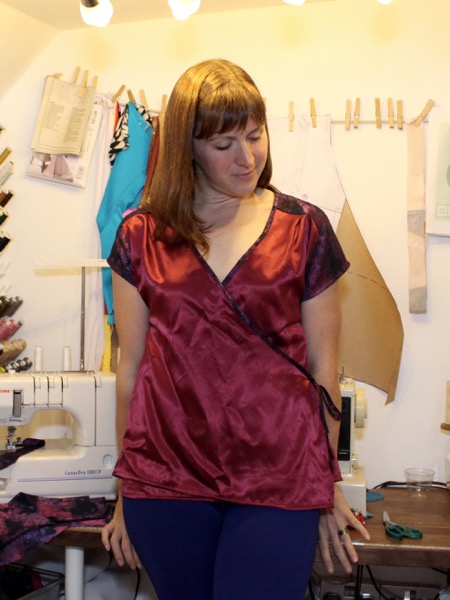
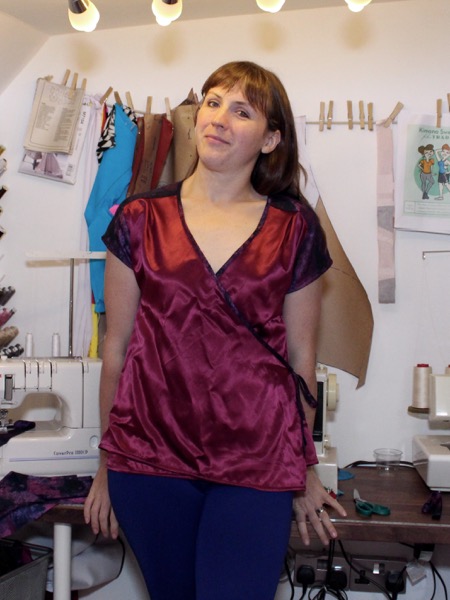
I loved the shoulder detailing on the original pattern, but I thought the shoulder seaming looked reminiscent of kimonos, so I changed the front pattern piece to be a wrap-style instead.
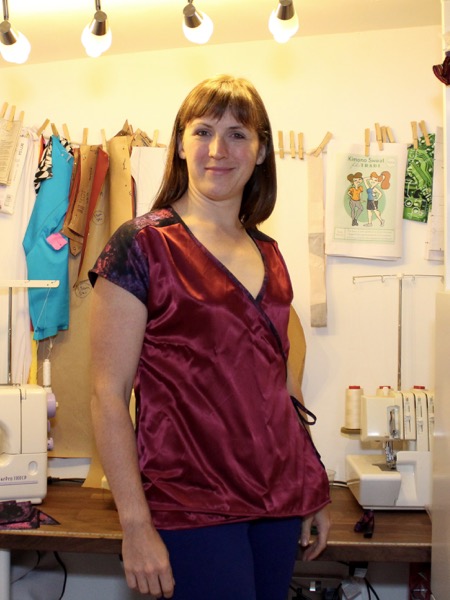

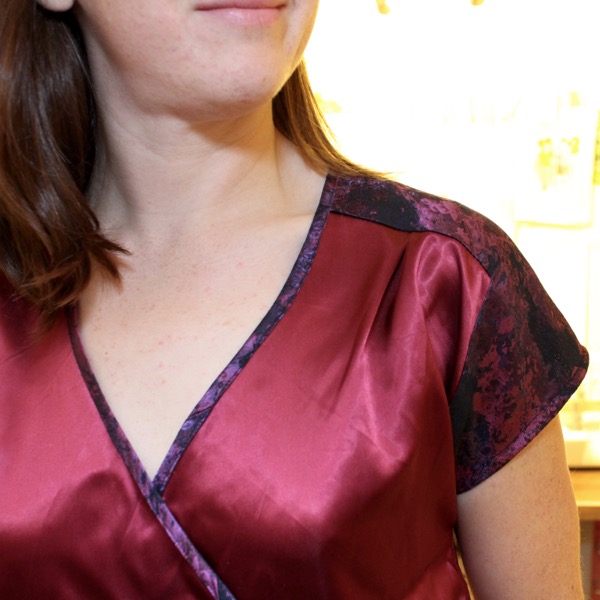
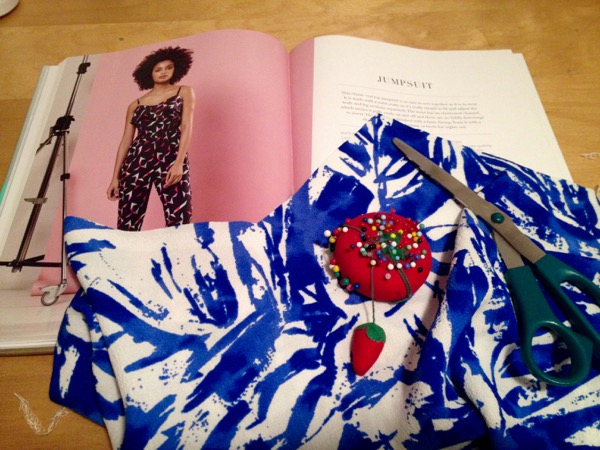
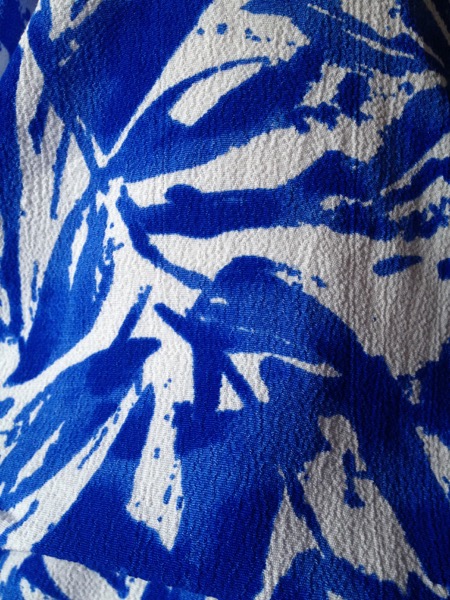
But the fabrics in my stash that went together best ended up being a brocade skirt that my friend Pip gifted me after she lost weight, and a poly satin that (I think?) a neighbour gifted to me years ago, so this ended up being a refashion project, too!
Anyway, you can read more about it over at Imagine Gnats, and last week I also wrote an Activewear patterns roundup for Rachael, too. Definitely take a look at her shop while you’re over there – she’s a keen cyclist and has just taken delivery of a bunch of wicking lycra in some lovely colours (she’s US-based)!
Also for Sewing Indie Month, Maison Fleur interviewed me and asked a lot of interesting questions I’d not thought about before, which was nice! I may have also hinted about a few big things happening in January, which will also coincidentally start my 10th year of FehrTrade.com!
Seamwork Radio
It’s no secret that I’m a big fan of Seamwork magazine, having subscribed from the very first issue, made quite a few of their patterns, and written a bunch of articles for them, so I was literally dancing at my desk when the first episode of Seamwork Radio was released last week!