I’ve been on the Aussie pattern company StyleArc‘s mailing list for a while now, and I always like to keep an eye on their new patterns, but their fabric options have never really appealed to me, to be honest (I’ve got to really like a fabric to pay for it to be shipped halfway around the world!).
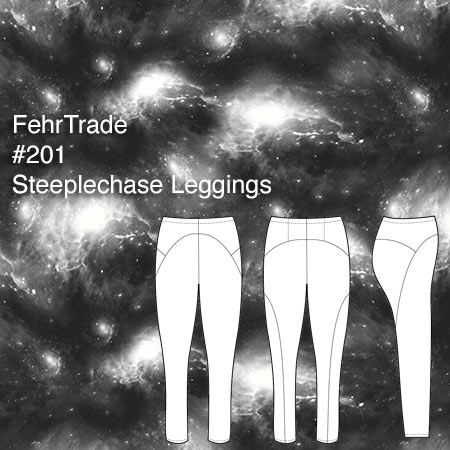
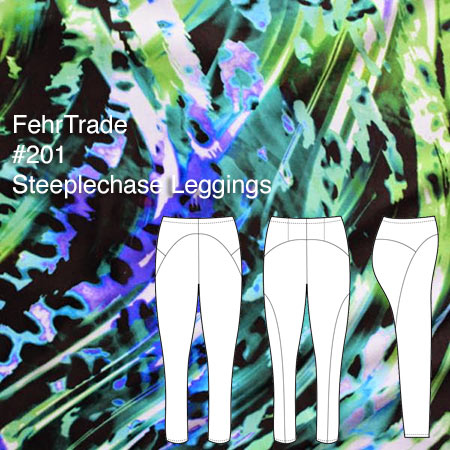
Until March, that is, when they sent round details of their new range of “cut & sew” leggings, printed directly onto activewear knits:
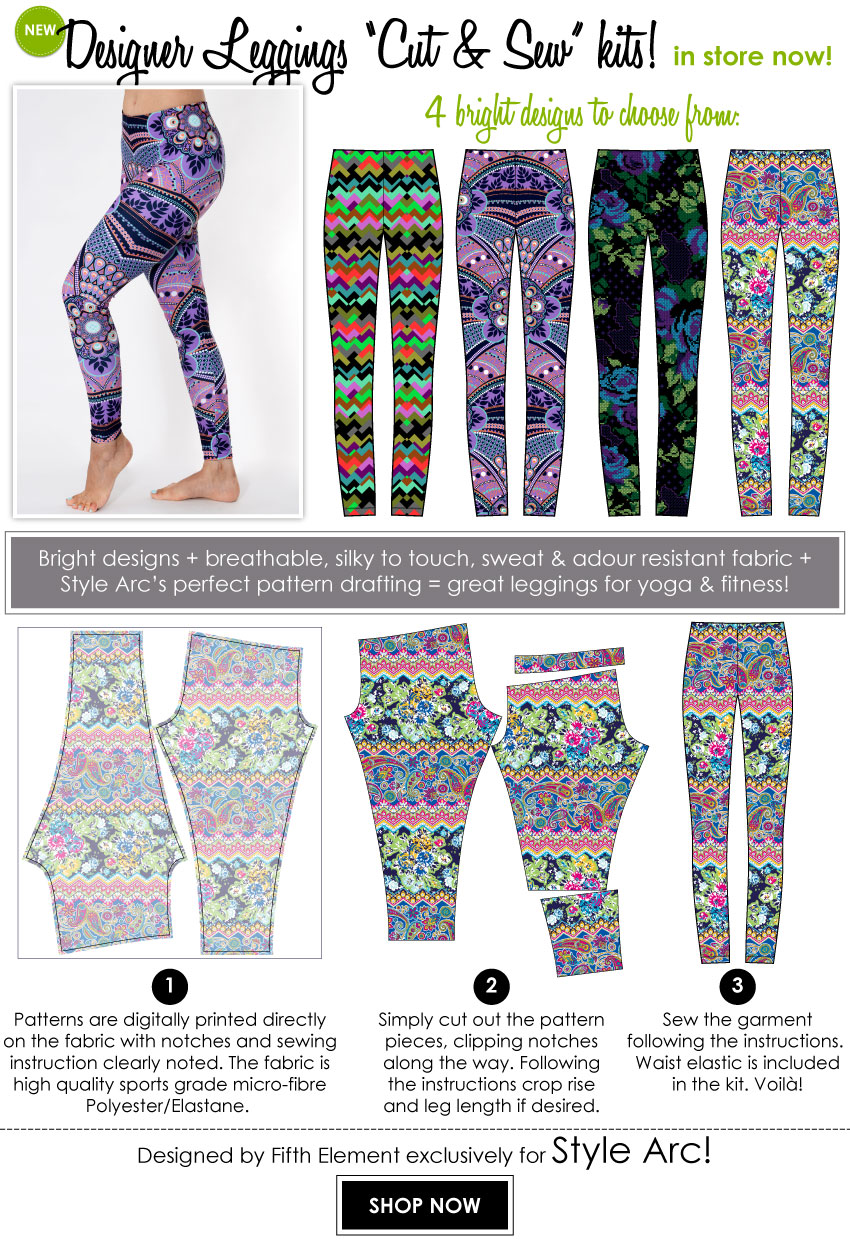
They’ve since removed these from their site due to demand, so I’m reposting the original ad here so you can see the other colourways.
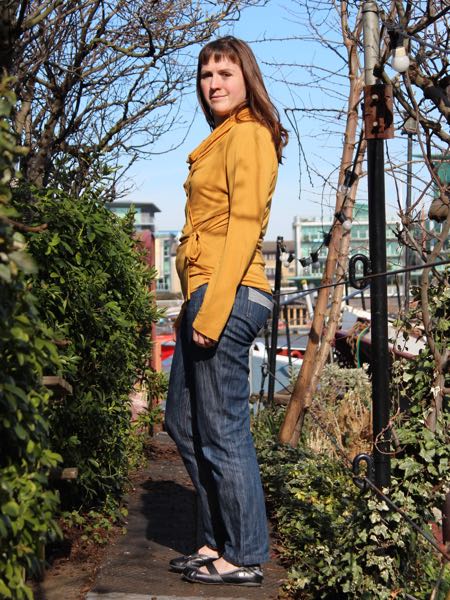
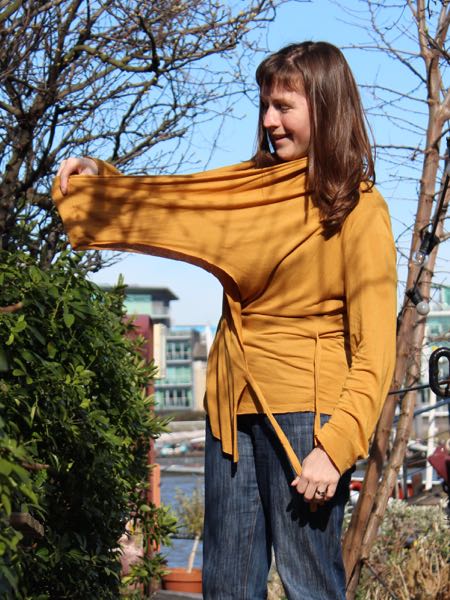
I’ll be honest – I was as intrigued by the concept as I was the prints, and for $60AU (£30) shipped, plus the freebie March pattern (knit top Melinda), I was sold. Quality leggings in great prints go for the £80-90 range in London, so for me, £30 was worth a gamble in the name of research. StyleArc had teamed up with a company called Fifth Element for these leggings, which you can also buy ready-made for about £45.

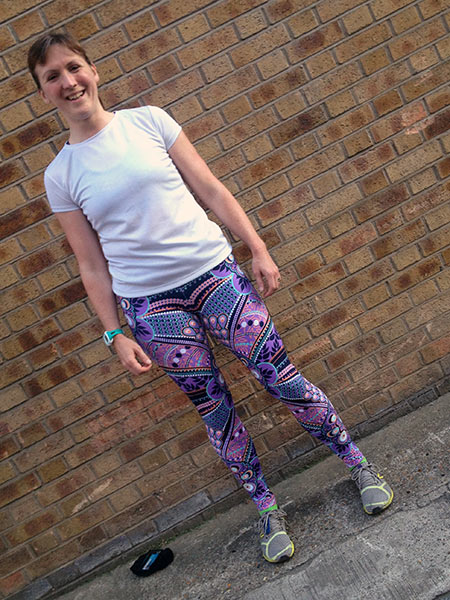
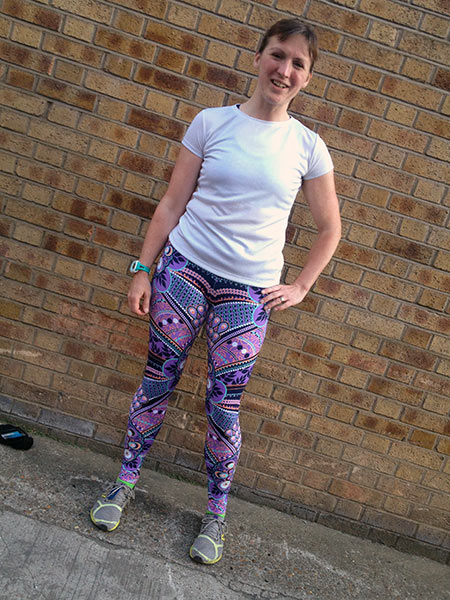
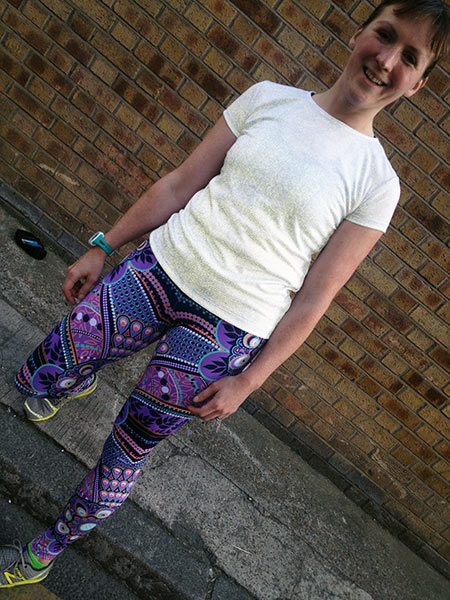
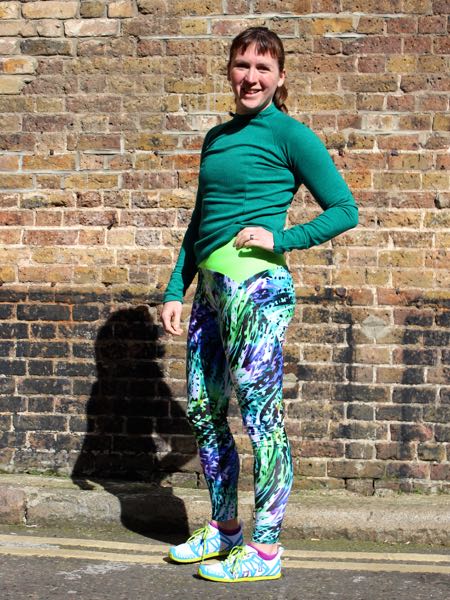
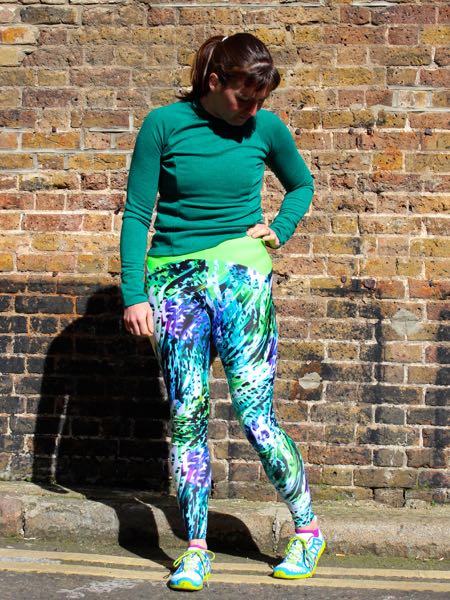
I ordered the “Lalitha” colourway the very next day, and then waited over 6 weeks for delivery (maybe they printed on demand?), but the kit finally arrived in mid-April. I was kinda hoping that the fabric would be printed all over, or in zones, like my collaboration with Laurie King, but you really only get the outline of the legging, with the rest in plain white.
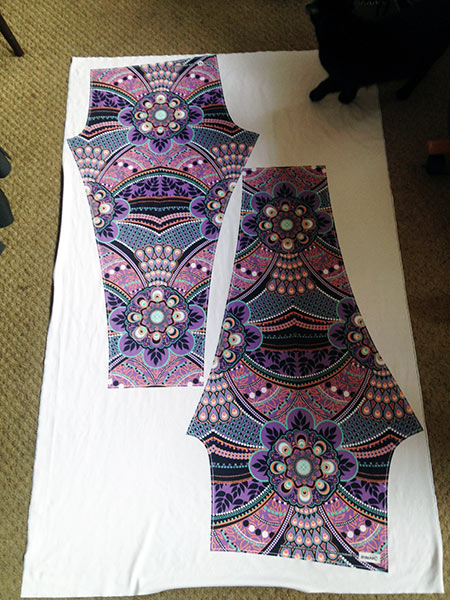
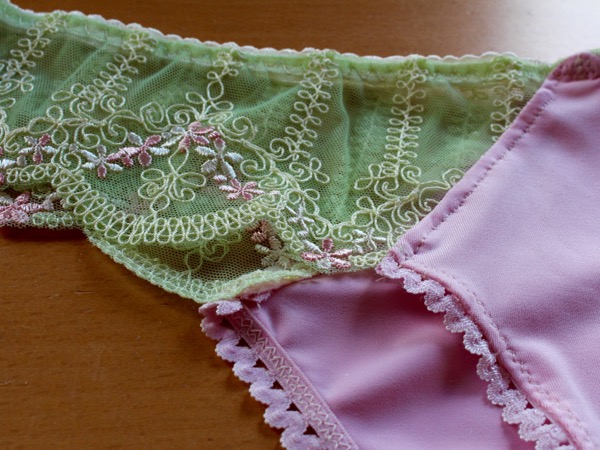
Before I get into my complaints, let me just say that the fabric quality is fabulous – it’s soft, and stretchy, with great recovery and super vibrant colours, and from handling enough activewear fabrics in my day, I believe the that this is proper wicking fabric. I pre-washed it before cutting out, and everything remained vibrant, too.