Thank you all so much for all your compliments, orders, and finished photos of your Steeplechase Leggings! I knew I was onto a good idea when I dreamt these up a few months ago, but I had no idea they’d be quite this popular! So thank you!
I’ve shown you quite a few of my sample pairs already, but these are the last you’ll see me modelling for a bit, and they happen to be my wildest yet!
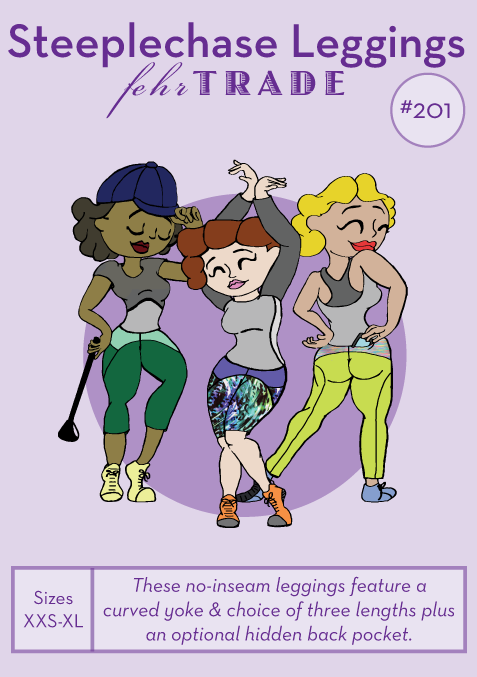
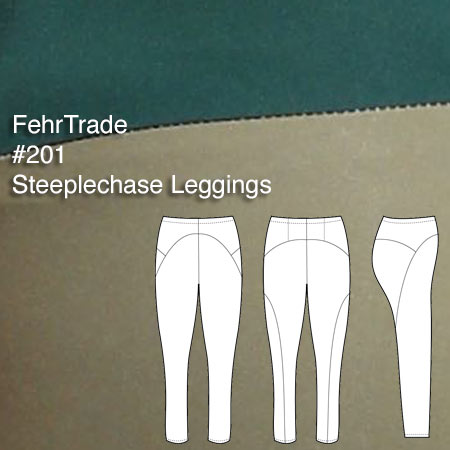
To refresh your memory, here’s the description:
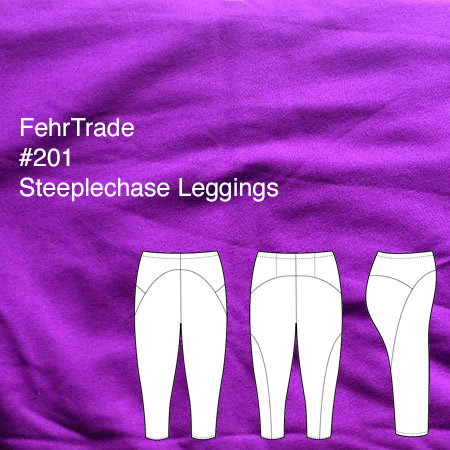
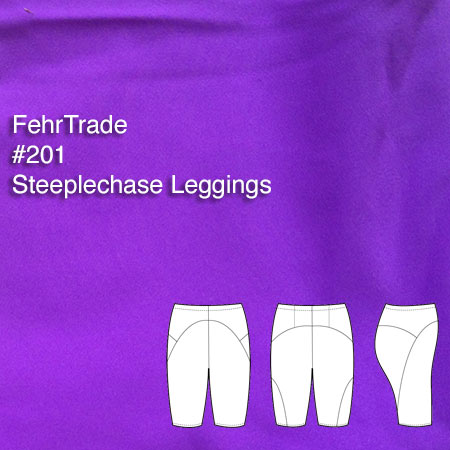
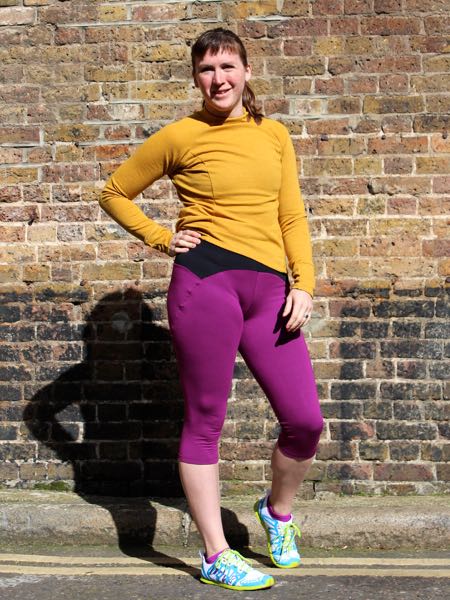
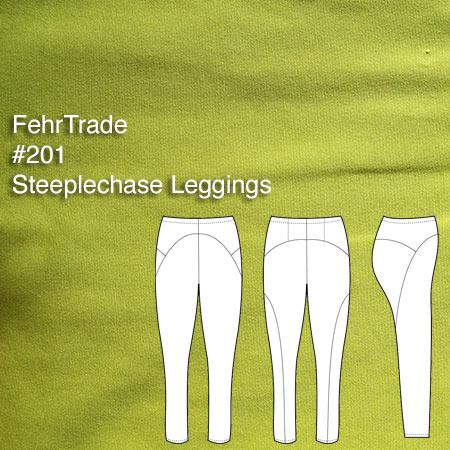
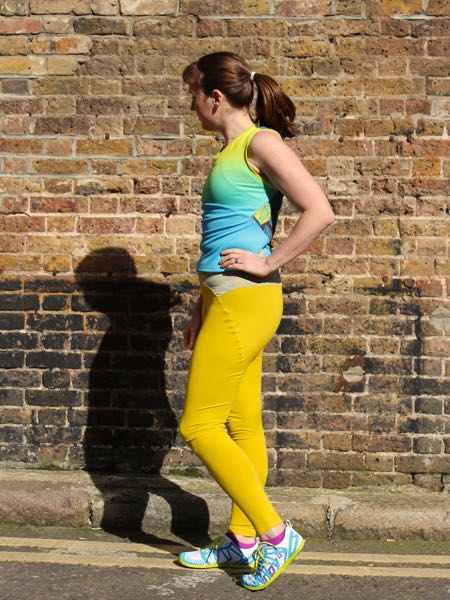
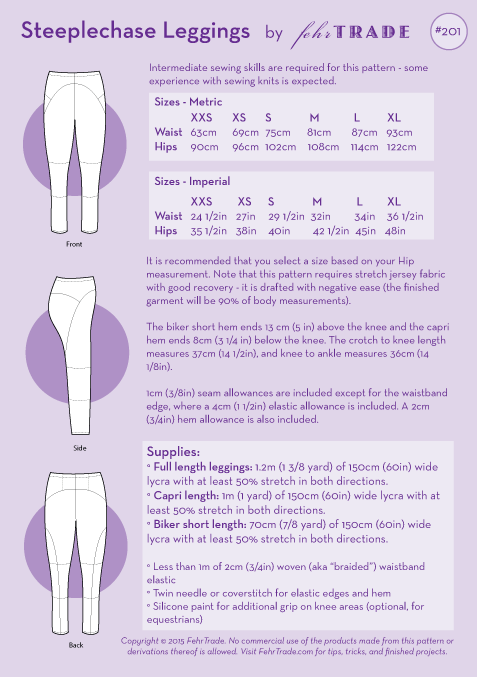
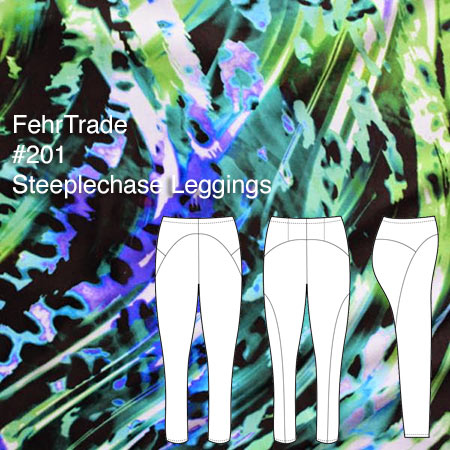
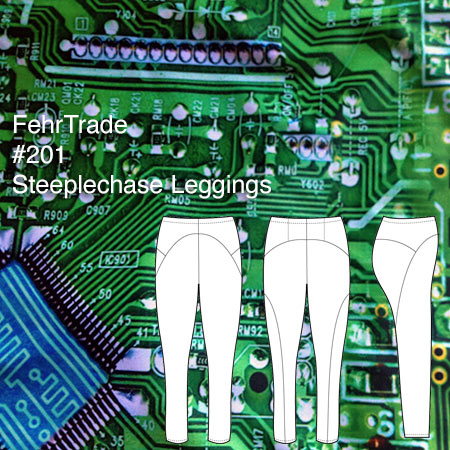
These leggings have no inseams! Instead, a curved, outer seam runs from the back of the ankle up to the centre front, where it joins a separate yoke piece. There’s an optional, hidden back pocket, elasticated waistband, and your choice of three lengths: biker short, capri, or full length leggings.
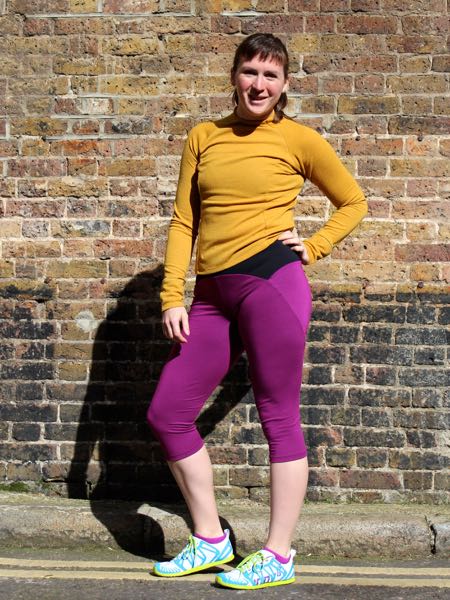
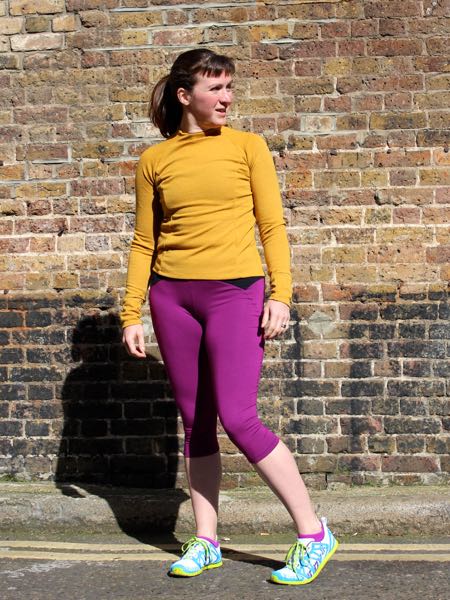
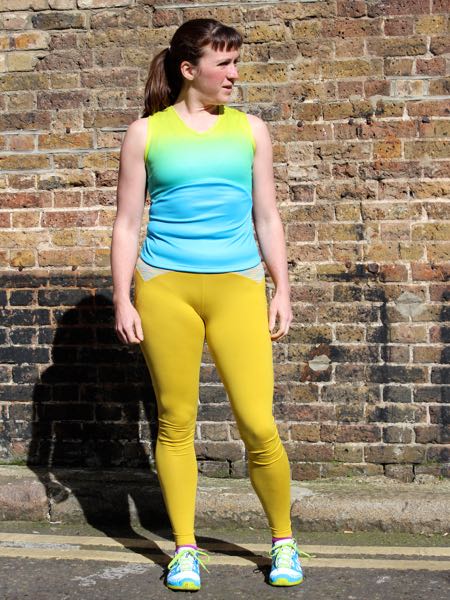
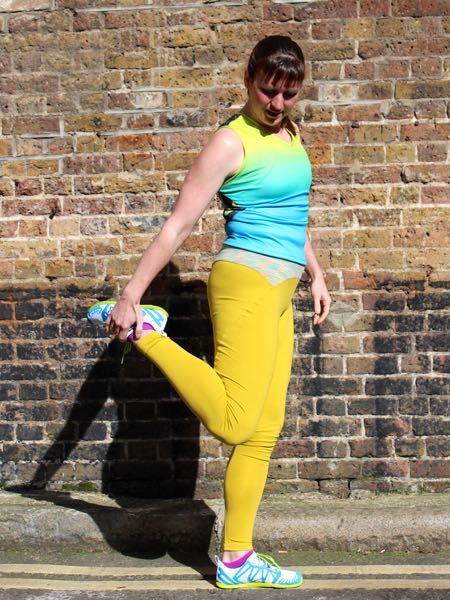
This first pair are one of my absolute favourites! Not many women would choose to highlight their hips with neon green, but I think it’s fair to say by this point that I am most certainly Not Most Women, ha!
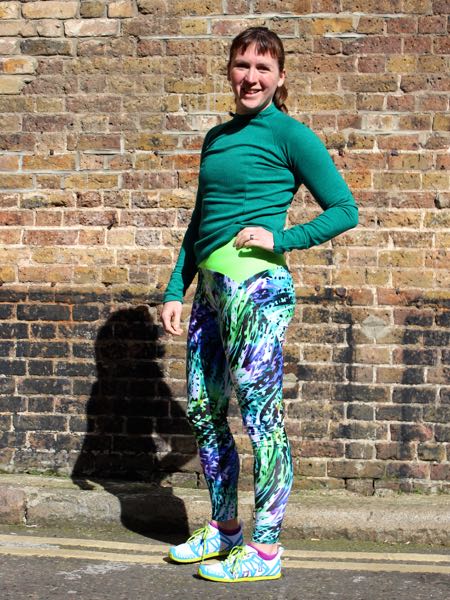
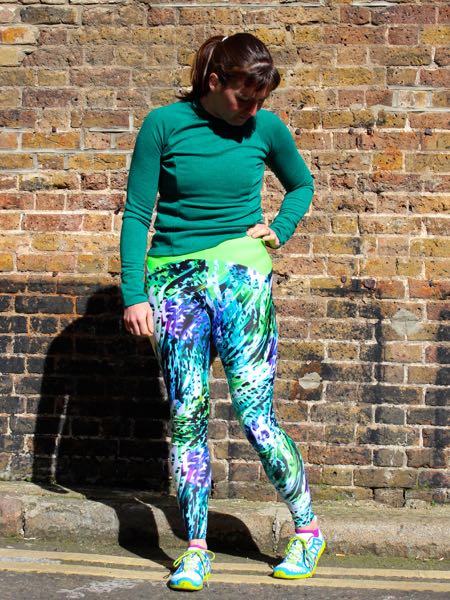
The main fabric is FunkiFabrics “Animal Magic” flexcite (it also comes in a red/orange colourway), paired with their fluorescent green matte lycra. If you want solid colours from Funki, I strongly recommend going for the matte varieties, because the non-matte ones are, well, Jane Fonda jazzercise levels of shiny! But the fabric is the same smooth, high quality stuff that the digital prints come on, and I’ve always been very pleased with how it stands up to repeated washings and mud fests – no fading or piling whatsoever.