Thank you all so much for first your good luck messages, and then your congratulations after this weekend’s Berlin marathon! We had an absolutely wonderful (and gluttonous!) week in Budapest, Vienna, and Prague leading up to the race, and we thoroughly enjoyed Berlin, too!
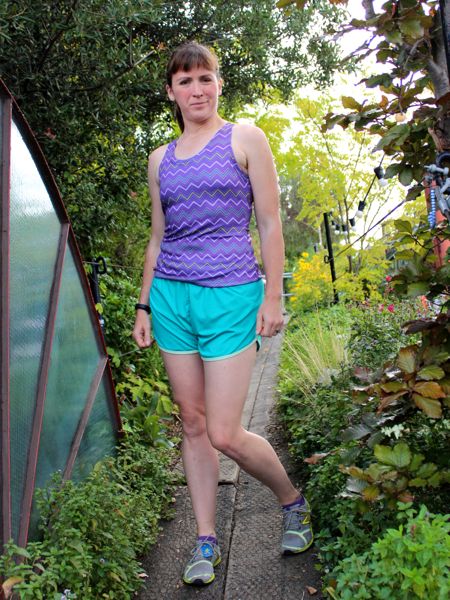
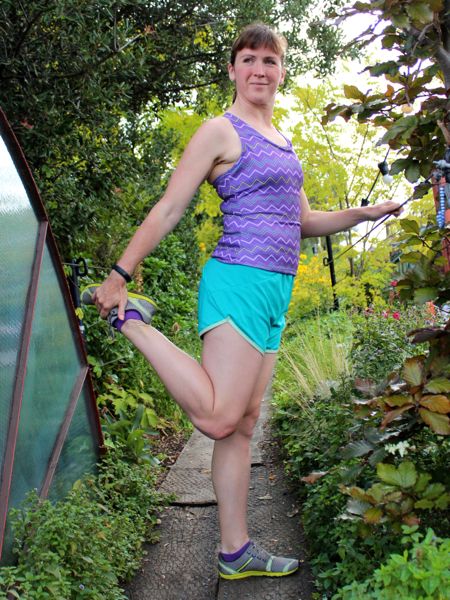
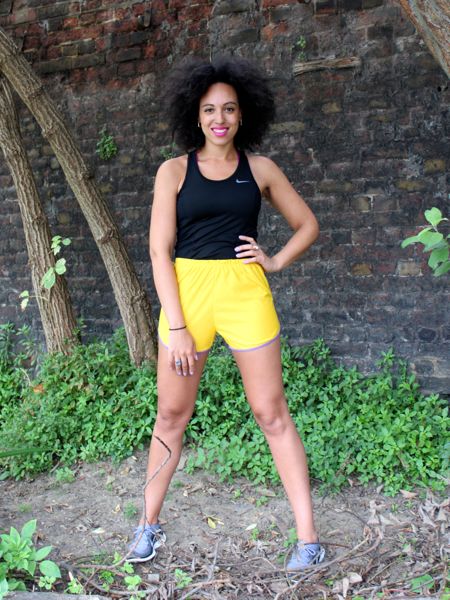
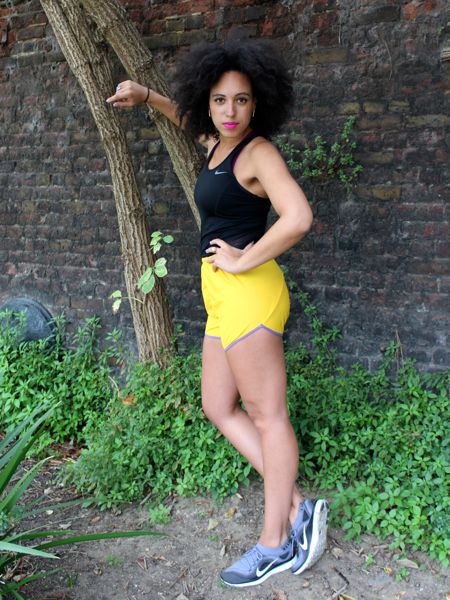
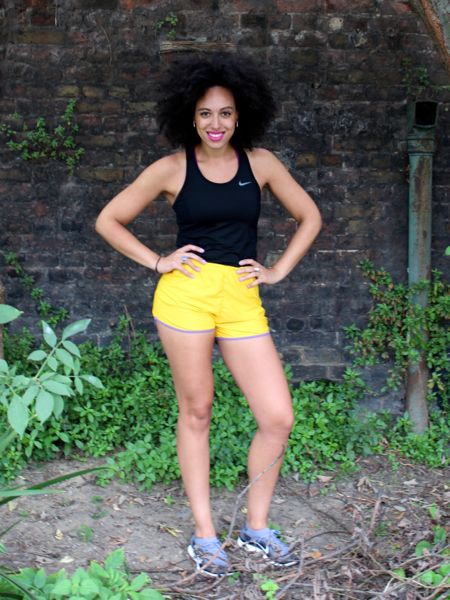
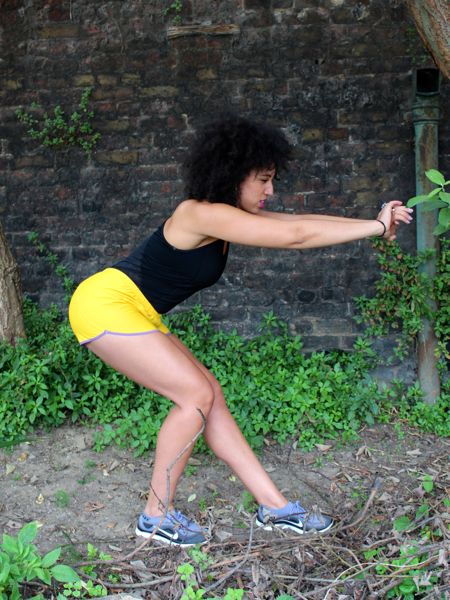
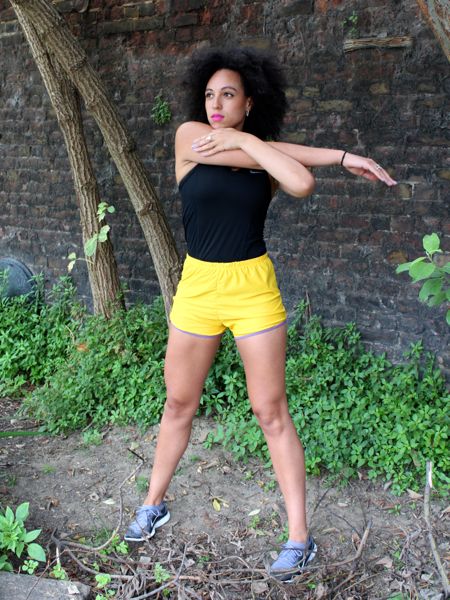
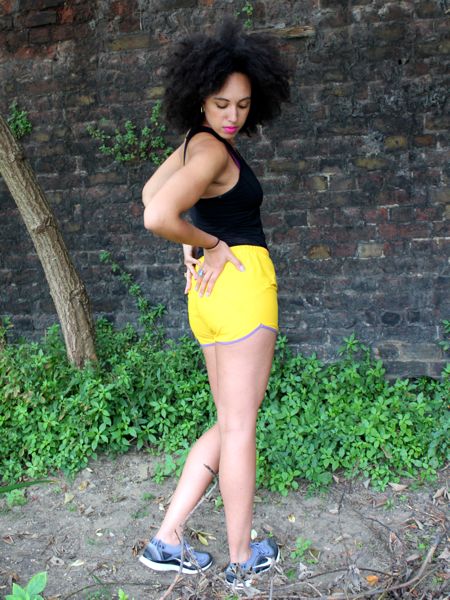
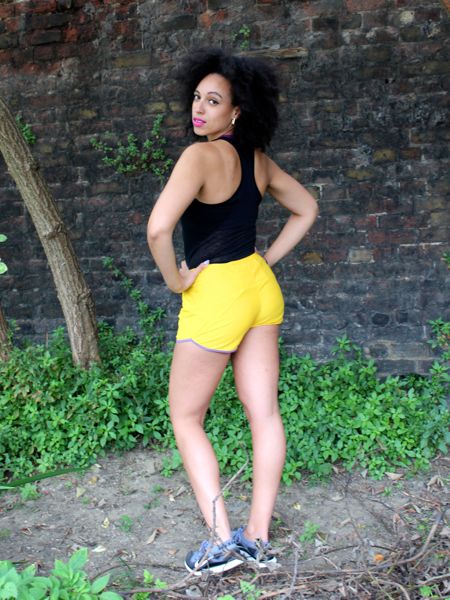
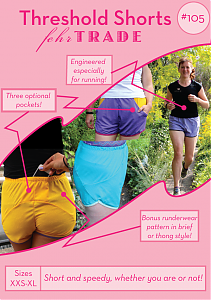
I promised you all before I left that I believed enough in my Threshold Shorts design that I’d run an entire marathon in them – and I did! They performed great during the race – they didn’t ride up in the thighs at all and the little back pocket kept my final two gels safe and secure right up until 40k when I gobbled down the last salted caramel Gu.
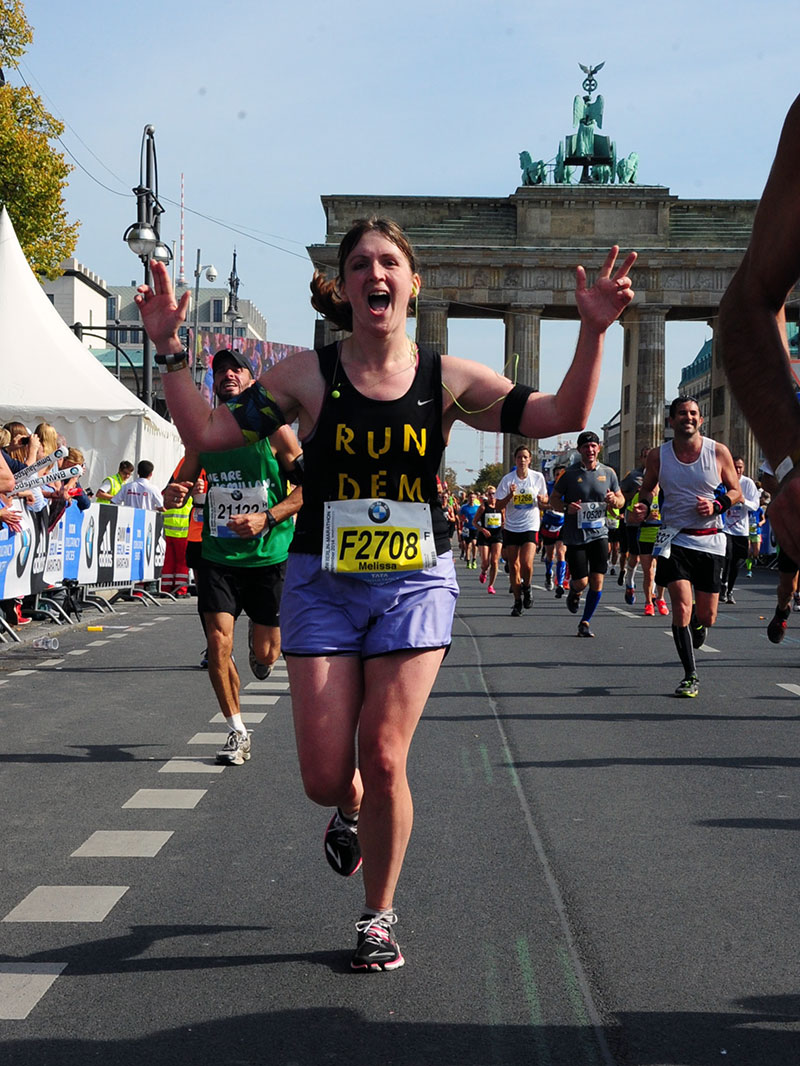
You can read my full race report over on my River Runner site, but the short version is that I loved this race and truly smiled the entire way through, ending on a total high as we ran through Brandenburg Gate. This was my fourth marathon and my most enjoyable to date (as well as my fourth marathon run in me-sewn gear!).
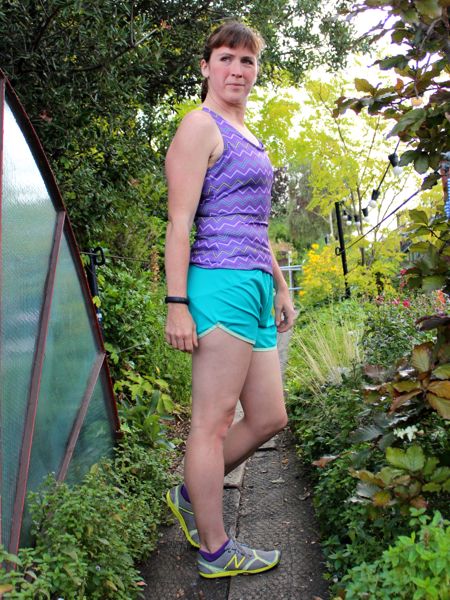
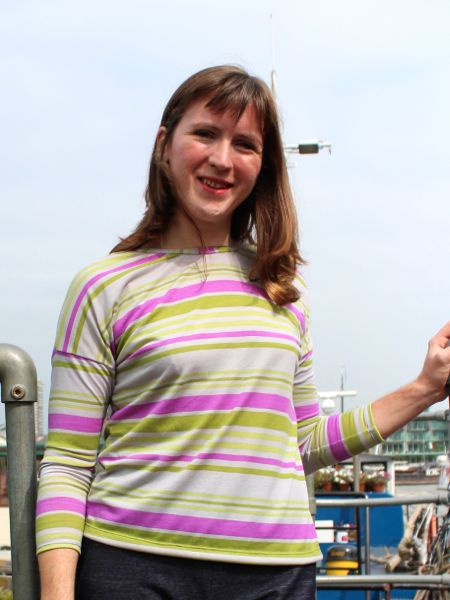
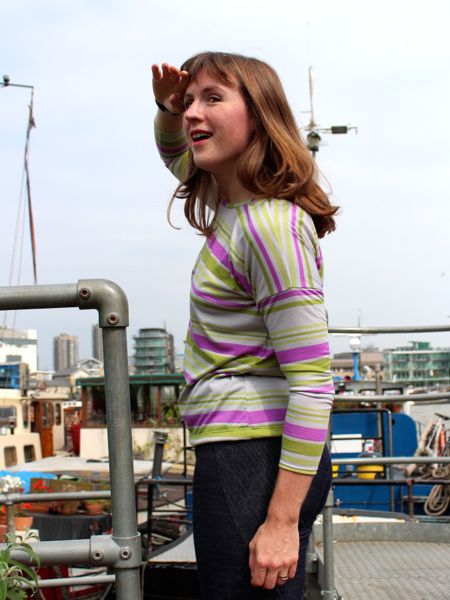
You can also see that I modified my RDC vest a little bit, too – during races I like to only use one headphone, and normally tuck the other earbud under my sportsbra. But for longer races, this has a tendency to both irritate and get salt and sweat in the earbud, so this time I thought ahead and stitched a little piece of elastic onto my vest at the shoulder to wrap the headphone around! It worked a treat and is something I’ll definitely do for future marathon and half-marathon tops.