I’ve come to that point near the end of the year where I want to gather together a bunch of little projects I’ve made recently, but yet didn’t quite seem big enough for their own post… You’ll see my traditional, year-end roundup tomorrow (I hope! I haven’t actually started it yet, eep!), but before then, let’s finish off the last little bits of the year…
Twin clutches
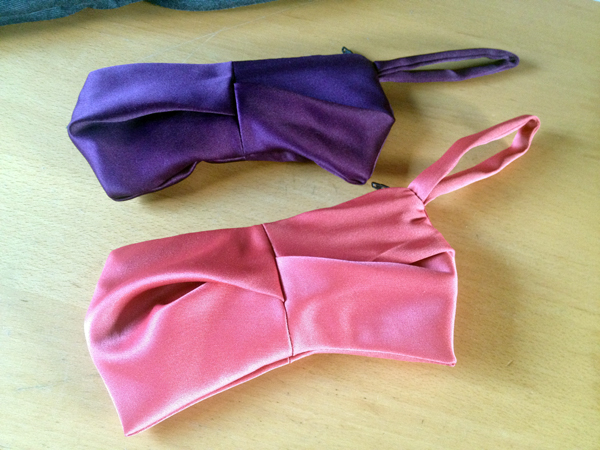
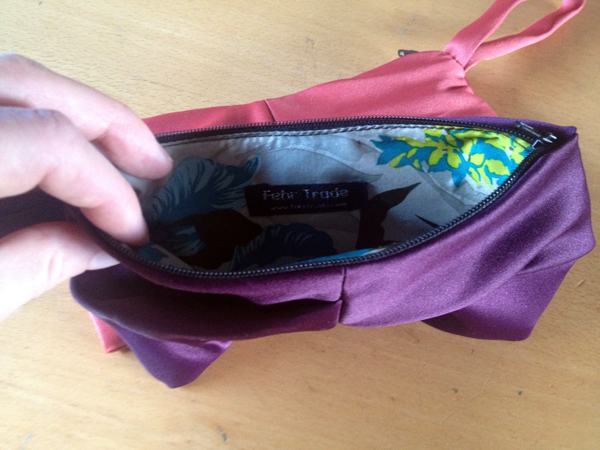
The most exciting of these are undoubtably the Cake Patterns Red Velvet Mini Clutches I made for James’s twin, teenaged nieces. They’ve pretty much only wanted cash or gift cards for a few years now, but this year I fancied giving them a little something extra to hold their gift.
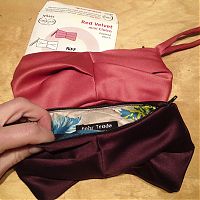

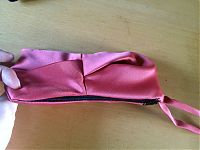
The Cake Red Velvet Mini Clutch is a smaller version of the full pattern without the illustrated instructions, but on the plus side it’s free, super cute, and easy to whip up in a few hours with scraps. Here I used satin scraps leftover from my Matthew Williamson birthday dress and my swirl sheath dress and a bit of floral lining leftover from the former, too.

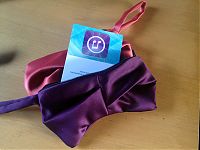
These are big enough to hold your average mobile phone, keys, lippy, and credit card, but not much else, but most of the times I want a little bag to match a dress this is all I really need to carry anyway. These were certainly one of those gifts I’d have liked to have kept for myself, especially since they match my dresses!
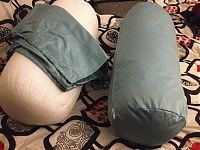
Bolster pillow covers
I’m totally less excited by home dec sewing, but we really wanted some bolster pillows for lounging in our big, new bedroom on the boat – now that I’m working from home, I especially need one under my knees while I work on my laptop! When we bought our bedding from IKEA, the duvet cover sets came with four pillowcases, and since we only use one regular pillow each, the others were just sat on a shelf.