This skirt was featured in the May 2012 edition of BurdaStyle magazine, but it’s one of the few that’s also available for purchase as a downloadable pdf if you missed this issue (a really great one, IMHO!).
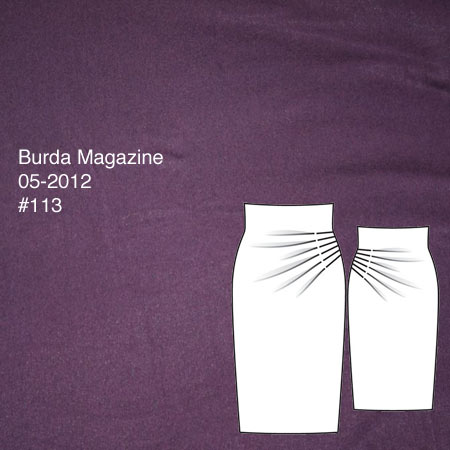
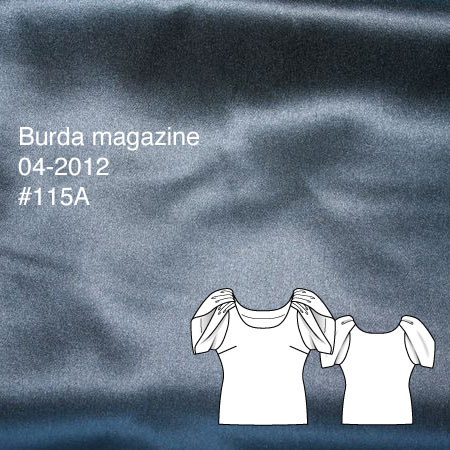
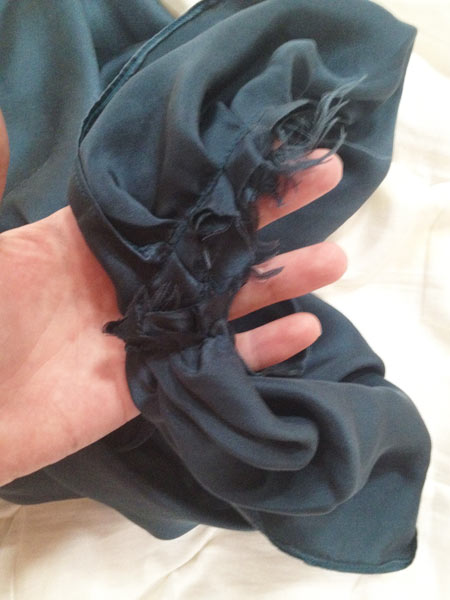
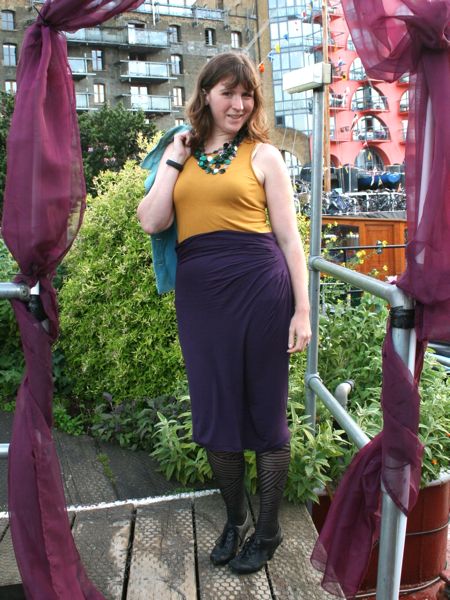
This is quite an interesting pattern because of its simplicity – it’s only one pattern piece (the same for the front and the back), with a bunch of radiating pleats on one hip, and just two side seams to sew. There are three hem lengths suggested on the pattern, and I went with the shortest, Hem length A, which ends up right at my knees.
And that’s it – no zippers, no elastic, no nothing. So it’s a really quick and easy skirt to sew up in one evening!