Blog

Bridesmaids dresses – one down…

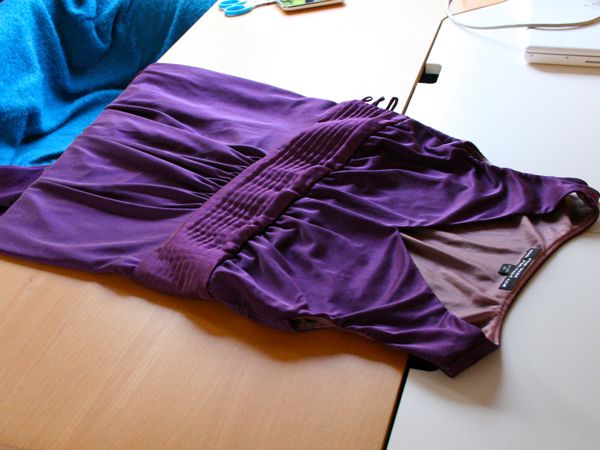
I made a big push on Sunday to get as much done on the first bridesmaid as I could, and between then and some “non-commuting” time yesterday and today (I worked from home both days so I put the hour I’d normally be commuting to good use!) I managed to finish Pip’s dress, apart from the hem and the covered buttons, which I need to purchase in town tomorrow.

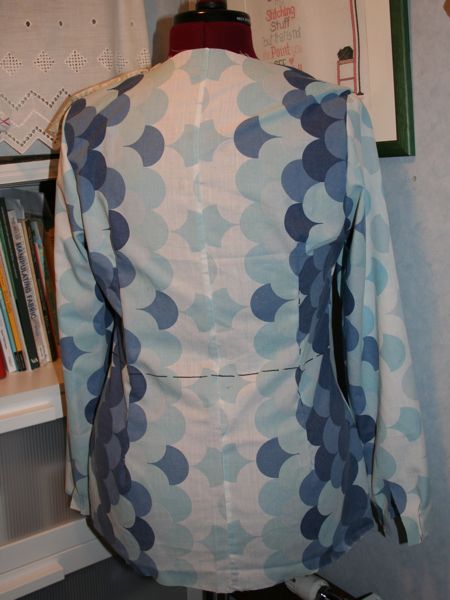
To refresh your memory, I’m sewing the Gant exclusive design dress from the Sept 08 Burda magazine:

I tackled those pleated cummerbunds first to get them out of the way, but even the easier silk jersey portions were not entirely straightforward. With a design this simple, the glory is in the perfect execution!

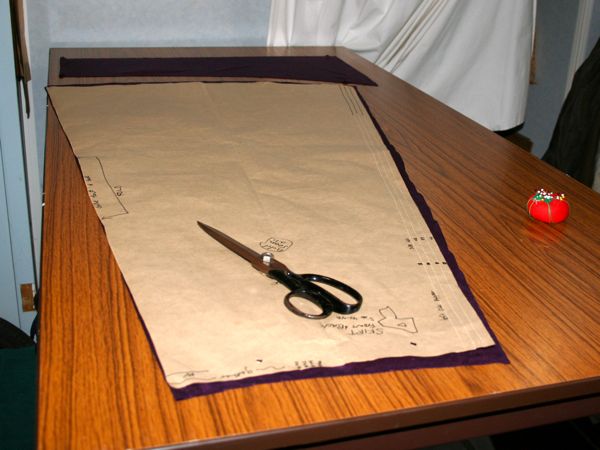
First thing I was grateful for is my newly-raised cutting and drafting table. Each gown takes four skirt sections this size (front & back, exterior & lining), and they take up nearly the whole table!
I didn’t take any intermediate photos of Pip’s dress, but I ended up doing the entire bodice on my sewing machine after all, so that I could understitch the neck and arm openings more easily. In the end, I only used the overlocker for the long skirt seams.
Bridesmaids dresses – I pleat the fifth

While I’ve been showing you all sorts of books and magazine reviews and drafting up free bag patterns for you, what’s been going on in the sewing room, I hear you ask! Well, I set aside April and May to sew my two bridesmaids dresses, and after a long muslin period, I’ve been getting stuck in with the most time consuming portion of the dresses first – the pleated, silk satin (charmeuse) waistband/cummerbunds.

If you recall, I’m sewing the Gant exclusive design dress from the 09/08 Burda magazine:

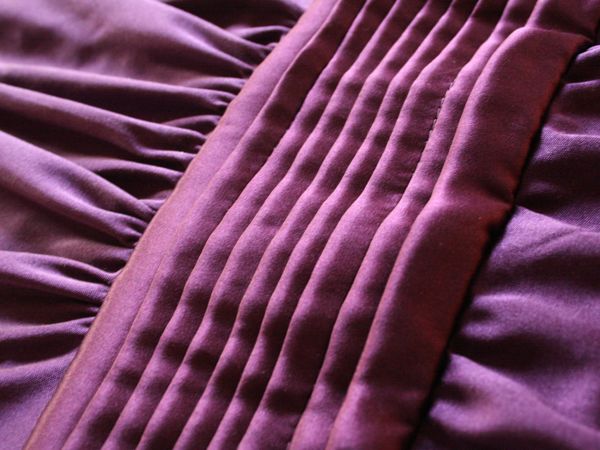
The fabrics were bought over a year ago, so I fished out the bag and got to work on the reeeeeeeally long pleated sections using Burda’s magazine instructions (which are surprisingly helpful) and a bit of info from my The Art of Manipulating Fabric book (thanks, Cindy!). These are knife pleats, one centimeter apart, and Burda called for seven pleats down the band, but after my test piece, it looked a bit sparse at the top and bottom edges, so I decided to go for eight pleats in the final versions.

So in order to help any of you attempting this on your own (and sadly, a Perfect Pleater is way too narrow to help me here), or those of you wondering why professional designers outsource their pleating to professional firms, here’s what’s involved…

How to pleat

Step 1 – On the reverse of the fabric to be pleated, mark chalk lines exactly 3cm apart, one for every “mountain” pleat.

Bits and Pieces

Ok, so to take a brief break from reading material, I thought I should update you with what I’ve been up to in the sewing room…

Bridesmaids dresses

I had the first fitting of P’s muslin, and there are surprisingly little changes to be made – raising the neckline and armscye, pulling up the waistband by a centimetre, and that’s about it.

So I’m doing a second version of the bodice for her to try on this weekend, and then I unpick the skirt off that muslin and attach it to G’s bodice (the skirt is enormous and I didn’t have enough knit muslin for two!) and have her first fitting while I get down and dirty with the waistband pleating. I’m anticipating the pleating to be the most time-consuming part of both the dresses… (Earlier post about the dresses and colours here)

A spring dress

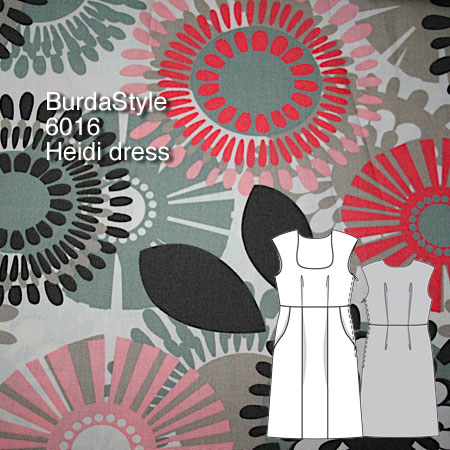
I finished a nice Springy version of BurdaStyle’s Heidi dress yesterday (finally!).

It was just waiting for a hem for nearly a week, which is a long time for me. It’s nice timing as Spring (or maybe even Summer!) arrived this weekend and it was gorgeous outside on deck with the barbecue going and everyone hopping from boat to boat. I’m hoping to do a photoshoot tonight now that we’ve got daylight for longer in the evenings…

The LMB draped dress – muslin

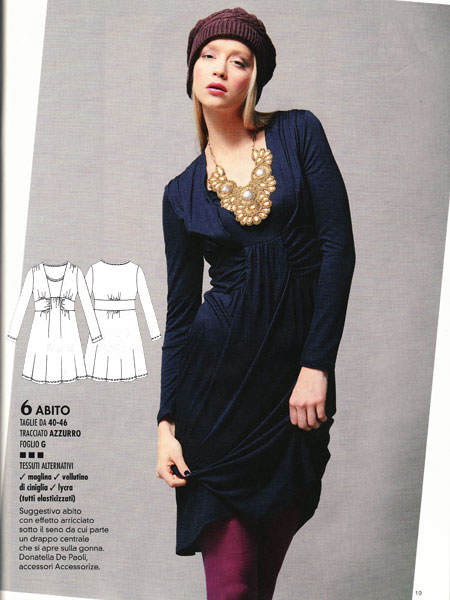
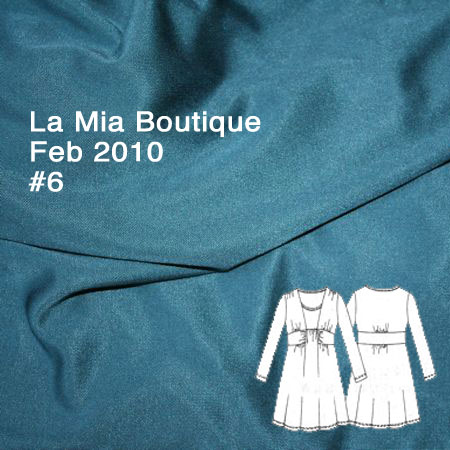
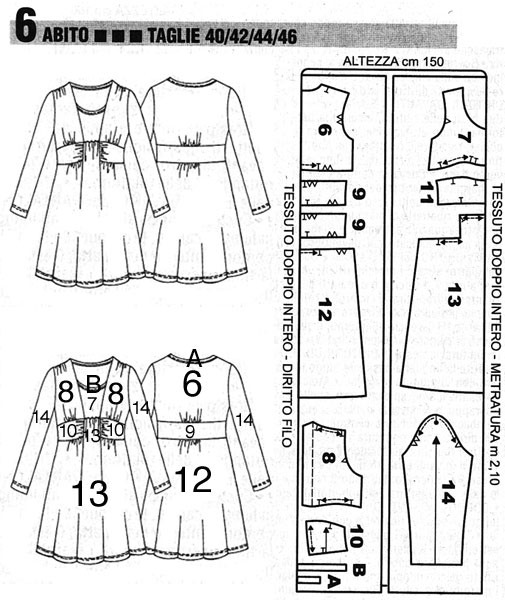
As good as my word, I sewed up a muslin for my birthday dress (next week, birthday fans!), which will be the draped jersey dress from the Feb 2010 La Mia Boutique magazine, #6:

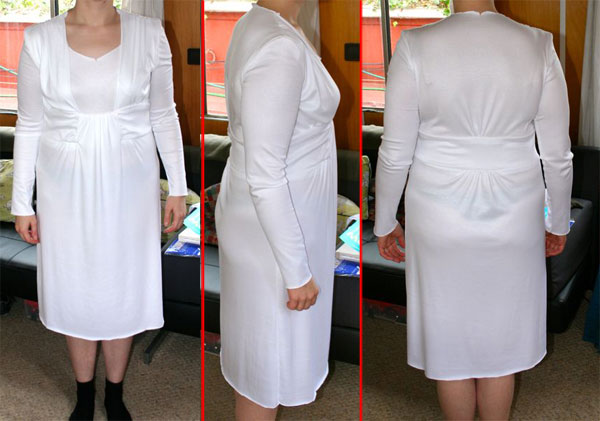
I sewed up the muslin in a viscose jersey, chosen for its very similar draping to silk jersey (with the bridesmaids’ dresses also in silk jersey, I bought TONS of this!), but it is pretty thin and see-through so it’s really only ever going to be good for muslins. After sewing a size 44 in the turtleneck and finding it quite roomy, I decided to go with a 44 here, too, even though I should be a 46 according to their size charts. This is sewn up exactly as per their paper pattern, with no alterations.

Here’s the front, side, and back views of the muslin:

Mentally sewing the LMB draped dress

I’ve gotten as far as I can on my secret other project while I wait for supplies (mostly new labels – can you believe I’ve sewn through the last lot of 120-odd Fehr Trade labels in the past two years??), so I cut out my muslin pieces for my birthday dress. If you’ve got a good memory, it’s this luuuurrrrrvely draped number from the Feb 2010 La Mia Boutique magazine, #6:

What I normally do for foreign language patterns (La Mia Boutique is in Italian) is look at the pieces and get a brief order of construction in my head. Usually I work from the top down, starting with assembling the front bodice pieces then join to the back at the shoulders, then finish the neckline, then if it’s a knit, attach the sleeves at the armscye and sew up the side seams, or if it’s a woven, do the side seams first them attach the sleeve in the round. After sewing for a while, you begin to see that most pattern instructions have you sew things in roughly the same order, so you can just do those here to suit this particular pattern.

But for more complicated patterns like this one, I like to sit down with a pen and paper and mentally go through the whole process, visualising how the different pieces interact and the pros and cons of doing which seams in which order (like “if I do this first, is it going to make it awkward to serge that?”). It’s a great mental exercise in spatial thinking, and one of the most pleasurable aspects of sewing for me.

And it means I don’t have to type in every single word of the foreign instructions and figure out what the translator’s trying to tell me (sewing terms are not the best translated! )!

So since I was writing these out anyway, I thought my order of construction might help others who were eyeing up this pattern.

The forecast

On Saturday I took a trip out to Goldhawk Road with neighbour Helen with a strict list on my iPhone and an even stricter budget! My brain and eyes start to glaze over whenever I enter a fabric store so I have to come prepared with a list now to keep myself focused.

My list was mostly pretty boring – lots of linings (I got a few metres of a silk/cotton woven mix in both black and white for underlining some thin dress fabrics, and finally got some stretchy nylon tricot to line my Vogue sheath and test it for bridesmaid dress lining suitability) plus very cheap but very drapey viscose knit for birthday and bridesmaids dress muslins. The only real fun on my list was some luscious silk jersey for my birthday dress and a nice knit to make James’s sister a dress, and well, both ended up being silk jersey!

As they were cutting my dark turquoise silk jersey, the lady at Classic Textiles warned me their silk jersey will be going up in price to £18/m (once the current £16/m bolts are gone). And Fabric World across the street have black silk jersey (only black) for £10/m as a one-off right now, too. Consider yourself warned, Londoners!

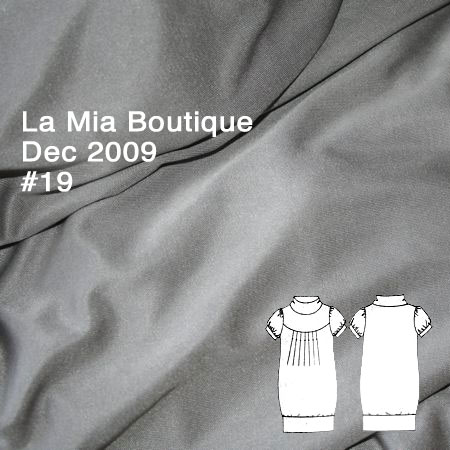
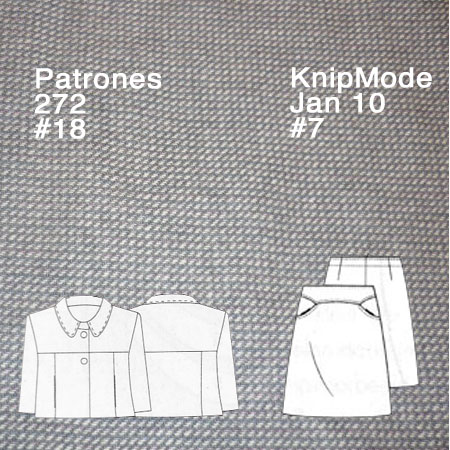
So since I’ve already got the fabrics and the patterns paired, here they are for your visualisation (though they’re not quite the next things in my queue, I’ve got to juggle some muslins and draping in there first) –

Nude sheath dress in progress

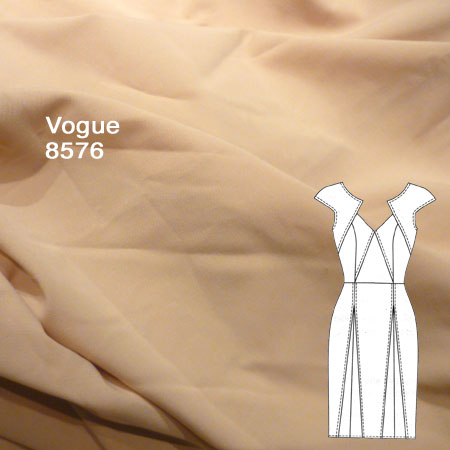
I’ve been working on the partner to my grey tweed jacket, Vogue 8576 in a nude, pale pink poly/viscose stretch suiting I bought from Totally Fabrics during one of their fantastic sales.

I usually detest tracing Vogue patterns since their tissue paper is so flimsy, utterly enormous and so unwieldy to work with, but this one was surprisingly small since there’s only one view so no need for tons of extraneous pieces. Still not as easy as tracing KnipMode’s compact newsprint, for instance, but not enough to put me off sewing Vogue for months on end like it did previously!

The overall shape of this dress is quite simple, but it’s cut up into a ton of triangles and curves that can be tricky to visualise. So my first step was to lay them all out and see how they went together (seam allowances are included here so they don’t line up nicely like I’m used to though).

Silver Tweed beginnings…

With the first Planned Partnership done & dusted in the form of my techno skirt and sequin top, it’s been time to start concentrating on another pairing – the pale silver tweed to go with the nude stretch suiting…

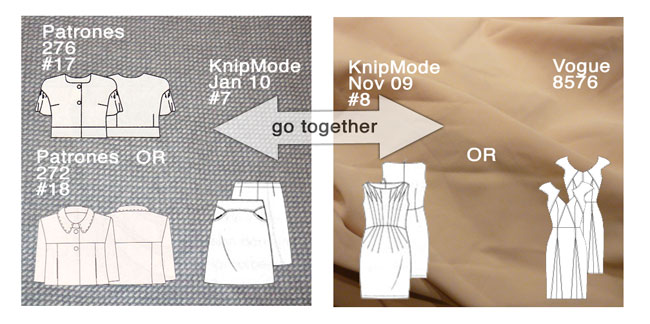
I decided to go with the bottom jacket seen above, so I traced all the pieces of it and the skirt pattern, playing it very carefully and was able to fit BOTH the cropped jacket and the skirt out of the 1.5m of tweed I’d bought! Woohoo! It was by no means certain, but my powers of fabric Tetris prevailed and I’m rather proud.

Marni silk blouse – muslin cold feet

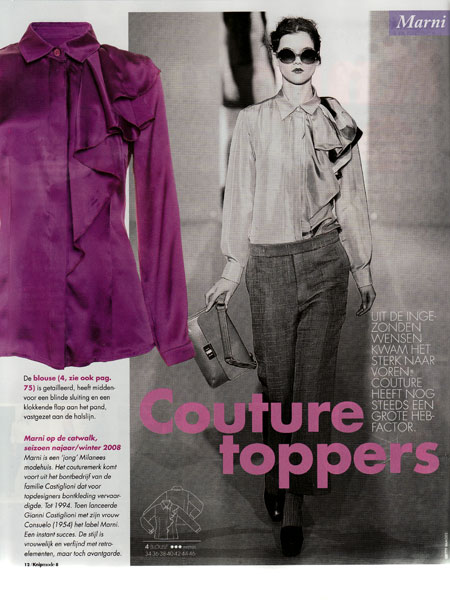
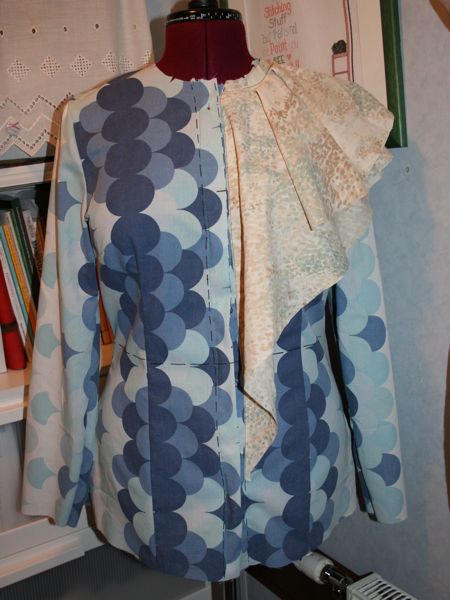
In light of NancyK’s conclusion that KnipMode designer knockoffs aren’t as thoroughly tested as the rest of their patterns, I decided to make a muslin of the KnipMode August 09 Marni catwalk blouse before cutting into my nice teal silk satin (charmeuse).

Only now that I’ve got my bedsheet muslin done, I’m unsure about whether I like it or not. Now, you do have to use a bit of imagination here to block out the busy bedsheet prints (in reality, it’ll all be one solid teal colour, plus collar and cuffs):

Planning Sewing Partnerships

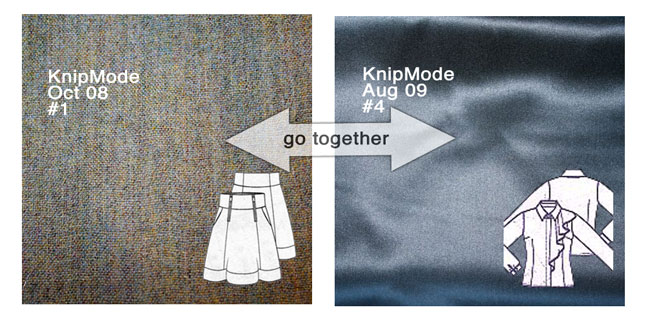
In an attempt to get myself to focus on pairing up the lovely (and overflowing) fabrics I’ve got on hand with the lovely (and overflowing) patterns I’ve got on hand, I did a bit of mental and virtual pairing using my scanned catalogues of fabric and patterns and a bit a Photoshop wizardry. I don’t particularly like doing SWAP wardrobes as they’re so rigid they end up feeling like a chore by about the third garment, so instead I wanted to focus on partnerships of fabrics and garments that could go with each other.

The first is the most straightforward: a skirt and blouse combo.

The skirt is one from last October’s KnipMode and features two big chunky zippers on the wide waistband. I just took the plunge and bought two fantastic brass teethed ones with big ring pulls from Zipperstop’s eBay store, only to find out that the brown colour in their photo was actually bright purple. They’ll now definitely be a “feature”!. The blouse is from my beloved August issue and is the Marni catwalk clone – I’ll be sewing that in some pewter silk charmeuse from Goldhawk Road that really brings out the blue in the skirt’s wool flannel.