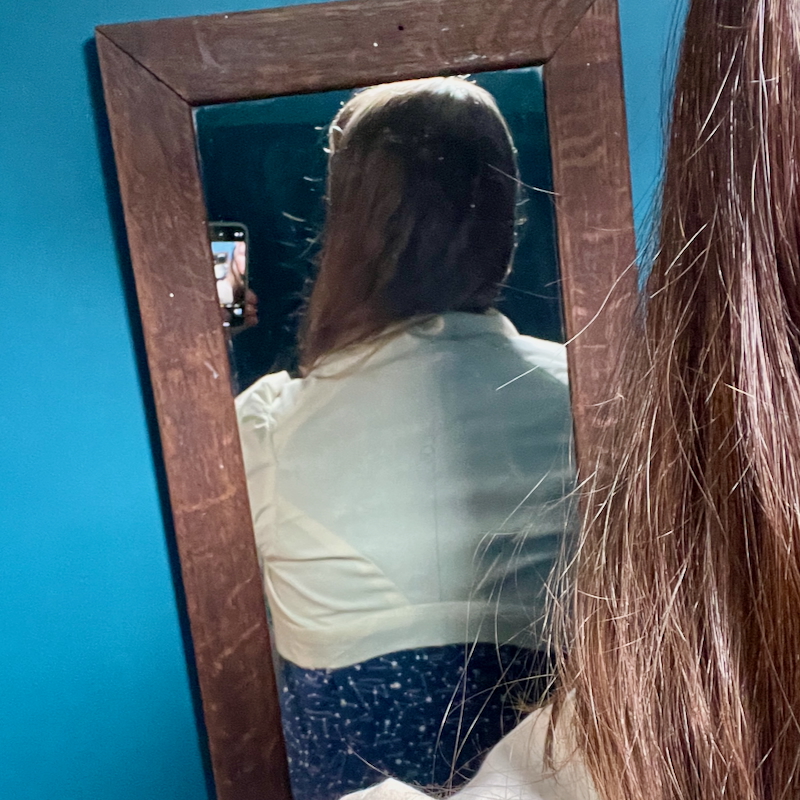
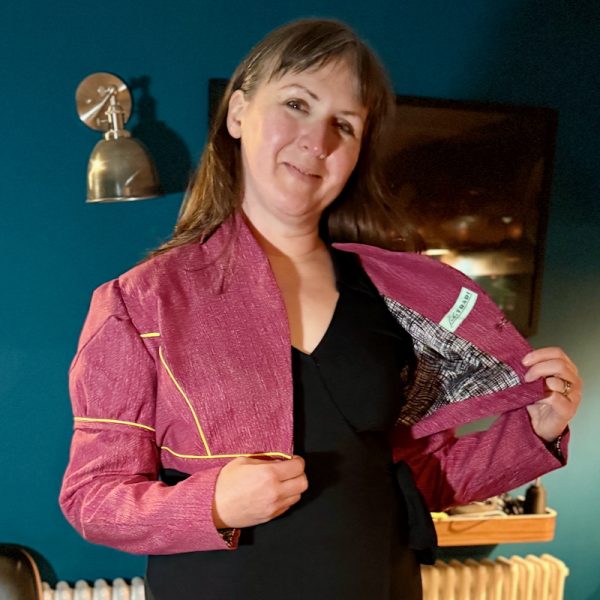
Settle in, because this is an epic post! Which partially explains why it’s taken me so long to post about this jacket, considering I finished sewing it in mid-December (also partially explained by the grim winter weather making it really difficult to take photos. I eventually gave up and just took some indoor shots instead!)
Our story starts back in 2020 when the Costume Industry Coalition launched a fundraiser for their members who were out of work with the theatres closed in lockdown- the Hamilton Spencer Jacket sewing pattern. I’d link to the pattern but their website domain is 404ing and their Etsy Shop is “taking a break” so I think they might’ve disbanded…? I think I paid around £20 for the pattern, which I viewed more as a donation than anything.
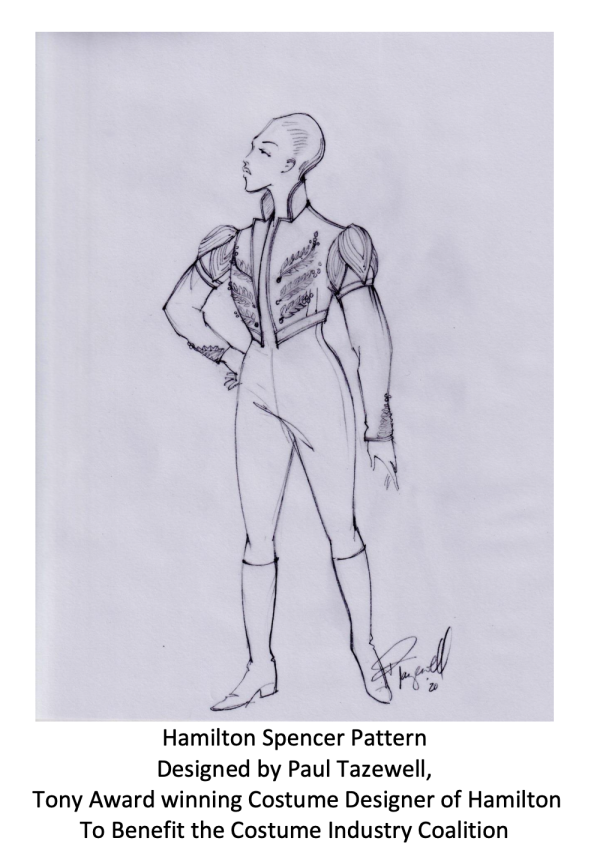
This pattern is taken directly from those worn in the musical Hamilton, but Spencer jackets are a historical garment worn by both men and women.
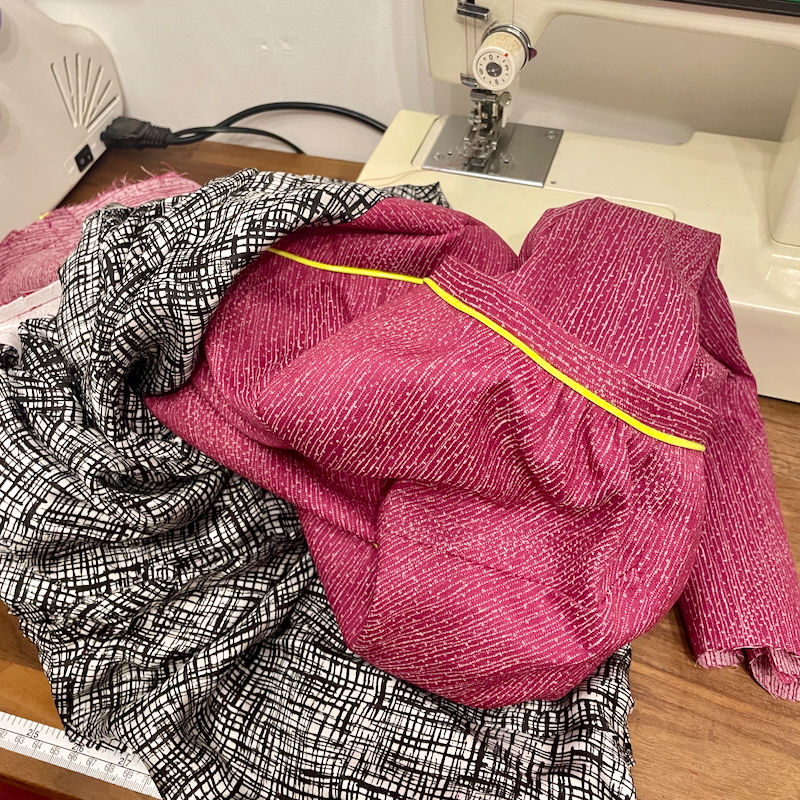
Also back in 2020, someone alerted me to a Japanese eBay shop that was selling off vintage kimono fabrics at ridiculously cheap prices, and I managed to buy 12m(!) of a beautiful 1980s kimono fabric in plum wool with white silk jacquard vines on it for £20 shipped! It’s absolutely stunning, but incredibly narrow – only 36cm wide!!
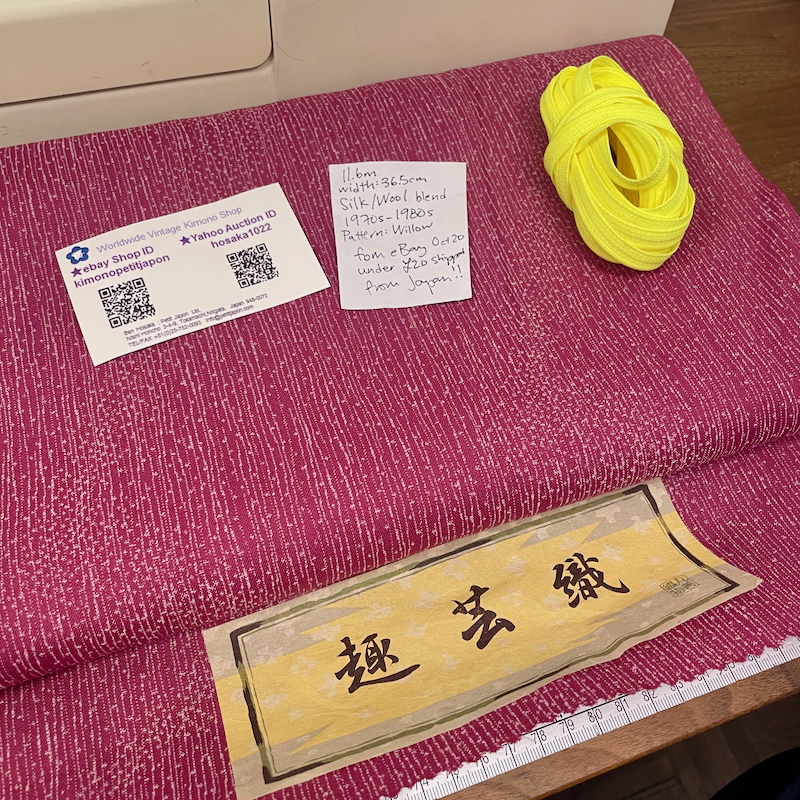
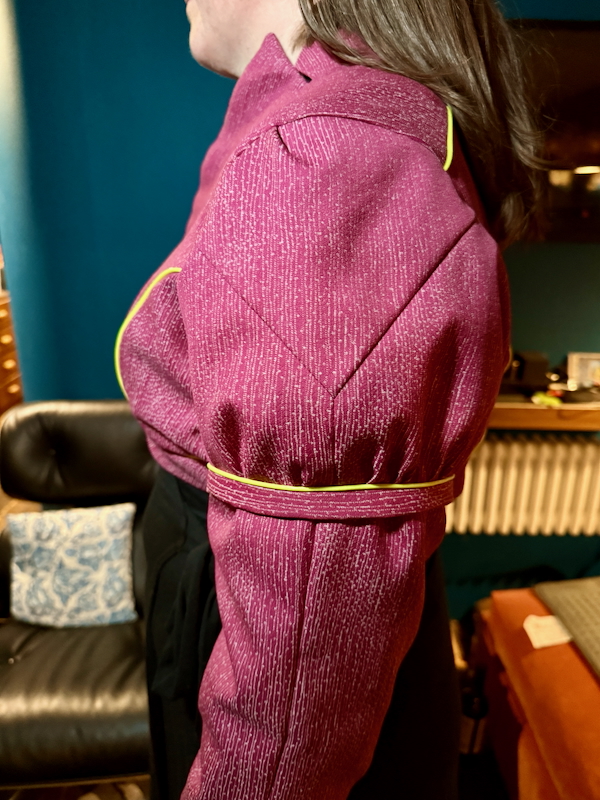
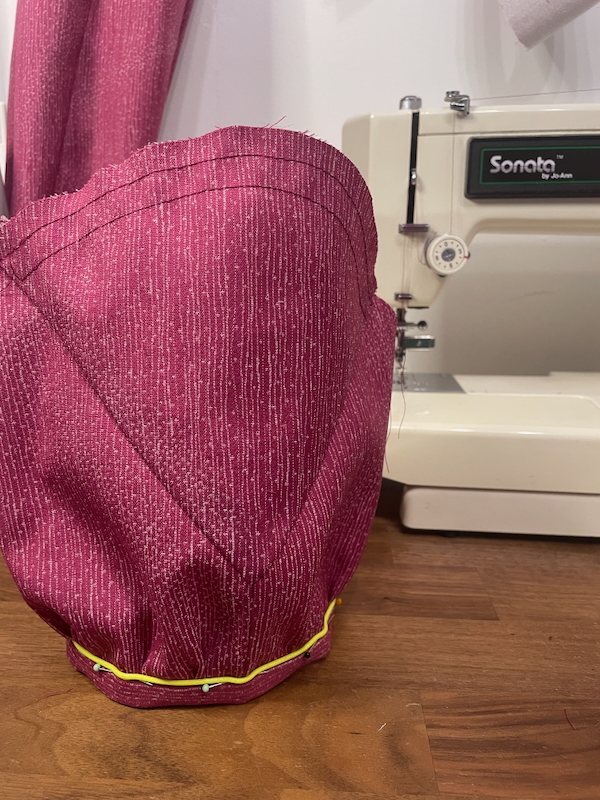
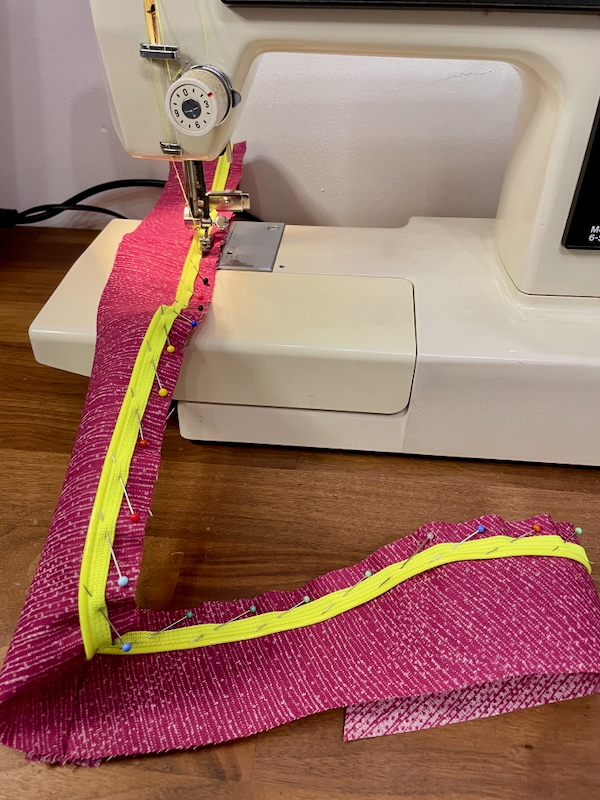
I really loved the idea of a pop of a bright, modern colour to accentuate the seamlines, so I bought 4m of neon yellow PVC piping from New Craft House. They’re out of my particular rubberised one, but they have other pipings in similar neon colours.
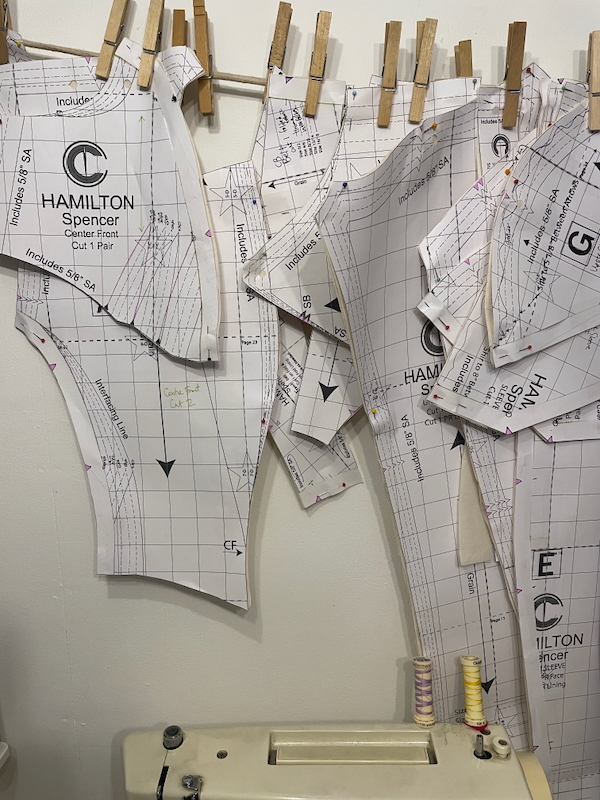
But before I even touched the fabric, let’s talk about the pattern. Because, hoo boy.
It’s a charity fundraiser so I don’t want to be too mean, but my god, this is only ever suitable for advanced sewists, and it’s clear that the makers of this pattern, while clearly talented with Broadway costuming, have never produced a home sewing pattern before. Surprisingly, the A4 “Print at Home” pattern came together not too badly, but the instructions… 😬 It honestly baffles me that there’s pages upon pages of instructions for the cord decoration on the jacket, but honestly like a few sparse sentences about constructing the jacket itself. And even then, it uses industry terms that home sewists are unlikely to be familiar with, no matter how advanced. Case it point – it says in multiple places to “flat line” a particular piece, and it took me ages to realise that they mean to underline it! But no mention of how to finish the resulting raw edges…
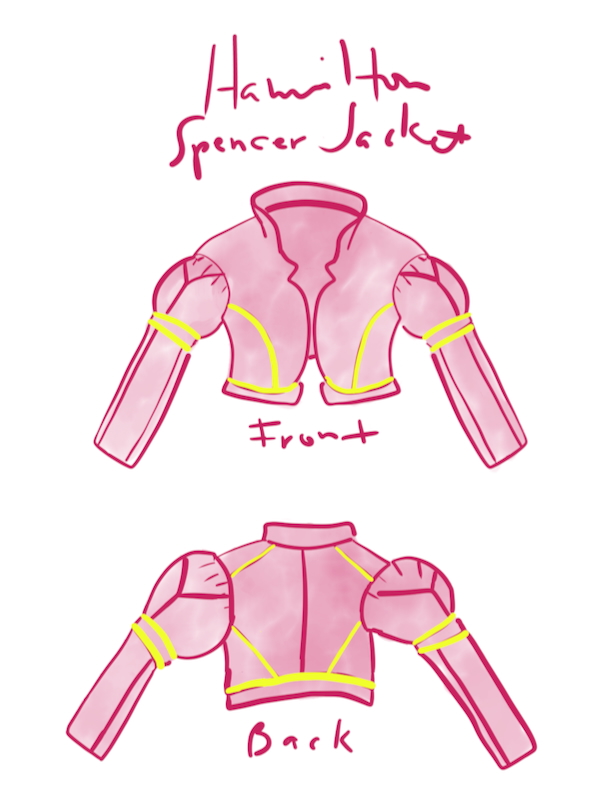
So suffice it to say, I didn’t even look at these instructions when actually sewing the jacket. It’s annoying there’s no tech drawing either, and that the original pattern I only only goes up to size 16/18 (Bust 44 1/2in), but I have a vague memory of seeing a larger size version added to their Etsy later?
I ended up making two muslins of this before I cut into that Japanese fabric, and I’m glad I did, because there were multiple drafting errors, the fit was really weird in places (more on that in a sec), and I also had to split a bunch of pieces apart so that they’d fit in my narrow fabric.
I made my first muslin back in April 2024 and I didn’t jot down electronic notes as I sewed like I do these days, so I’m only going off a scribbled sheet now as I document what I actually changed to the pattern:
- The pattern has double bust darts in front, neither of which were anywhere near my bust point. So I changed these to a princess seam, shifted to where my bust actually is.
- The collar as drafted was 2.2cm (nearly an inch!) too long for the neckline. This is a ridiculous drafting error that makes me annoyed that clearly no one walked the seamlines for the largest 16/18 size.
- The armscye of the outer puff sleeve didn’t match the long sleeve or body at the armscye. Not even close. Not even taking into account the gathers. Again, an obvious drafting error that should’ve been caught.
- The shoulder apex was noted, but not marked as a notch, and you need it in order to set in the double sleeves.
- I needed a full bicep adjustment on both sleeves and the puff sleeve band. I don’t normally need this adjustment, but it was tight (I added 2.6cm!).
- The puff sleeve wasn’t very puffy, so I added to that. Again, this feels like a grading error, and I’m assuming the smaller sizes have lots more gathering.
- I removed 3 1/2 inches(!!!) from the long sleeve length. I normally have to lengthen my sleeves, but these were past my fingertips. Who has arms this long??
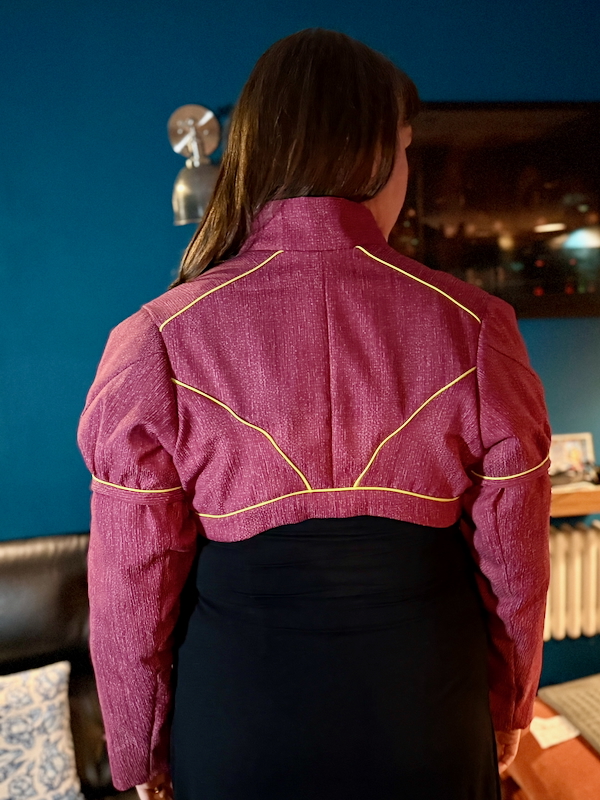
- The final fit adjustment was for a broader upper back (I added 2cm). I think this was intentionally drafted to replicate the popular “Pouter Pigeon” silhouette of the late 18th century, which forced the wearer’s shoulders back, and chest out. A cool historical detail, but not one I’d be comfortable wearing now, and the risk of “Hulk-ing out” that upper back seam was far too great.
- And then I had to split a bunch of pieces so they’d fit in my narrow fabric, too: the puff sleeve into 3 pieces (I thought the triangular seaming would look more intentional), the Front into 2 pieces with a princess seam, the Centre Back into two pieces with a CB seam, the Belt into 3 pieces (2 pattern pieces), and the Upper Sleeve into 2 along the centre line (so I ended up with a 3-part long sleeve).
This was then parked for ages because I was too sick to tackle such a big and complicated project, and also I was gaining so much weight being mostly bedbound that I didn’t want to keep altering it bigger and bigger…
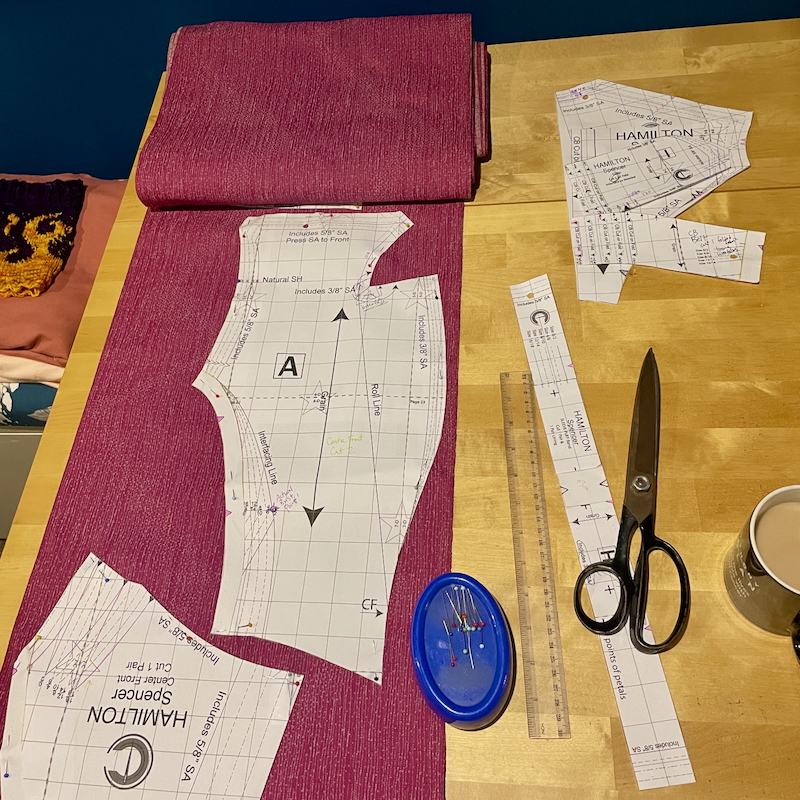
But I really wanted to finally make it now I was feeling better, so I finally cut into my precious kimono fabric, and used the viscose twill crosshatch lining fabric leftover from my FibreMood Carly jacket (now about 3 sizes too big but sod it, I wear it anyway) as the lining. Despite what the pattern intended, it still came with facing pieces and a Front Lining piece, so I just did a traditional lining method and bagged it out.
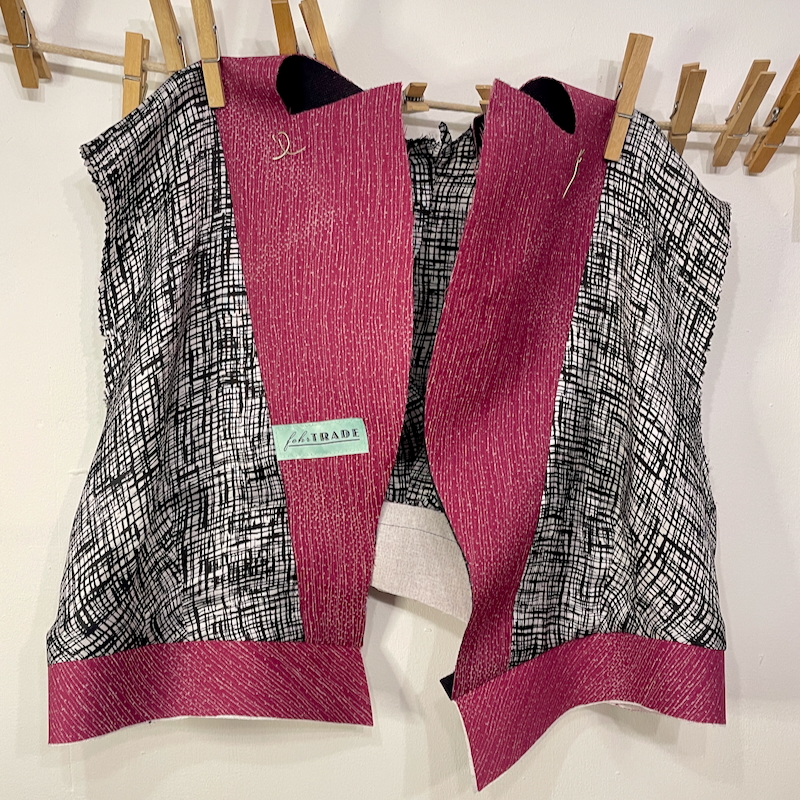
I didn’t really write down my order of construction, but I did construct the collar fully and then sandwiched that in between the shell and lining when I joined them together, which worked well. The instructions didn’t say much about interfacing, but I’ve sewn enough jackets and coats to know to interface the Front up until the roll line. I’m glad I did, because the collar stands up nicely as intended.
Since I only had 4m of piping to play with, I wanted to plan out where I’d put it, rather than risk winging it and running out partway through. So I got out my iPad and sketched a little tech drawing to refresh my memory of how everything fit together, but also indicate which seams I wanted to pipe. I ended up following this very closely – the only exception being the botton of the sleeve puff band, which was already so thick and cumbersome there was no way I wanted to add piping in there!
One annoying thing about this pattern is that the seam allowances are all over the place and for no apparent reason. Most of the seams are 5/8″, but then a bunch are randomly 3/8″, which really kept me on my toes! Having to specificy the seam allowance on every pattern piece edge, for each size really makes for a very cluttered pattern piece on top of everything else (and an alignment grid!).


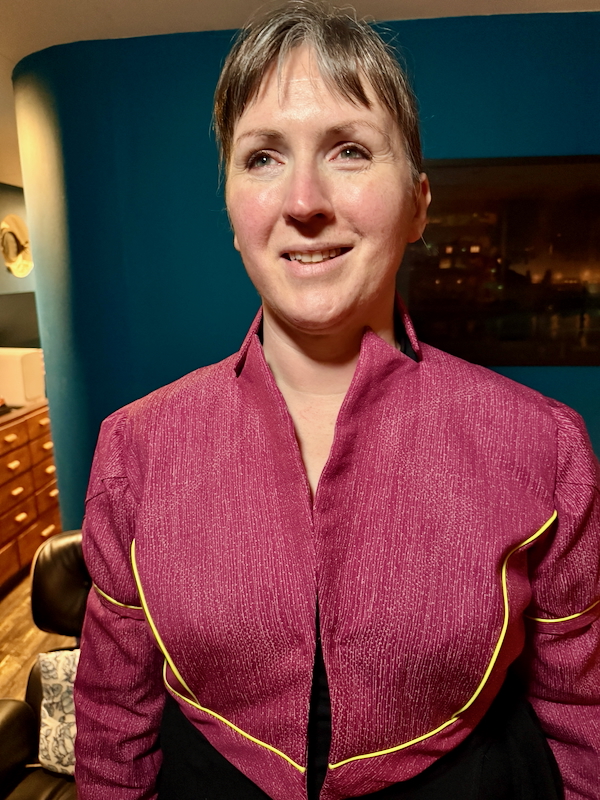
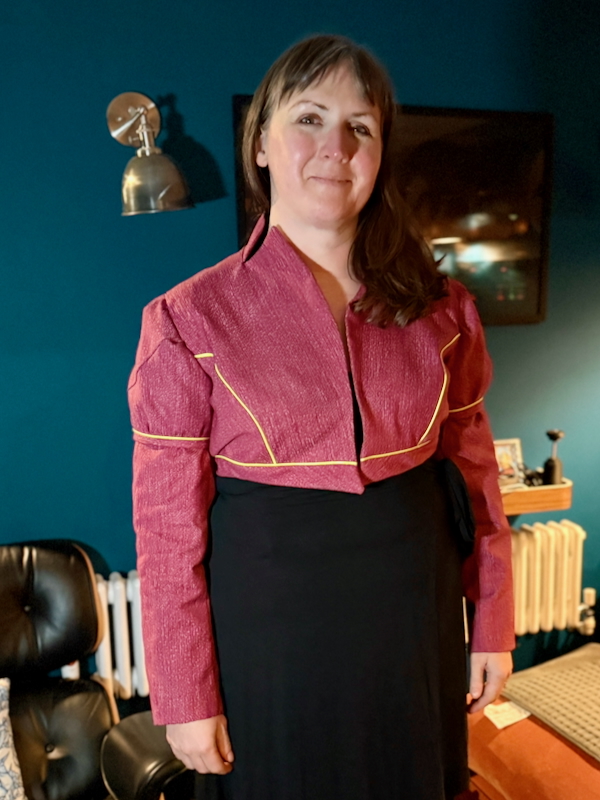
I added a little hanging loop at the back neck, formed from a bias tube of lining fabric, and I also hand-sewed a hook and eye inside the front opening at the bust line. Even though it fit perfectly, it kept falling open and creating some drag lines which I didn’t like. The hook and eye keep it in place, and are practically invisible when I do want it to hang open.
I also stitched in the ditch in multiple places along the lower band’s piping to keep the lining from falling down, and also along the back/shoulder seams to keep that in place. Before sealing up my lining holes in the sleeves, I also tacked the underarm and shoulder points of the shell and lining together with some hand stitches.

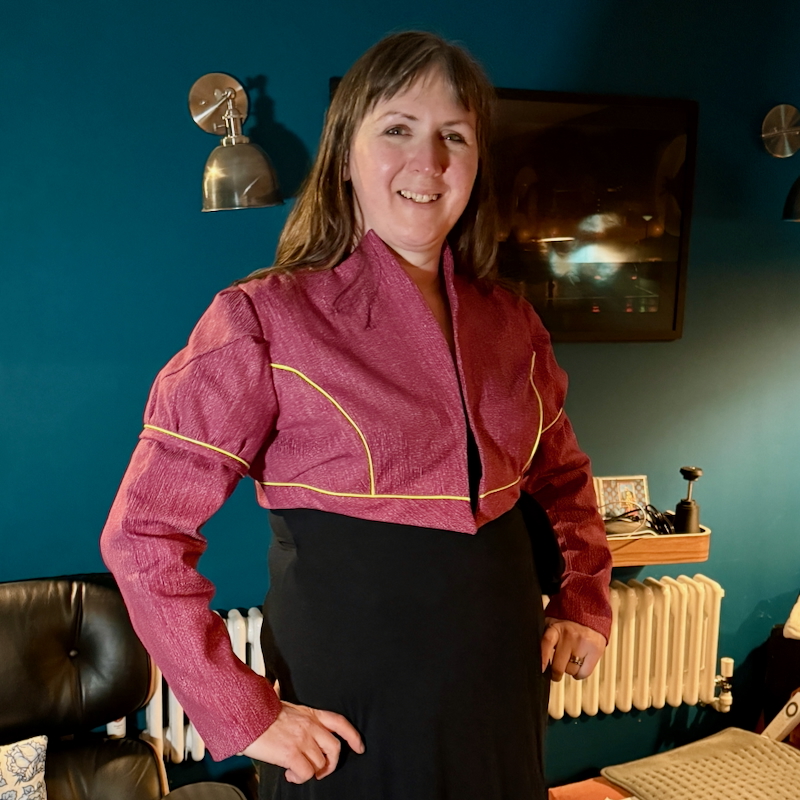
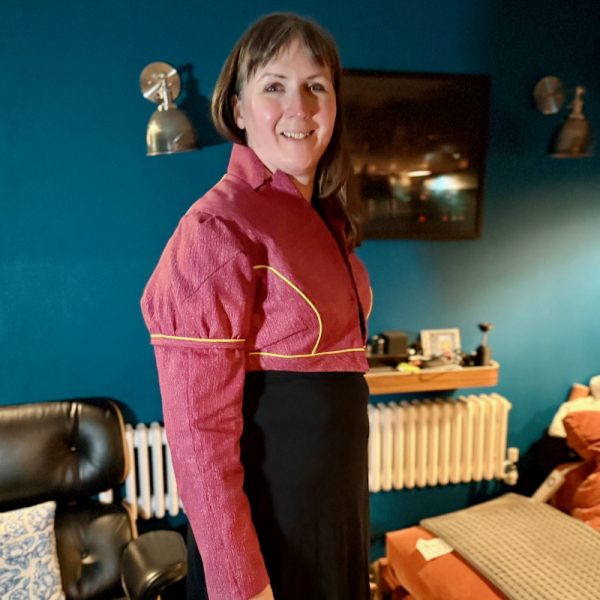
The finished jacket absolutely matches the vision I had for it – completely bonkers!! I don’t really know where I’ll wear it, or what I’ll wear it with, but I still love it just the same. It’s certainly a “statement piece”!