I was in such a buzz of sewing activity on this bank holiday Monday that I finally got a chance to make BurdaStyle’s Marcel sleep mask pattern that I’ve been meaning to sew for ages now!

One sleep mask is for myself, but the second one is a surprise for my friend (and will-be bridesmaid) Gez (who got it slipped through her letterbox last night!).
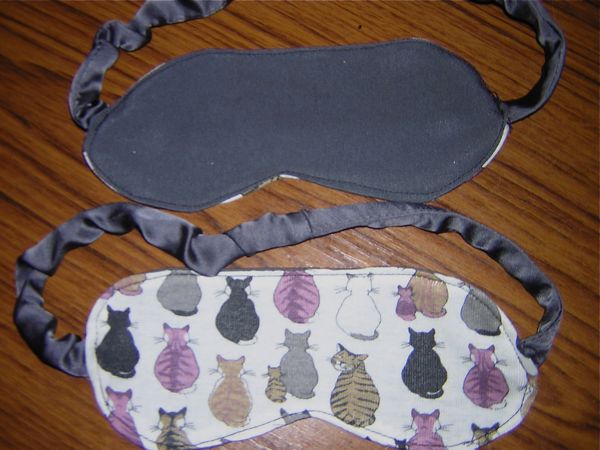
The adorable kitties fabric is from a tunic she gave me that was a bit too long for a shirt but too short for a dress, so I chopped off some length and saved the offcut to make something for her. The grey fabric is from a skirt her auntie gave me years ago that I completely forgot I even had until I dived into my scraps bin looking for something to use here. The dark grey backing was the skirt itself, and the shiny (silk?) casing used to be the waistband of the skirt. So it’s an entirely recycled sleep mask!
There aren’t any instructions for the pattern, but it’s very easy to make one and would be a great project for beginners:
- Cut two of the mask shapes. One side should be a dark colour to place against your eyes, but the other can be anything! (If you’re using two very lightweight fabrics you may want to interface the backs of these)
- Pin the masks, right sides facing, and sew 5/8 inches from the outside edge, keeping the marked areas open.
- Trim the seam allowances and clip the curves
- Flip the eyemask inside out using some tweezers, and press well
- Place the mask to your face and place some elastic around your head to measure how much you’ll need (my big head needed 36cm of elastic)
- Sew a narrow casing a little longer than your elastic, turn it inside out, and thread the elastic in using a safety pin attached to one end as a bodkin
- Sew the ends of the elastic and casing together so the elastic doesn’t get lost inside
- Insert the elastic and casing into the holes on either side of the mask and edgestitch the entire mask, catching in the casings as you reach them
- Press a final time to neaten up the edges and fall fast asleep!
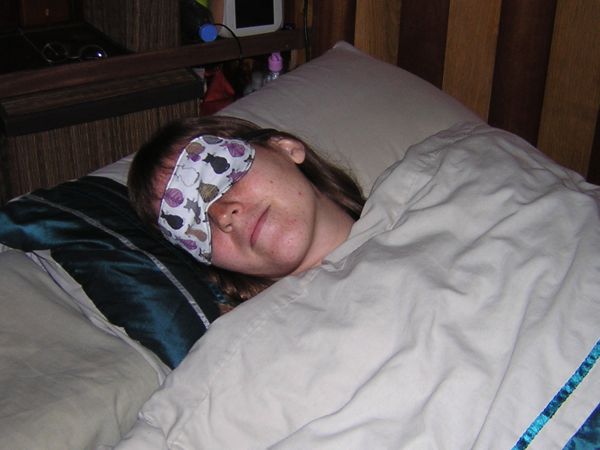
Having tried it out last night, I can attest that it’s much better at keeping the light out than the free airline ones I’d been previously using!
Fun fact: I sleep with my eyes half open, so on the boat with its many skylights, these sleep masks are absolutely essential. Apparently when I was little my mom used to come in and try to close my eyes and they’d just pop right back open, heehee