I’ve been wanting to try my hand at bra-making for over a year now, but I just kept putting it off because it seemed so complicated and easy to mess up and I didn’t want to ruin the really pretty fabrics I’d bought for it. So my bra-making ambitions sat in a box, waiting… Until I saw that thesewingchest.co.uk was giving away free toile kits with any bra pattern purchase and knowing that I’d have all the fabric and bits I’d need to make a bra, but without the worry of ruining one finally gave me the courage to try!
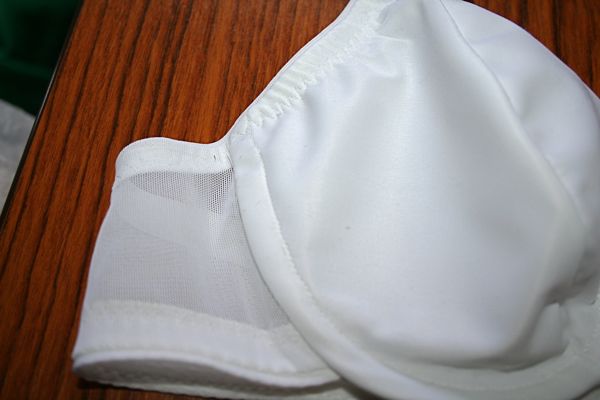
Even though I have two bra patterns I bought last year, I picked up KwikSew 3300 plunge bra – and made View B with both lower and upper cups in lined cloth as my muslin. View A has the upper cup in lace, which I’ll try next…


I’m really glad I chose this KwikSew pattern as it’s really good for bra sewing beginners!
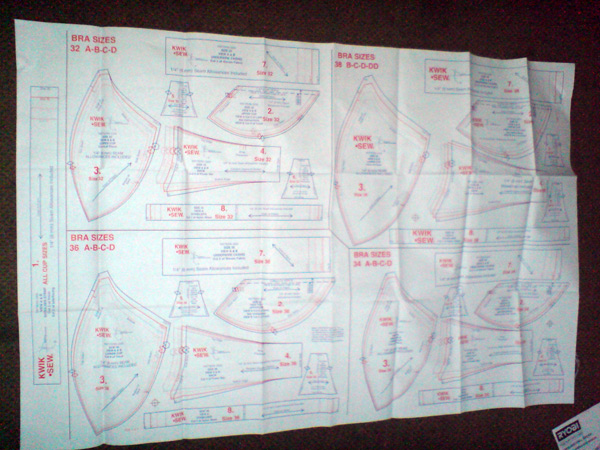
- The pattern sheets are split up by band size and are really easy to navigate
- The instructions and diagrams are excellent, especially for a first-time bra maker like me! There’s an awful lot of hand-holding that goes on that I wouldn’t expect to see in most patterns.
- It only assumes you have the barest of notions (elastic, powernet, plastic O rings and sliders for the straps, underwires and pre-made hook and eyes), having you make the straps and underwire casings yourself
- It only uses the straight, zigzag, and three-step zigzag stitches (which I didn’t even know my old machine had! This is even optional, it gives alternative zigzag settings if you don’t have the three-step). So if you’re thinking you can’t sew lingerie because you haven’t got a serger – think again – I didn’t even touch mine making this!
So even with all of this, I did end up with a bra that I can’t wear! The problem is that I accidentally used the wrong elastic on the bottom back:
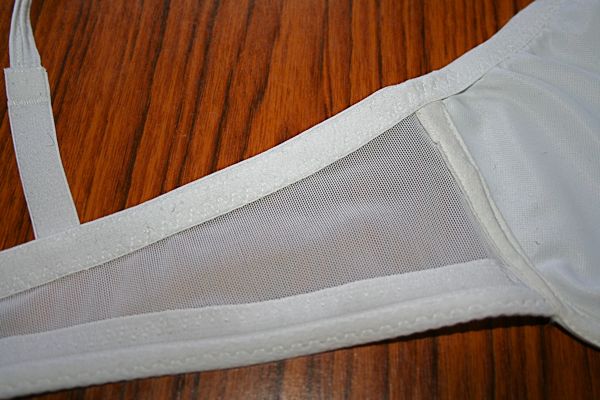
It has a picot edge so I thought it was the right one, but it turns out it’s not anywhere near stretchy enough (I should’ve used just the plain plush elastic, and I know better for next time!)
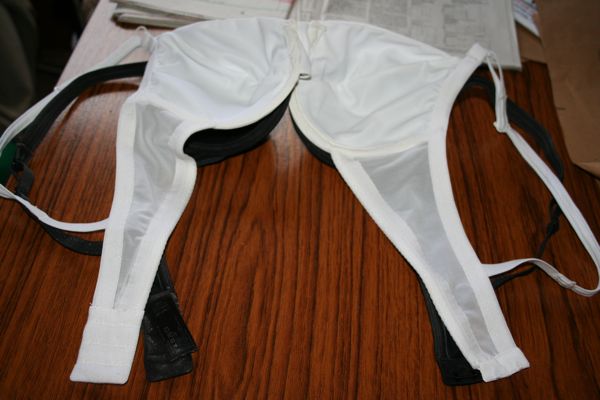
Here’s a comparison shot of my bra lying on top of a black RTW bra, so you can see that they’re the same size/length, but mine just not stretchy enough to go the whole way around my back!
BUT – I’m not upset or even disappointed as that was the whole point of the toile kit! Now I’m confident enough to break into my good stuff, the elingeria.de bra & pants kit bought last January, without fear of messing it up! Not every project ends up with my learning a new skill at the end, but I really feel like I’ve learned a lot from this process and I’m ready to now play with variations on the theme. I wouldn’t say that sewing this bra was particularly difficult, nor was it easy – there are just a lot of steps involved that need to follow in the right sequence, and a good set of instructions goes a long way into simplifying and speeding the process!
This post is dedicated to Sigrid, the ultimate bra sewing extraordinaire, without whom I would’ve even have thought of sewing my own, let alone have all the magnificent tips in her bra sewing tutorials!