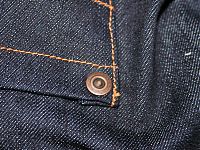
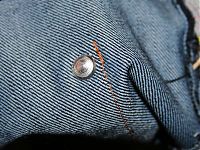
I’ve sewed a bunch of jeans over the past few years, and with every single one, I’ve been disappointed by the quality of the rivets available to buy as a home sewers. I’ve tried the ones available in stores, like Prym, Hemline, etc and every single time they let me down. Even when they’re properly hammered into place, they move around and “jangle” a bit, they’ve been snagging my coat linings, and I’ve had several fall out under normal wear of the jeans. For my last few pairs, I haven’t even bothered using rivets at all. I’d rather not use any than ones that look and behave badly!
I’ve been keeping an eye out for quality rivets for a while now, and I’ve heard word that a man named Junior in Louisiana does excellent ones and will sell them in small quantities. So I took the plunge and bought a few of his high quality rivets (and a handful of all-metal buttons while I was at it), even though it meant importing them from the States.
Seriously, these rivets are fantastic – they look just like RTW, are easier to install than the crappy ones, and once they’re in, they’re in!
Here’s the finished back pockets up my upcoming jeans:
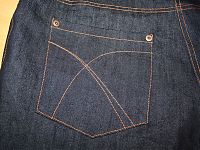
I can never go back to crappy rivets again – for real, I’m tossing the others in the bin. So as part of my grand education scheme, I’m going to show you all how easy these are to install. Just say NO to crappy rivets!
How to install jeans rivets
You’ll need an awl (an ice pick may work in a pinch though), some pliers with a wire cutter, and a big ol’ hammer.
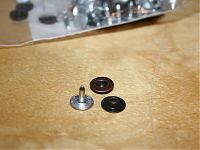
Here are the Rivets pieces. On the left is the nail, which goes on the underside of your jeans. On the right is the cap, with the right side shown at the top, and the wrong side (which connects to the nail) underneath:
Use an awl to poke a hole where you want the rivet to be:
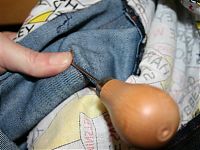
Poke the nail (T-shaped piece) up through the hole from the underside:
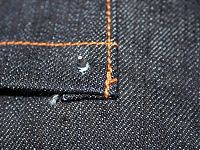
VERY IMPORTANT! Trim the nail down with some wire cutters so the spike poking through is only a milimeter or two taller than the fabric. (If you don’t trim this down, the nail will bend and snap when you go and hammer it in!)
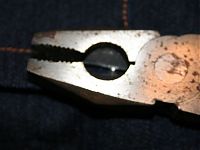
Place the rivet cap onto the nail:
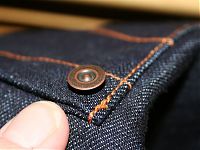
Place your jeans so the underside of the rivet is on something very firm, like steel or concrete (wood is too soft, and you may end up marking your wood!). Take a hammer and bash the rivet a few times. I’m pretty inept at hammering and my inaccurate blows were more than enough to set it.
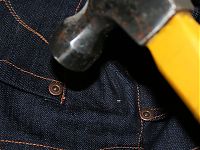
And you’re done.
These are in SO well that when I tried to rip out a test rivet, the denim actually gave way before the rivet did. And there’s no sharp parts to snag my coat linings! I’m in love!
(And to be clear – I’m in no way affiliated with Junior. I’m just a seriously happy customer!)
There’s a full rundown and photoshoot on my new jeans later this week!

