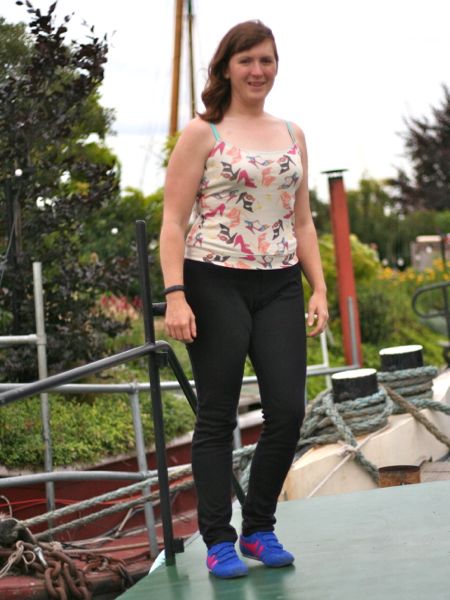
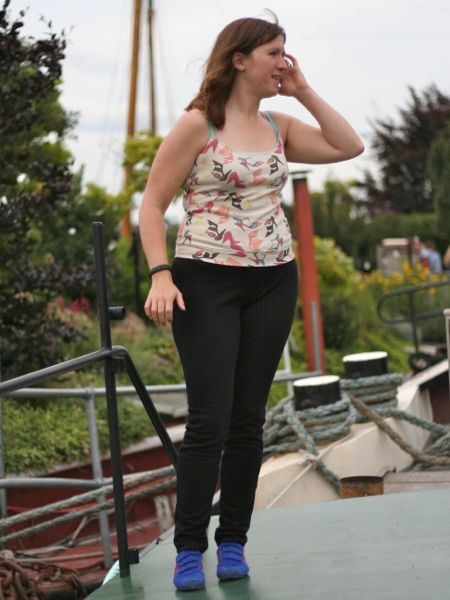
Now that I’m feeling better, I can start showing you all the garments I made when I was ill (I’ve got two more after this, too). It’s convenient that these trousers and top pair together so nicely, as I can show them together in one photoshoot!
First up, let’s talk about the trousers!
These knit trousers are Burda July 2012 #130 but this is also available as a pdf from BurdaStyle.com if you missed this issue.

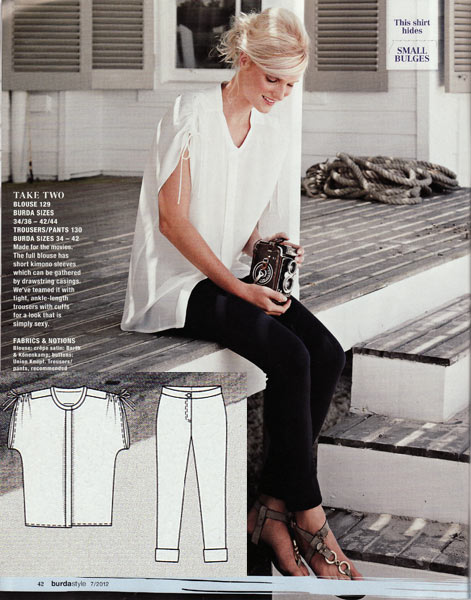
The main reason I made these is that they’re a pattern for knits, which you don’t see very often, and they’ve got nice slim legs and a fly front. Usually knit trousers mean elasticated waistbands a’la leggings, but I have fond memories of a few RTW pairs like this I had in high school and university that I wore positively threadbare! I hate turn ups, though, so I just cut these at the final indicated length and then just didn’t fold them up (for normal length legs rather than 7/8 length with cuffs). On the next pair I’ll slim the ankle a bit more though
I made these in a really nice quality black polyester ponte jersey from Truro Fabrics. I bought a sage green ponte at the same time for a second pair, and I’m glad to find a reliable UK source for really great ponte, as Burda often uses it in their patterns. Furthermore, these only needed 1.5m of fabric so I made these trousers for a grand total of £16.25 (the zipper set me back a whopping 50p, ha!). That’s downright Primark prices, there!
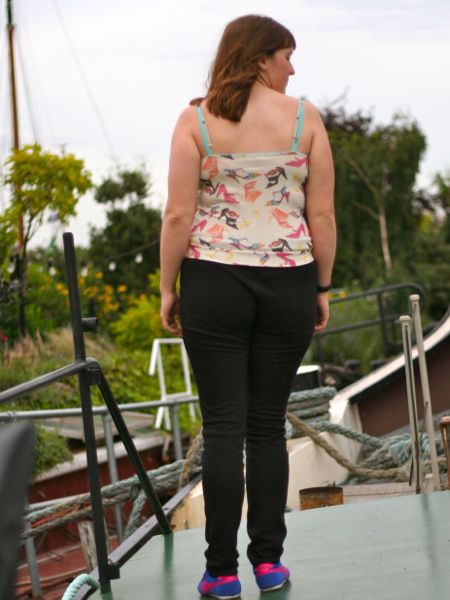
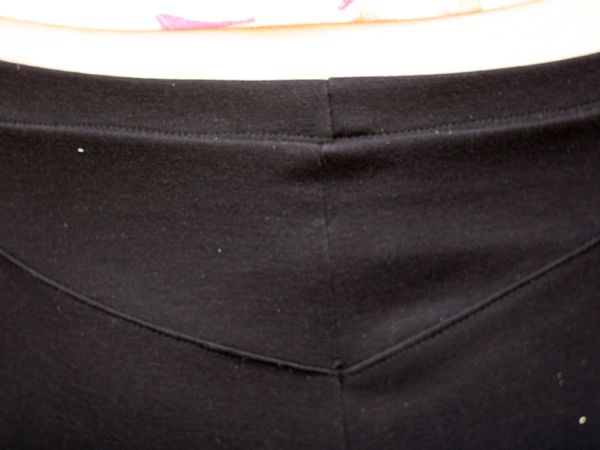
The back features a nice topstitched yoke instead of darts, though the only thing I’m not keen on here are that there are no pockets, either in the front or back. The pattern uses a straight, narrow (and interfaced) waistband with centre back seam for easy swayback fitting (which is great if you’ve got bootay).
I absolutely love trousers with fly front zipper openings – I vastly prefer these to side invisible zippers, which tend to irritate my skin, so I was happy to have the change to do one on a stable knit here. I fused some light interfacing over the fly area to make sure the zipper didn’t ripple, and it looks really nice in the end (though it’s photo came out blurry, sorry!). I used a trouser hook here instead of a button purely because I didn’t have any suitably sized black ones in my stash.
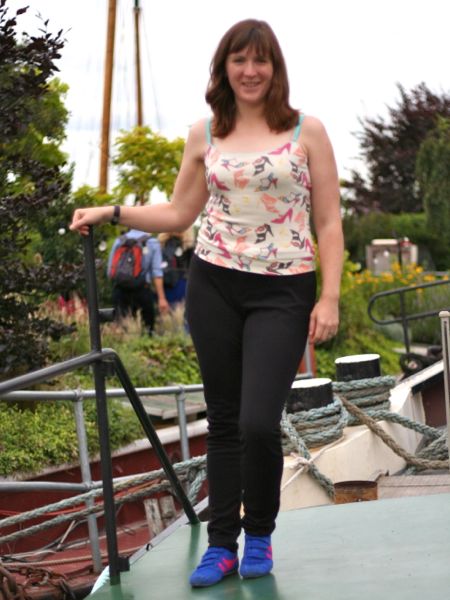
Having worn them to work this week, I can report that these are really super freaking comfortable to wear!
And now for the top…
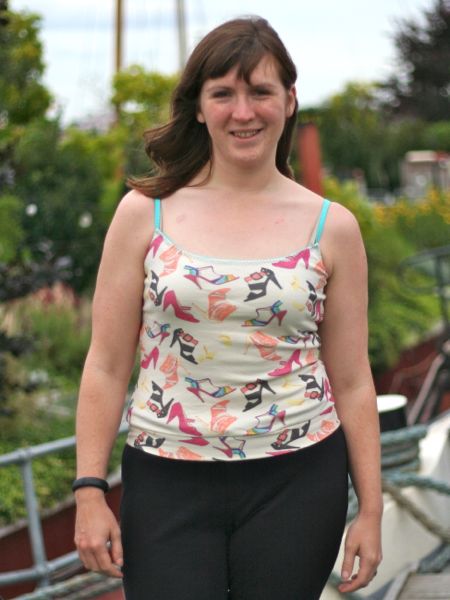
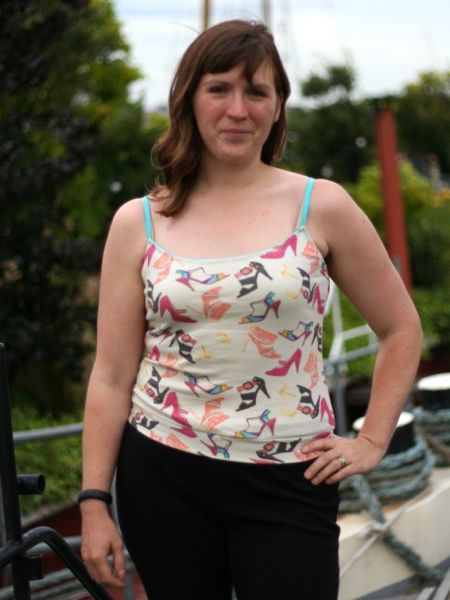
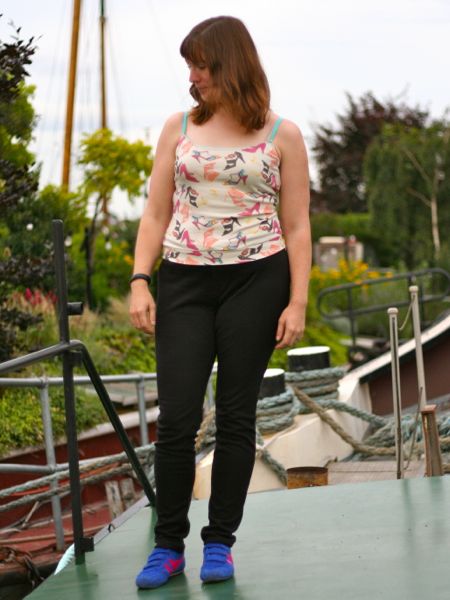
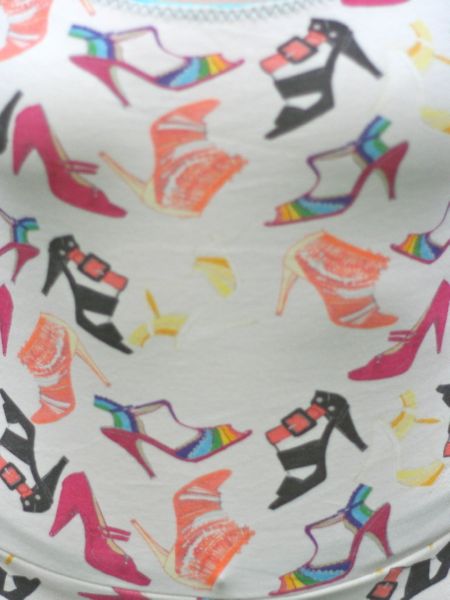
I made this quick and easy vest top using Zoe’s free pdf pattern and two fat quarters of shoe print fabric I bought from Spoonflower ages ago. I’ve got mixed feelings about their organic cotton jersey – it’s nice and hefty, but doesn’t have a good recovery, the edges tend to go wavy and distorted, and the print on about half the designs I bought faded in the first wash. It’s nice and soft, so great for sleep and loungewear, but on the other hand, for $27 a yard, I kinda expect better and consistent quality than what I’ve had.

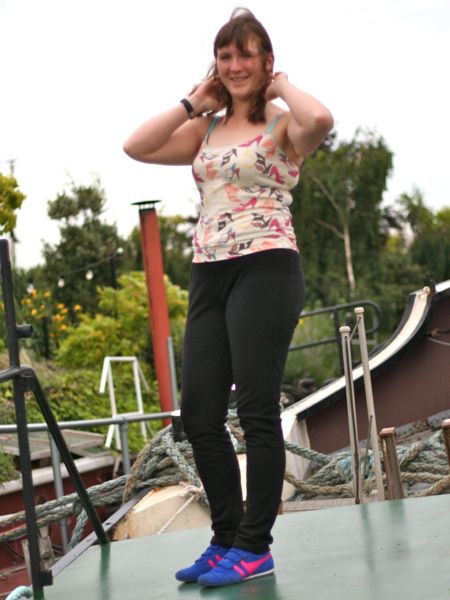
Since the print here is directional and the fabric is a short length, I didn’t have enough length to make a full length vest as in Zoe’s pattern (unless I wanted the shoes oriented sideways!), so I added a folded hem band to give me more length.
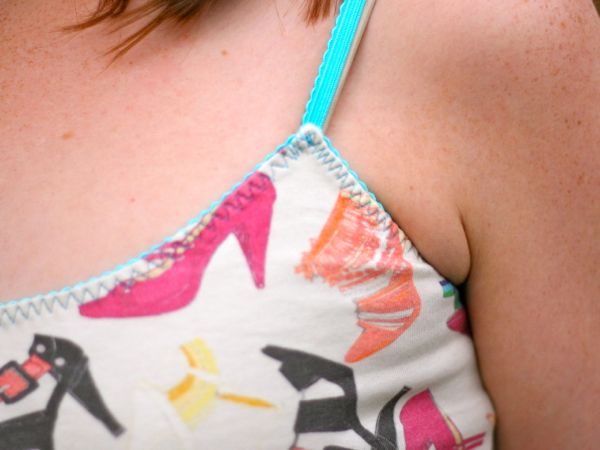
I had this turquoise lingerie elastic in my stash which matched a bit of the print, so I used that to trim the top edges and carry on as the straps, which looks really nice and neat. I used my basic method for attaching lingerie (plush/picot edge), which is to attach the non-plush side to the right side of the fabric with a narrow zig-zag stitch, then flip it to the inside and use a triple zig-zag stitch from the right side of the garment.
My only issue with Zoe’s pattern is that the sizing is a bit vague – there’s no measurement charts, and instead, the sizes are based on UK RTW, which can vary wildly. But I’m a fairly standard UK size 14, so I went with that, but I find it a bit tight for my liking, so I’ll go up a size next time. Or it might be fine in a knit with a bit of lycra. But it’s a great pattern and really easy to sew together, and I’m really happy when I can support other bloggers!