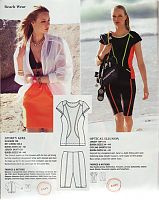
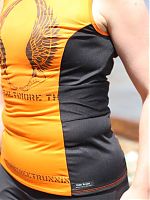
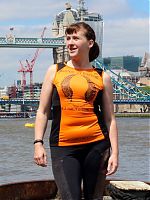
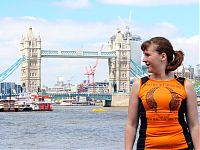
One practical aspect of being a sewing runner (or a running sewist) is that I can take all those oversized race tee shirts that seem to accumulate and refashion the nice technical fabric into something more suitable. Oftentimes I just trim down the front and back based on my knit sloper (like I did with my Paris race tee), but this time around I thought I’d change things up and use a Burda pattern instead of my usual sloper, since one presented itself nicely in the form of the “scuba set” in the June 2013 Burda magazine (or you can purchase as a pdf here).
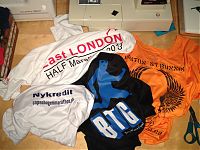
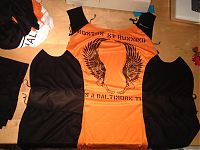
I started by pulling out a pile of race tees I wasn’t 100% happy with (though in reality I only did two of these four)…
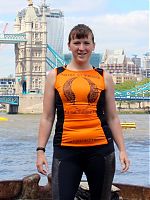
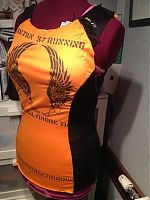
This particular shirt was always destined to be refashioned – I visited tons of running shops when I was in Baltimore in April, but my favourite was a small, very friendly shop run by a very enthusiastic runner, Boston Street Running (Baltimorians, it’s down by the big Safeway in Canton). I ended up chatting to him for ages about nutrition, races, running fashion, and he despaired that he only had one of their shirts left, and it was XXL with a printing mistake, as he really wanted to give me one!
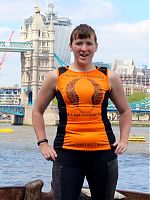
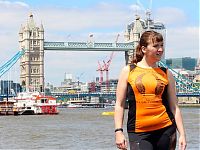
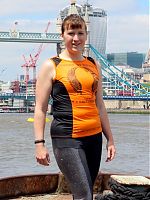
I assured him I’d refashion it down, and send him photos of me wearing it in front of Tower Bridge…
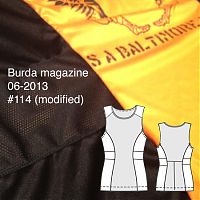
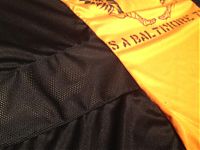
One thing I really like about this pattern is that there are no side seams – it uses side panels instead!
I actually refashioned this one in parallel with the BTG race shirt in the pile (which you’ll see later this week), so the black bits here are from the excess of that original top. Even so, I had to piece the side panels so the mesh areas are in the centre of the sides to make it look more intentional (I altered the tech drawing above so you can see my extra seaming).
I brought out my coverstitch binder again to finish off the neck and arm edges – it’s a fraught process but it really does give the best finish by far, especially when you can use self-fabric and matching thread like I did here!
I think if I used this pattern again in future, I’d scoop out the underarm and lower the neckline a bit, as both are a bit higher than I’m used to in my running gear, but neither bothered me when I was out on my test run!
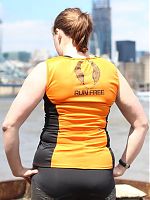
I used the back of the original shirt as the front here, but the print was so high up that I had to use contrast fabric on the shoulders so the logo wouldn’t get cut off. Likewise, in the back I had to do a bunch of piecing in the lower back, and bits of the text got chopped up all over, which I really like!
One thing to note is that this pattern doesn’t have much ease. This is fine if you’re making the scuba/running/cycling view and expect it to be tight-fitting, but the pattern pieces are also shared for the teeshirt view and the dress with curved waist band, where the lack of ease might come as a surprise!
I was a bit dismayed when I first looked over these photos and saw that I look a bit pudgy here. I thought about reshooting this but then I thought “nah, screw it, my body just ran a marathon and it enjoyed the three weeks of healing and rest (and cake)”. This is what my running body looks like sometimes. (And also, the cleaning lady at my office just asked me if I’d lost weight recently, so I’m just going to chalk these photos up to a tighter waistband, a bit of extra cake, and me not sucking my gut in!)

