Yes, you read that right – these are just the photos from the daylight shoot – the nighttime shoot photos will be coming coming up shortly! Even so, this is a very photo-heavy post with a lot of detail to cover, so grab a cuppa and settle in…
As you recall from my earlier post, I planned to sew a tribute to the iconic Wolfkiller Cloak from Interview with the Vampire, but adapt it to be a swing coat with a detachable fur-hooded capelet in order to make it warmer and more wearable. Honestly, if you haven’t read the other post yet, you really should!
The construction
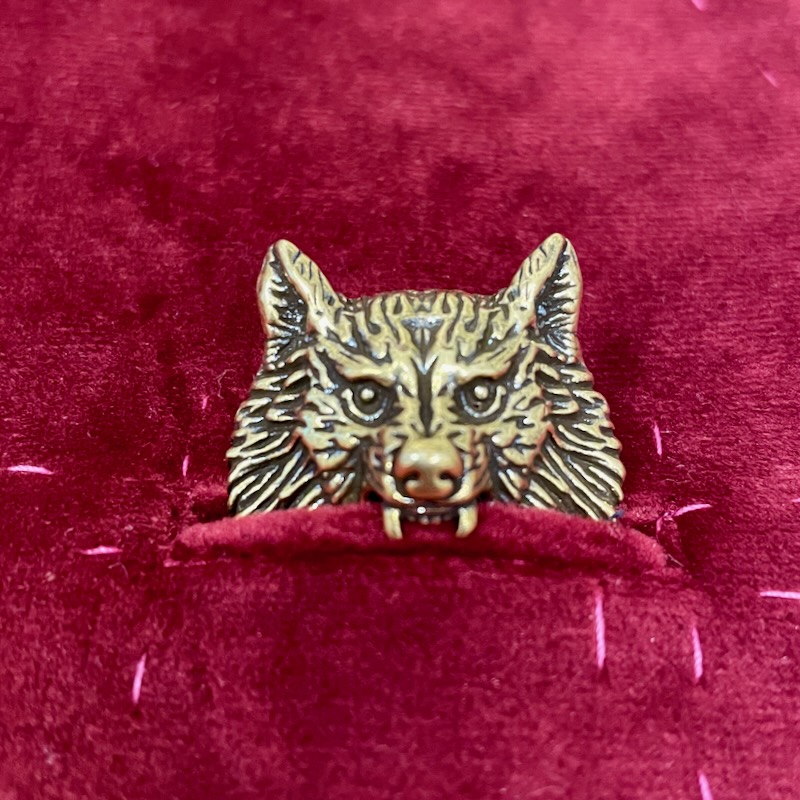
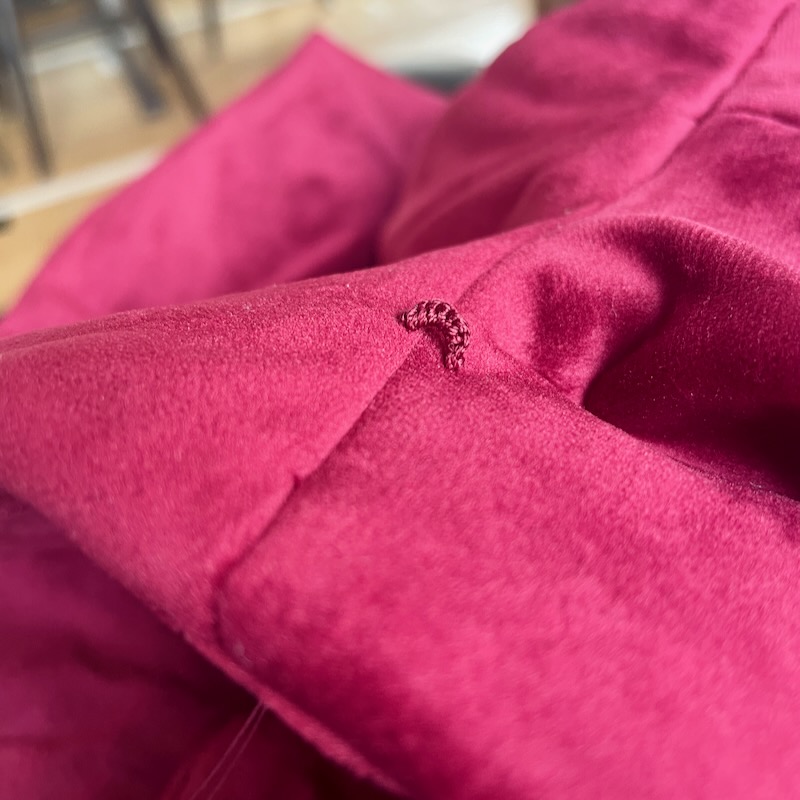
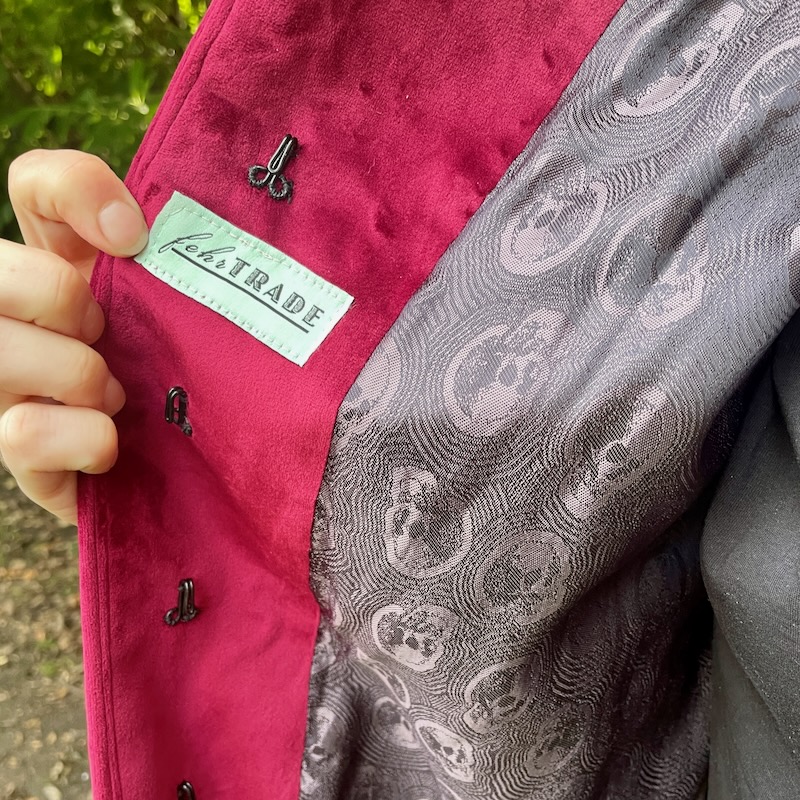
One of the first parts of the actual construction (after all the flannel underlining basting I did as prep) was to create the bound buttonhole in the swing coat, so no pressure there! Since it’s been a while since I’ve sewn one, let alone in velvet, I thought I’d make a buttonhole in test fabric first, and it’s good I did because I needed to make it a bit longer to accomodate the thickness of the wolf button. I swear I was only pushing the wolf button through to double-check it fit easily through the bound buttonhole I just made, but then his little fangs went over the edge and I had a little giggle! Yup, this is a Lestat coat already. 😂
Having made so many coats over the years, I definitely have preferences and how I mix-and-match quick techniques vs couture finishes. Is catchstitching all the seam allowances open totally necessary? Nope, but when I’ve skipped it on a coat I hate how I can feel the lumps when I wear it so it’s necessary to me now.
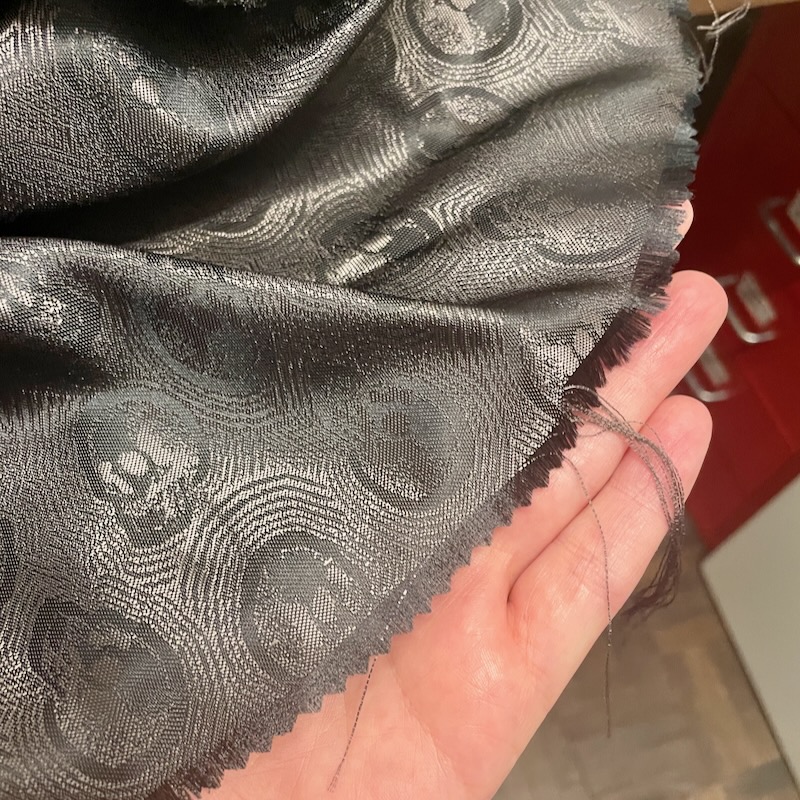
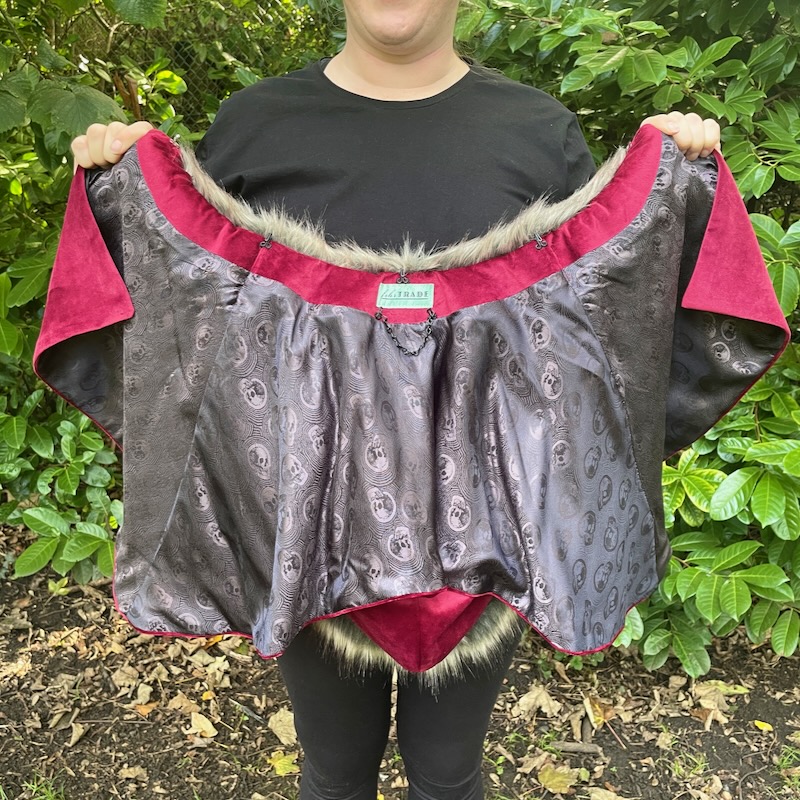
I thought sewing the lining would go really quickly but the skull acetate jacquard really shredded at the edges despite my pinking shears so I had to overlock all the seams after sewing to prevent having to replace the lining entirely in a year or two! 😭
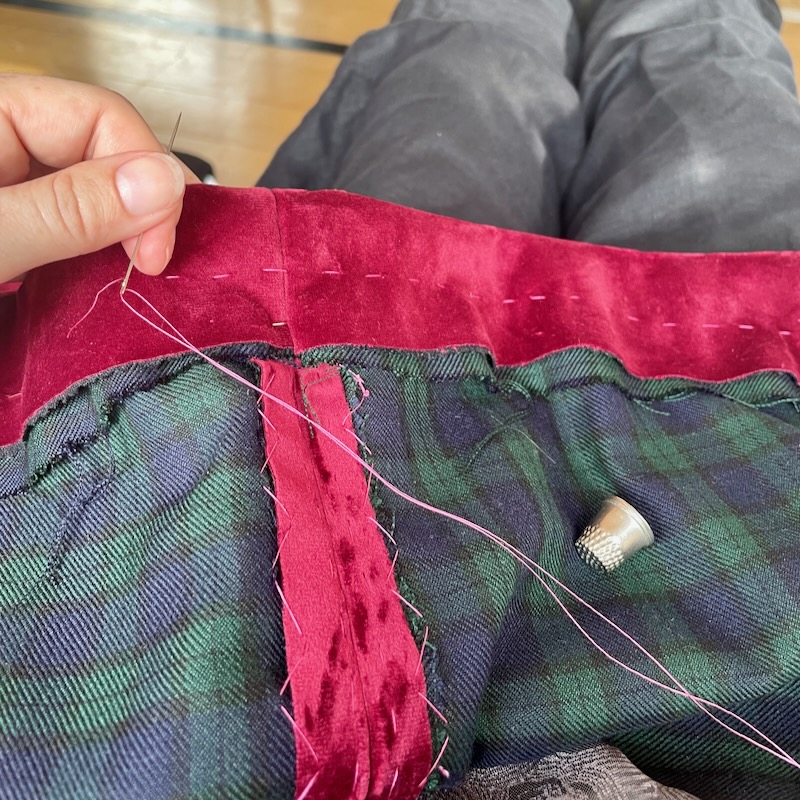
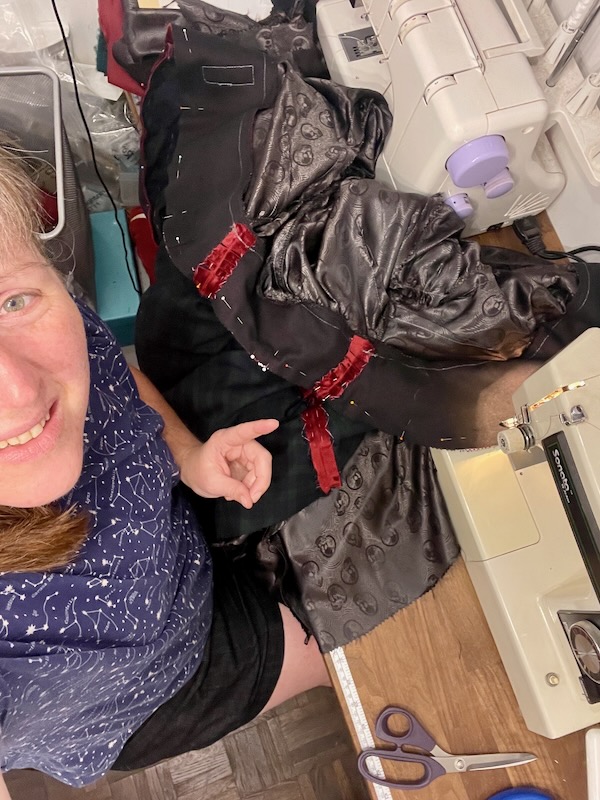
Even though there are extensive instructions for this swing coat pattern, I didn’t really look at them much as I have my own ways I prefer to create coats. But I did make myself a few To Do lists so I didn’t forget anything, or seal up a lining hole prematurely. The main construction was pretty simple due to there only being a minimal number of pieces, but the pieces themselves were HUGE, which presented some challenges in my tiny sewing cave.
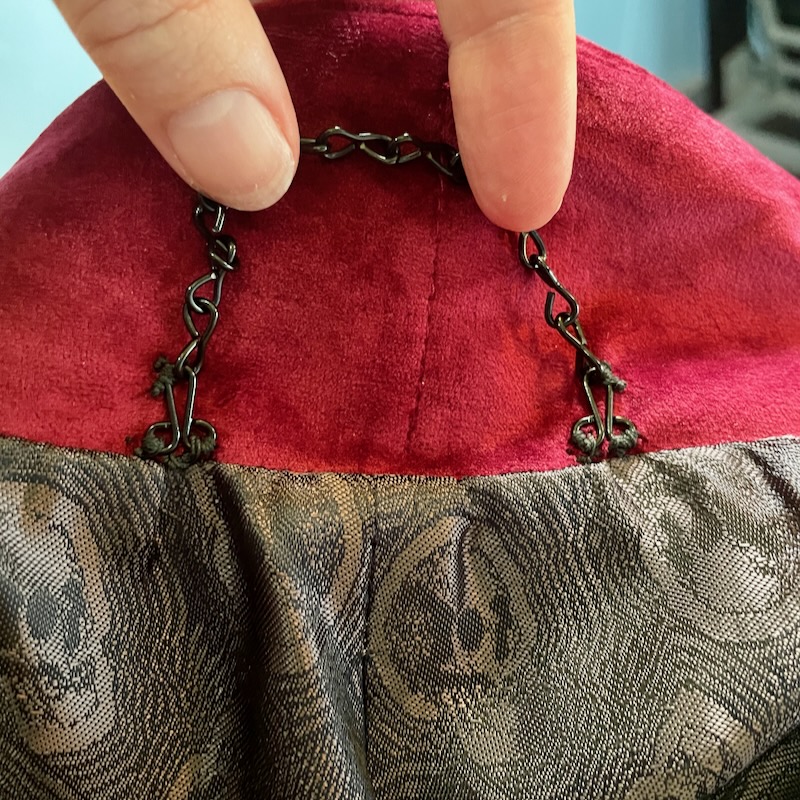
After I finished sewing the hem, I flipped the coat right side out again via the hole in the lining, and then I could finally do the finishing bits – sew the sleeve hems by hand, anchor the lining at the armholes (so it doesn’t poke out at the wrist when you put it on!), cut the buttonhole in the facing, anchor the collar, attach the hanging chain at the neck facing, attach the hooks both at the centre front opening and at the back neck for the capelet to attach to, apply the wolf button, and finally remove all the visible basting stitches…
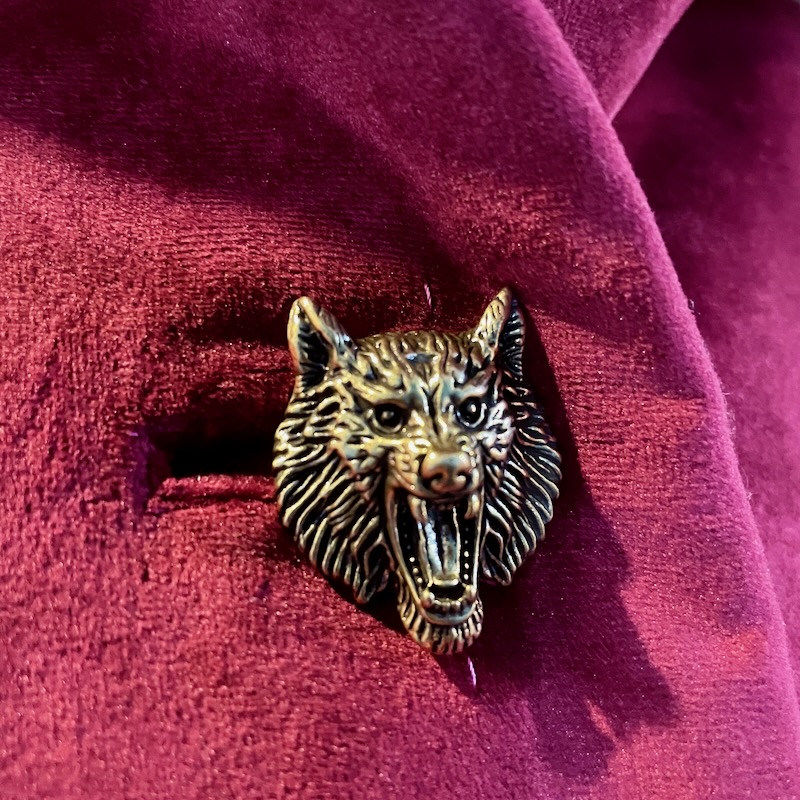
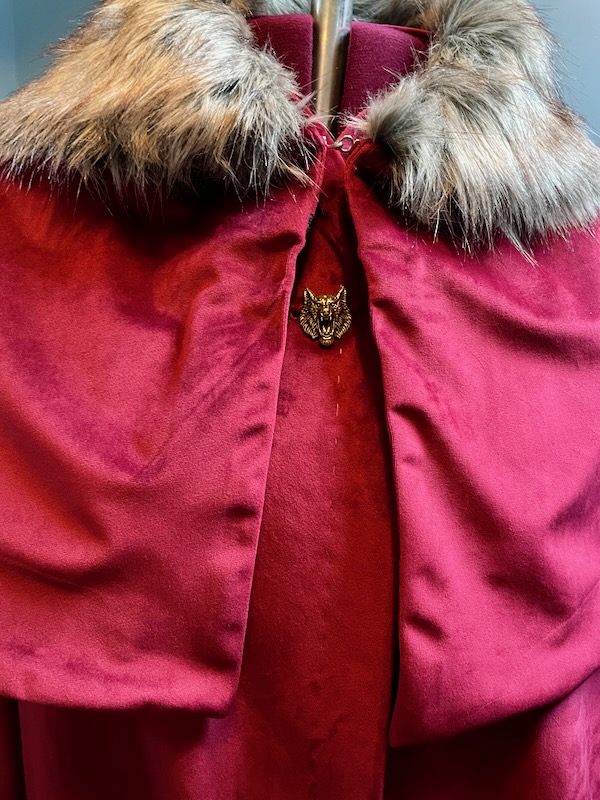
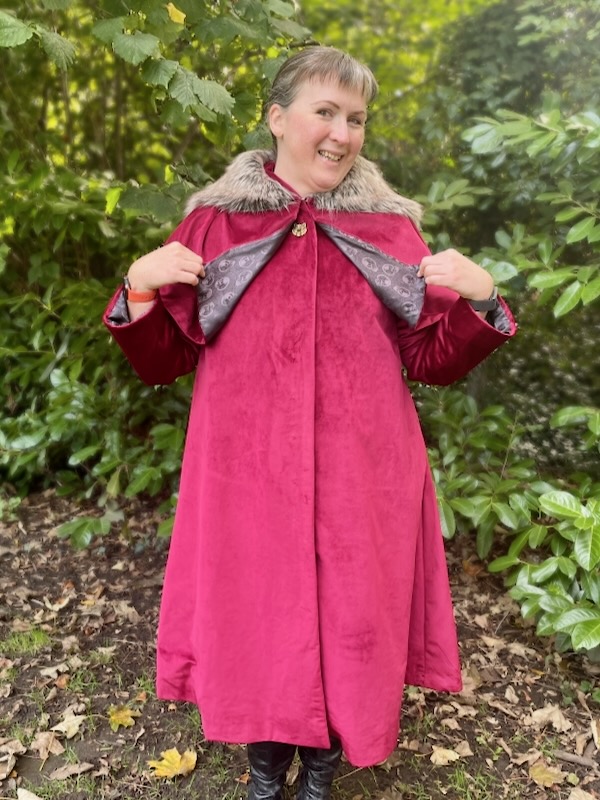
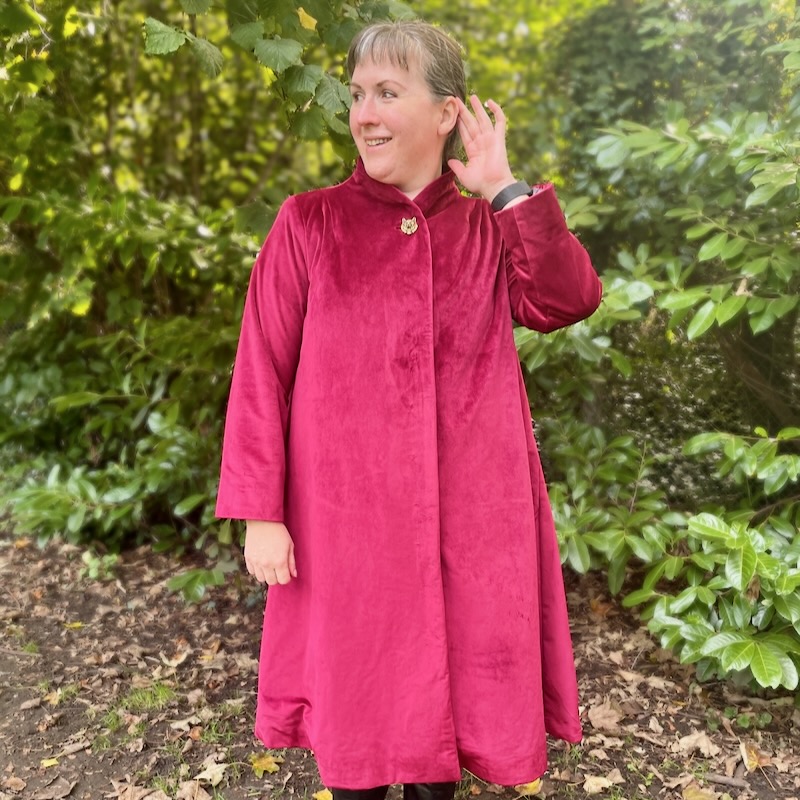
The wolf button was unexpectedly a total bitch to apply – instead of sewing it in or using a snap press, it comes with a little philips head screw which tightens onto the brass head. But the little screw on the back was SO short that I really struggled to get it through the thick interfaced velvet, even after cutting a hole through all the layers. Now that it’s in I loooooove it though! And I love that it’s very much the focal point when worn, since the capelet edges provide a window for it – a happy accident!
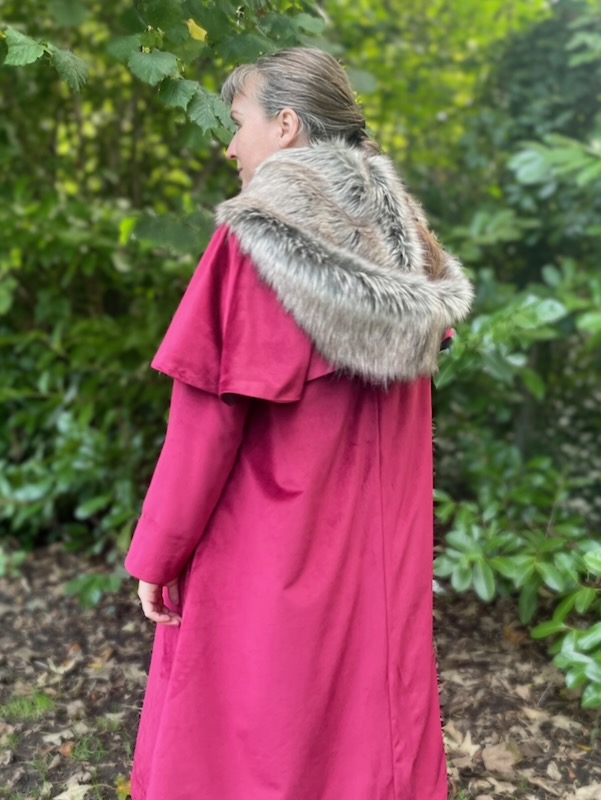
Once the swing coat was done, I turned to the self-drafted capelet, which was even easier to construct, apart from the super thick neck seam with the fur plus two layers of intrerfaced velvet. Sewing that thiccccck neck seam nearly killed me, or my machine, or both. So glad I’m SO decided to have the capelet separate or there’s no way I could’ve gone through two more layers!
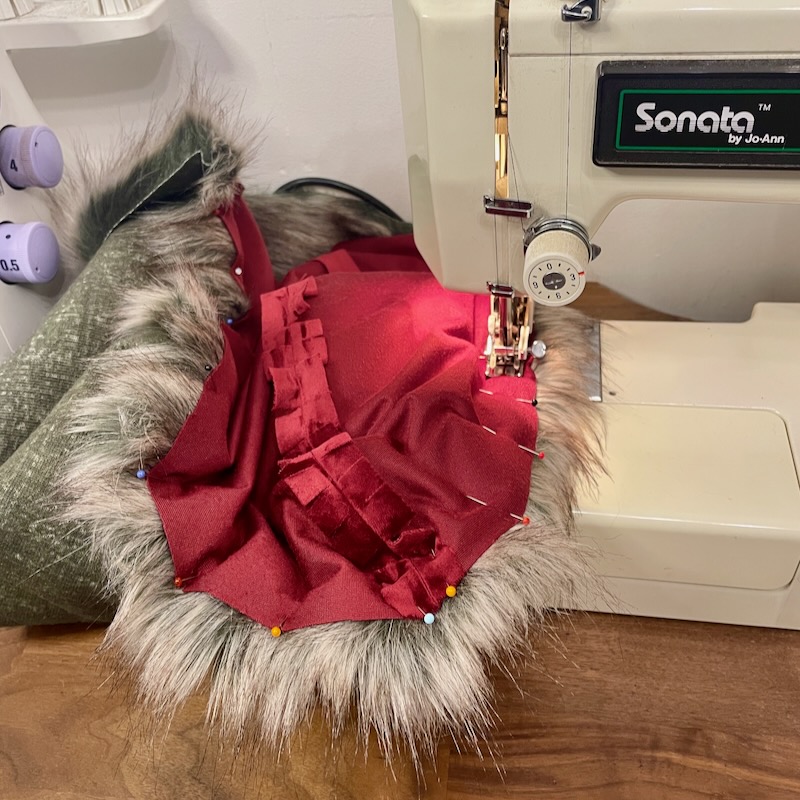
(This was joining the inner fur hood to the outer velvet hood, though!)
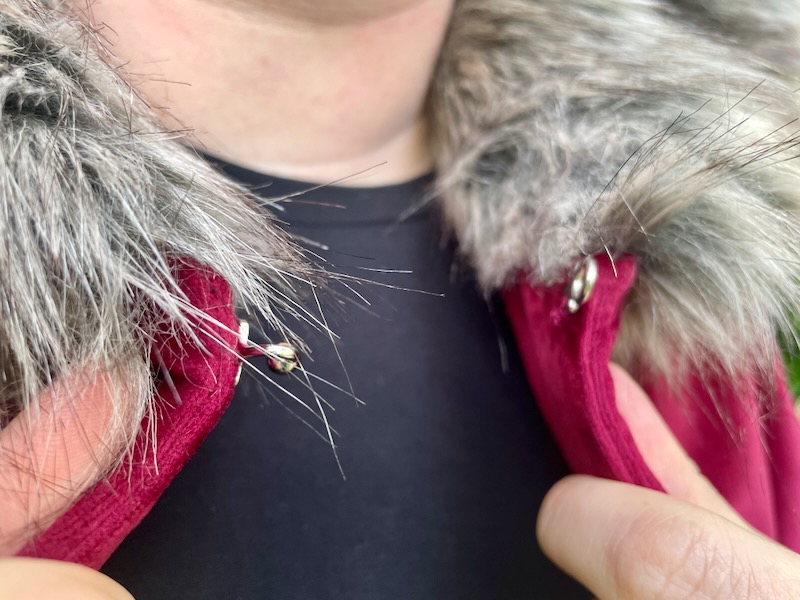
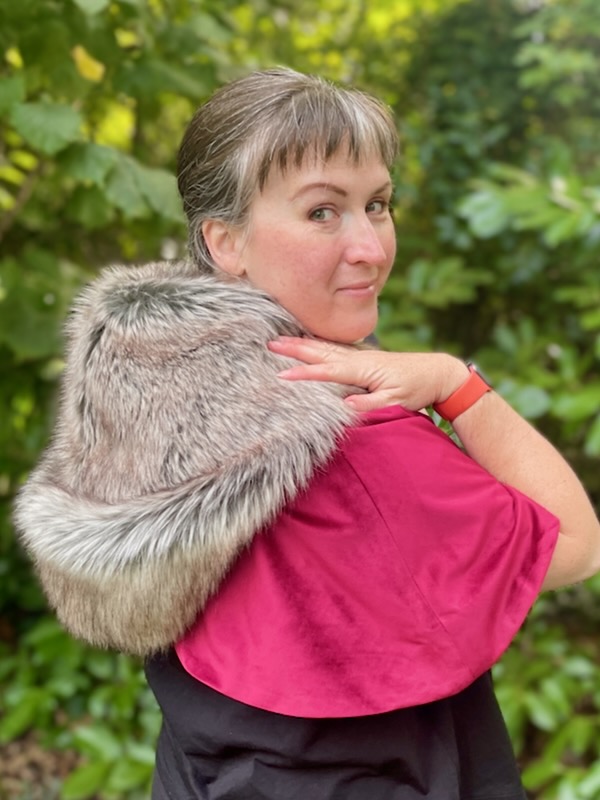
And I discovered in a fairly painless way that my iron melts the faux fur! 😬 It could’ve been a lot worse! It’s only a small patch and only the tips of the fur, and once I trimmed the curly hairs off, it’s hardly noticeable at all… I also added a fancy silver hook and eye so that the capelet can be worn independently of the coat.
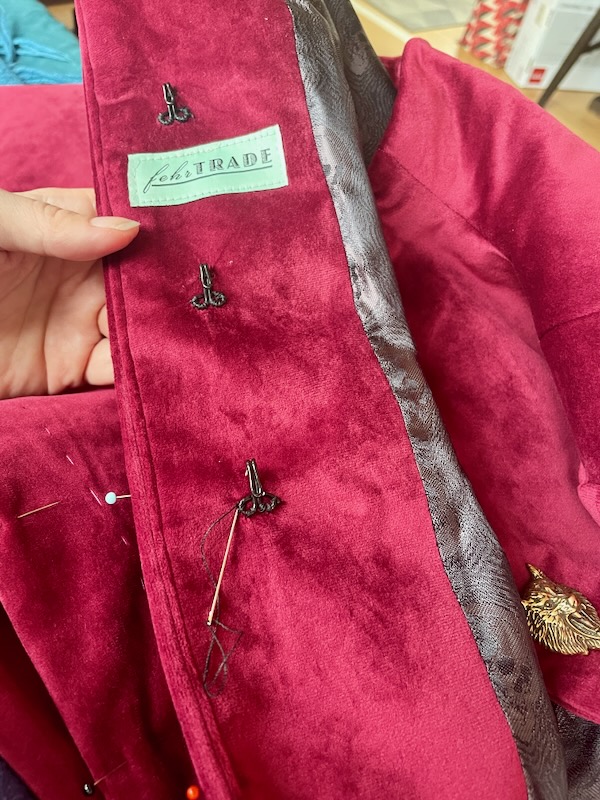
Once the main construction was done, the final step was to attach a million hook and eyes to both the opening edge of the Swing Coat to keep it closed (and warm!) but still be largely invisible from the front – and also along the neck edge to anchor the capelet in place.
However, I decided the black enamel hooks & eyes might look a bit ugly around the collar of the coat when the capelet isn’t on top so I bought some buttonhole thread and made my own thread bars in matching thread so they’ll blend in. I waxed and pressed the buttonhole thread, and used a chopstick to ensure my bars/loops were all the same size and that I didn’t accidentally overtighten the loops.
I opted to orient the front closure hooks vertically, as I was afraid if I placed them horizontaly, they might come unhooked as I moved. As it turns out, even vertically they come unhooked really easily so I’ve already planned to replace the metal hooks with tiny carabiner clips. These should ensure the coat stays closed while still being easy enough to operate with gloves on (unlike, say, jewelry lobster claps).
All in all, I think this cloak took me about 6 weeks to create! Which is even more impressive considering that, a year on, I’m still massively suffering from Long Covid fatigue and can only sew in short bursts, alternating with lying down for an hour or two. And some days I can’t sit up at all, which just made me frustrated since I was so motivated by this project!
The daylight photoshoot!
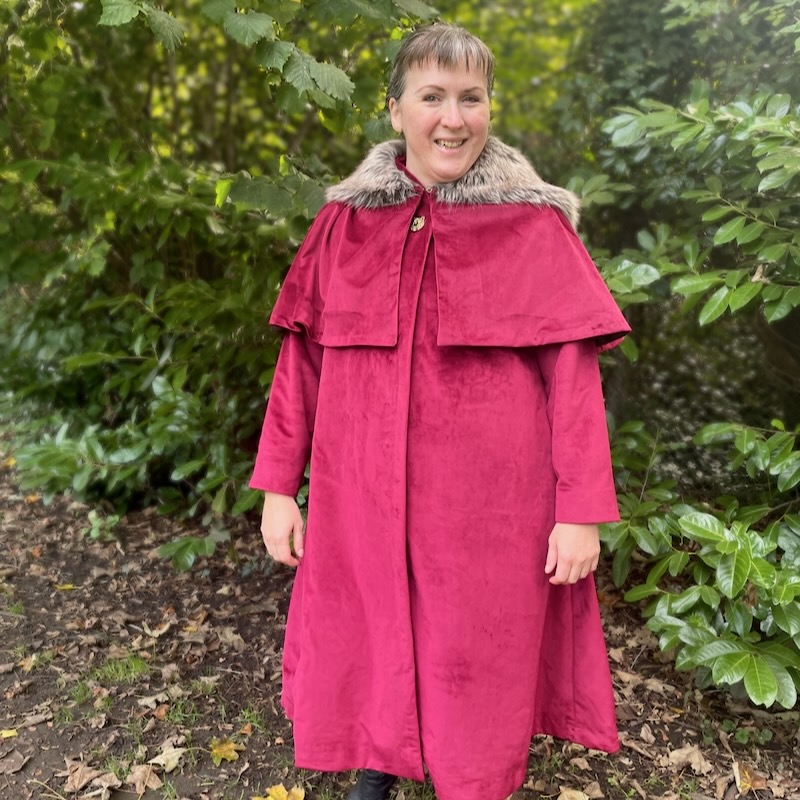
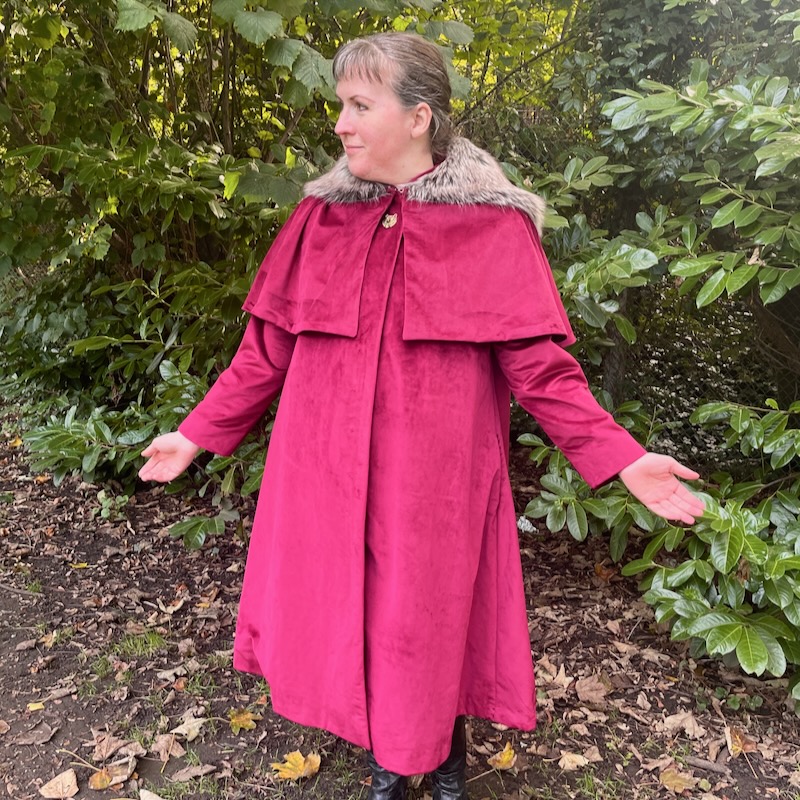
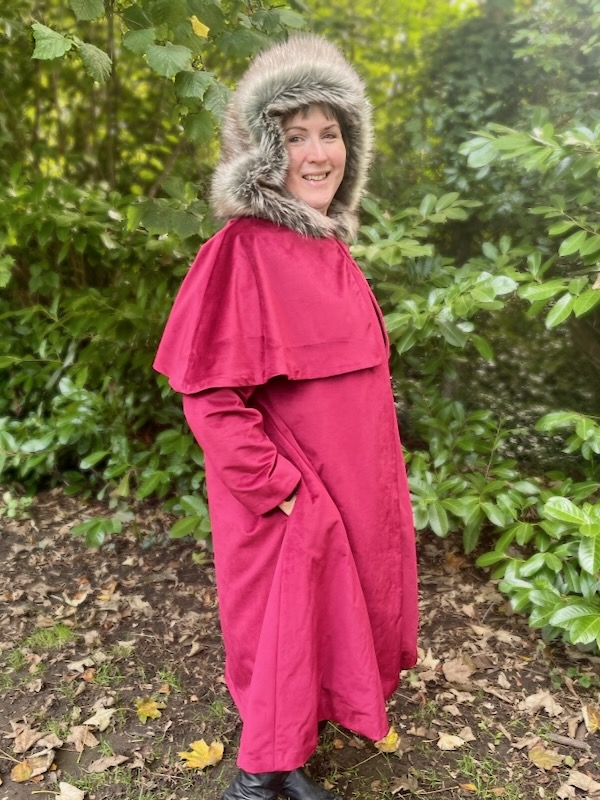
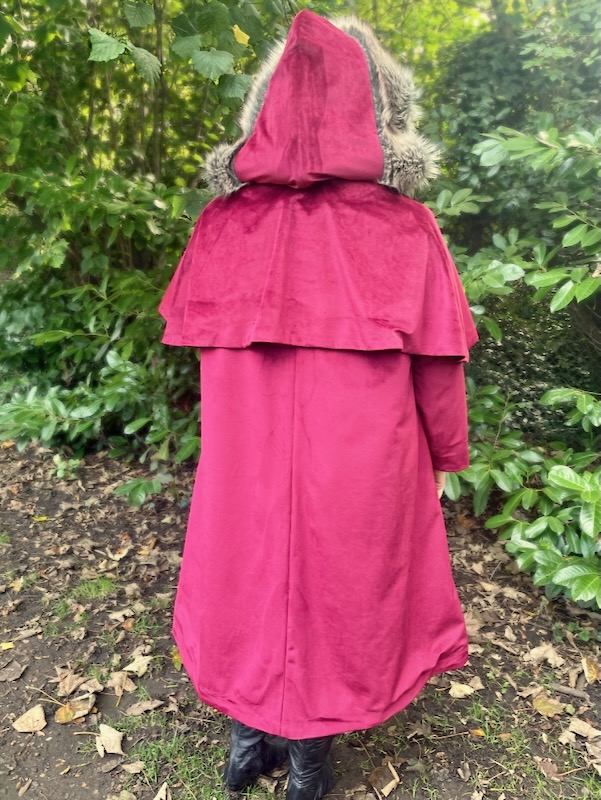
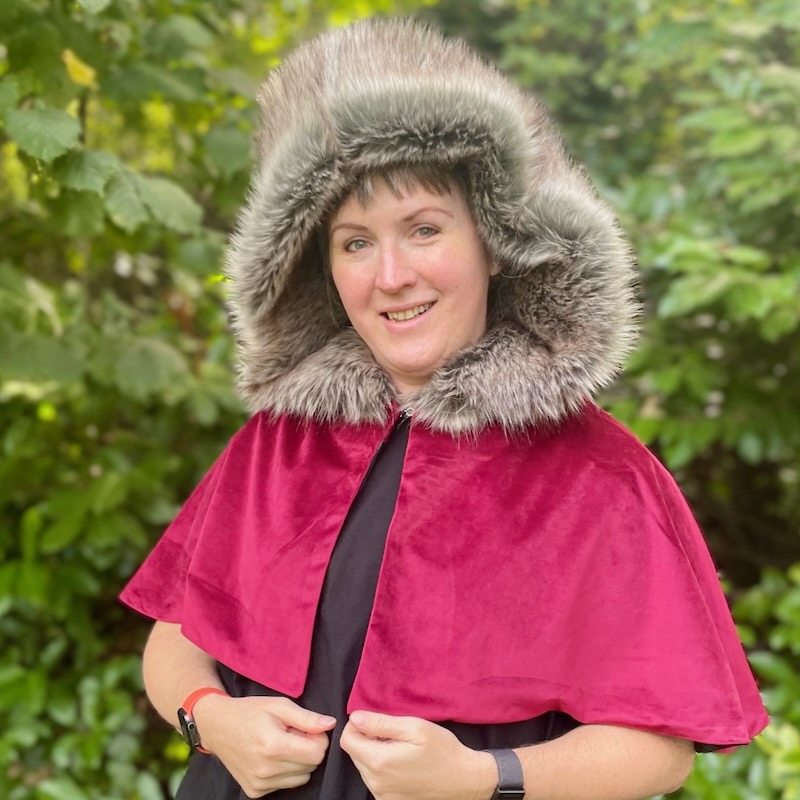
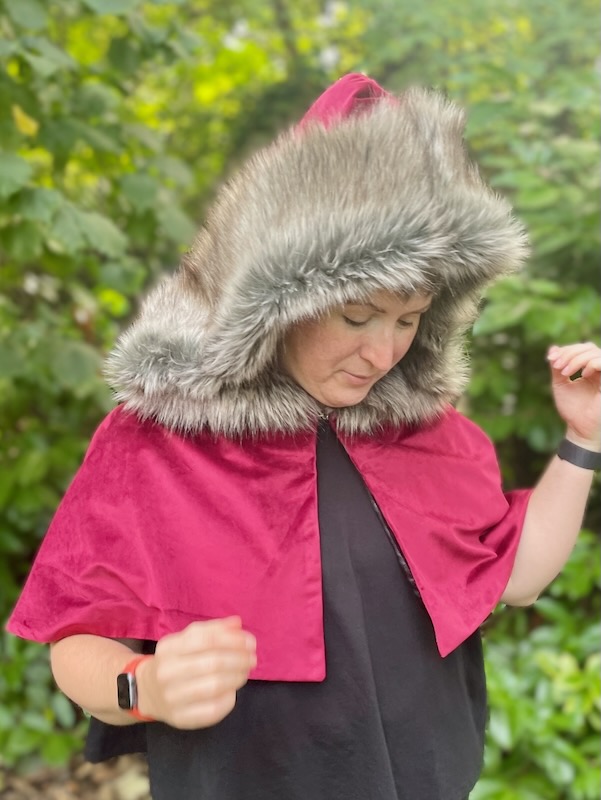
The swing coat and capelet, worn together:

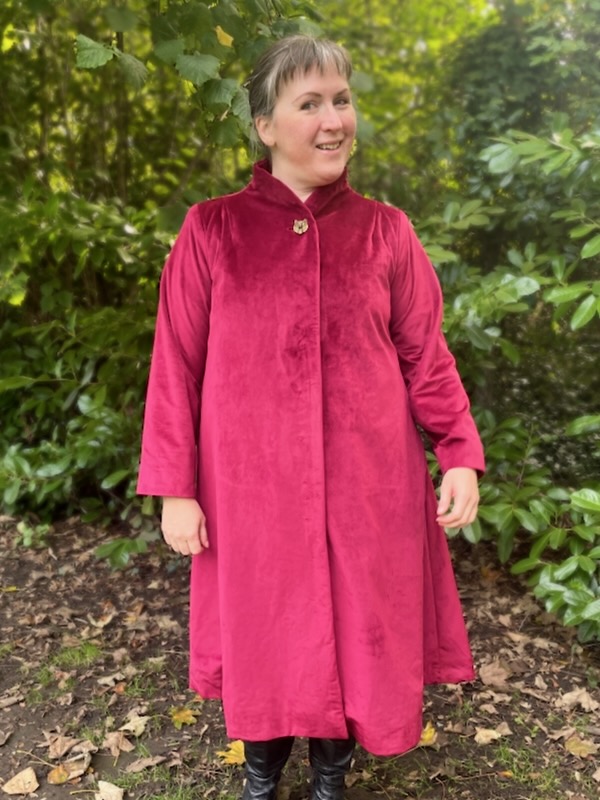
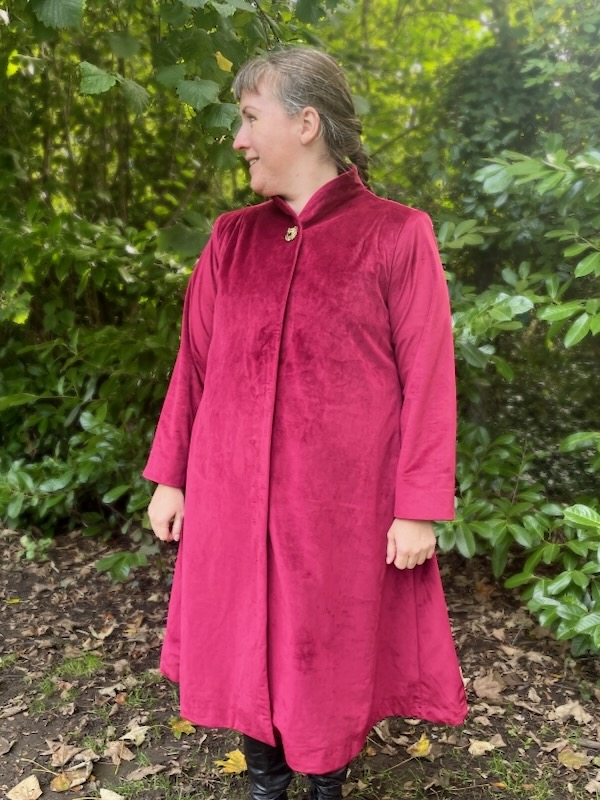
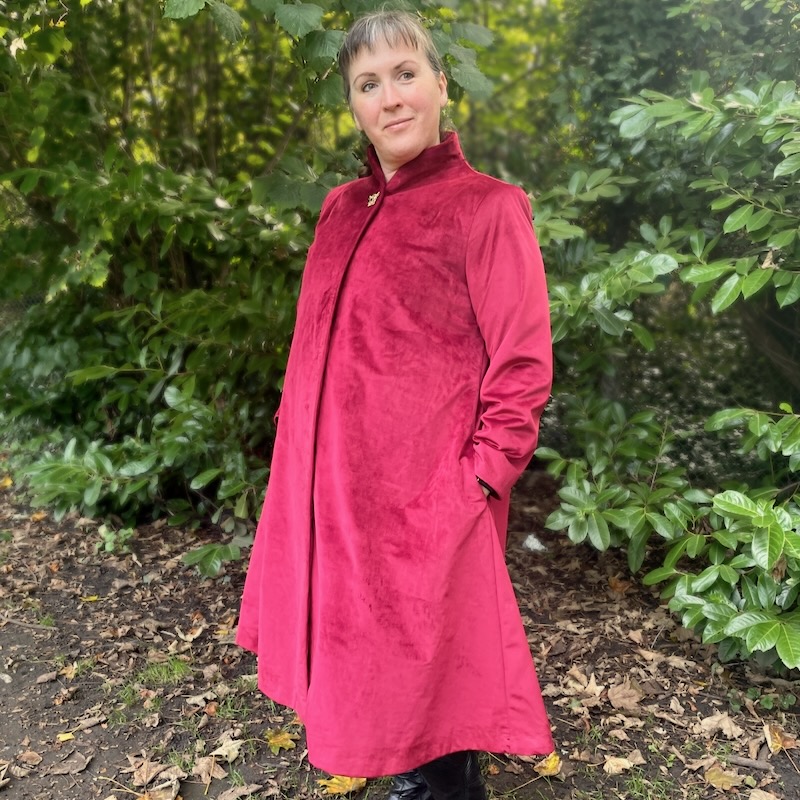
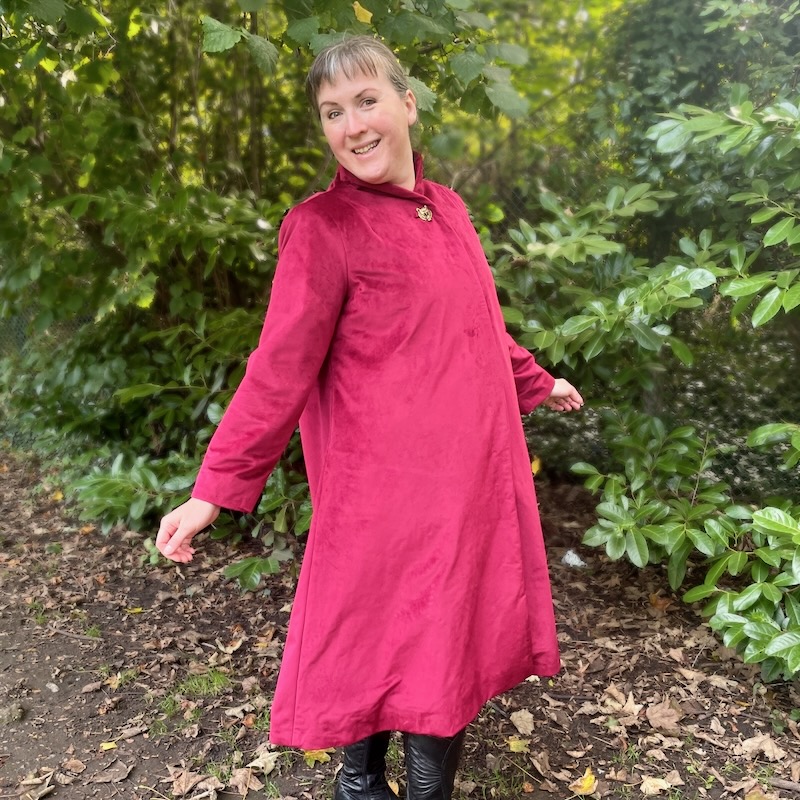
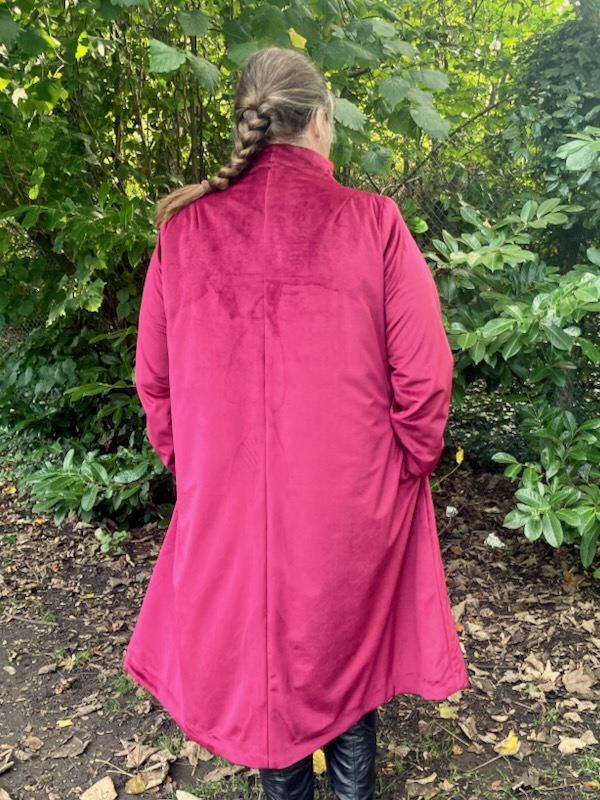
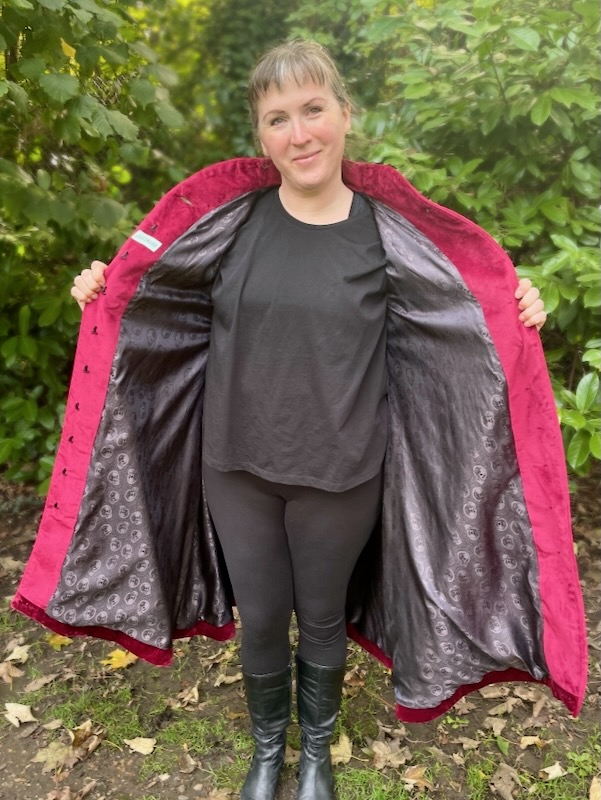
The swing coat, worn on its own:

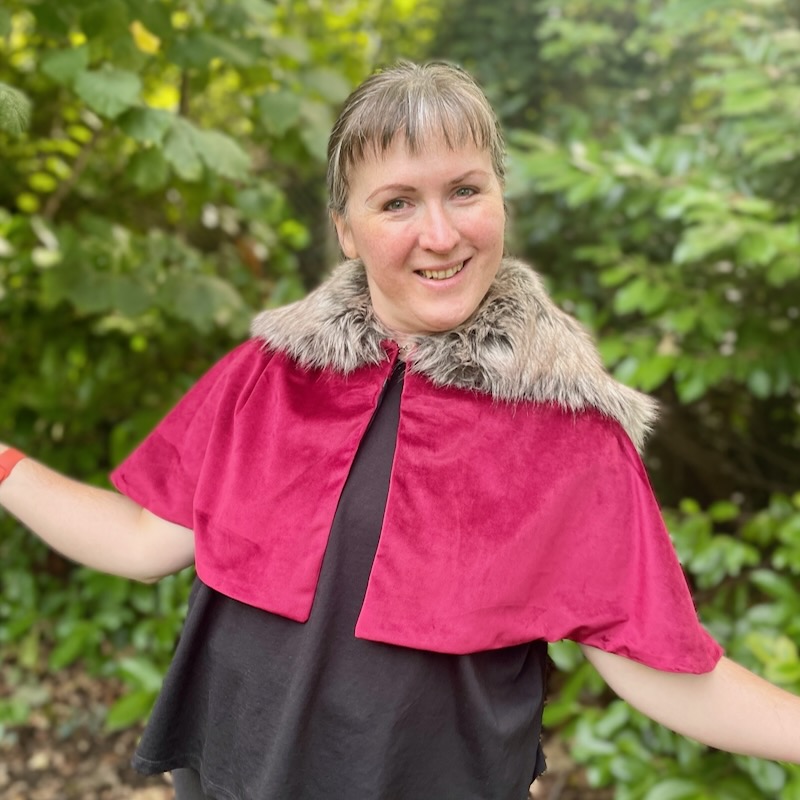
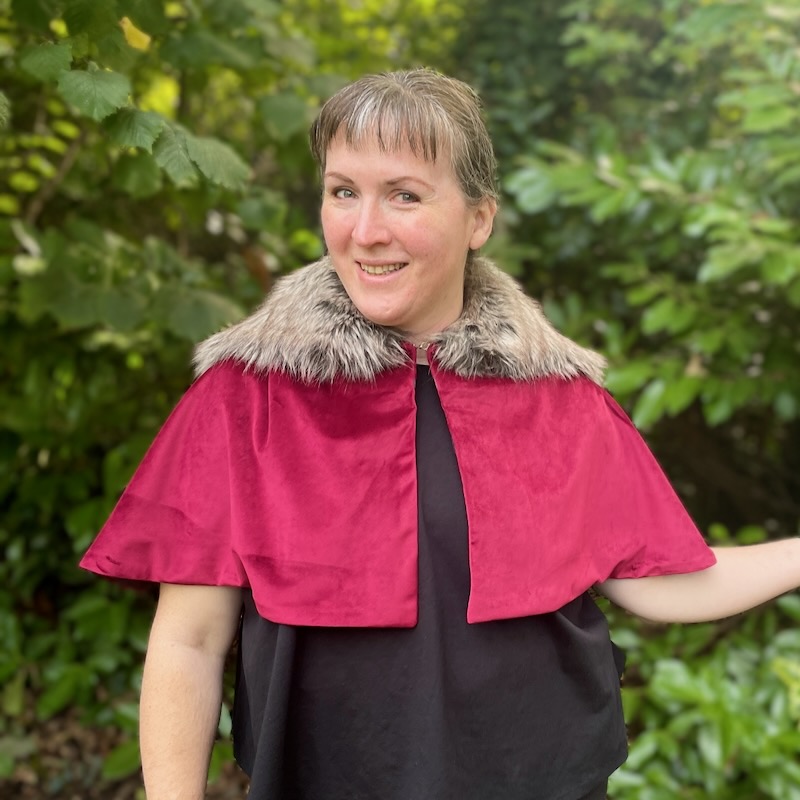
And finally, the capelet worn on it’s own (with my black swing tee I also made):
See, I warned you it’d be a lot of photos, and yoiu haven’t even seen my spooky night photos yet!! So what do you think? I wish you could all feel how soft the velvet and fur are, and how HEAVY the coat is, even on its own!