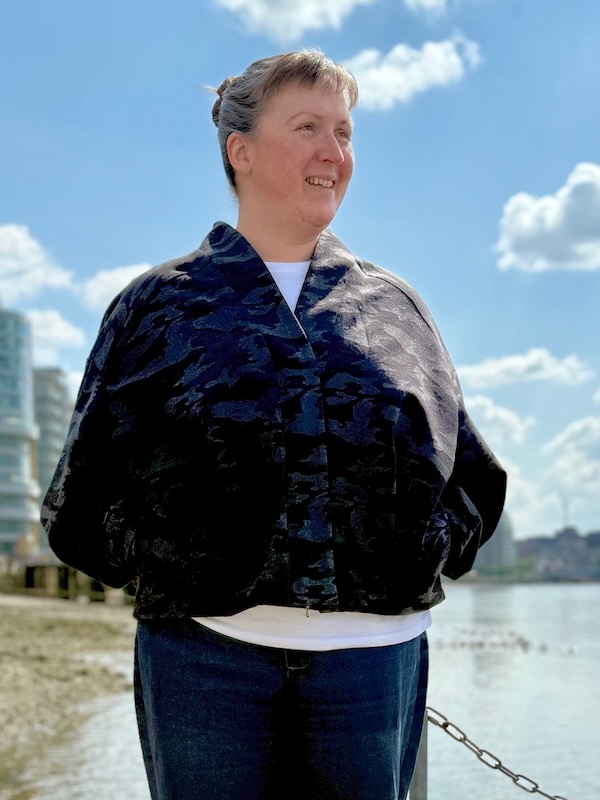
I actually sewed this jacket before the broderie anglaise dress, but I’m already wearing it a lot in the cooler summer evenings. It felt at the time like I’d been sewing this jacket for forever, but it surprised me to see that it had actually only been a month (7 April – 9 May). With Long Covid I really have zero concept of time anymore…
And this jacket was single handedly responsible for the return of my sewing mojo! I saw it promoted as part of a recent FibreMood magazine and I just had to buy it as a standalone pdf right away because I LOVED it!
The naming is somewhat unfortunate though I will forever say “Carly Rae Jacket” in my head!! (Yes, she has way more songs than just “Call Me Baby”, okay??)
The pdf cost me €10, and then it cost another £15 to print all four A0 sheets. Sometimes I can save money by rearranging pieces in photoshop (like my Wolfkiller Cape, where the Charm Patterns “Swing Coat” pattern had fully separate pieces for the lining and exterior that I could overlap and save on printing). But this one had fully different lining and exterior pieces – it wasn’t just “lining = exterior minus facings”!
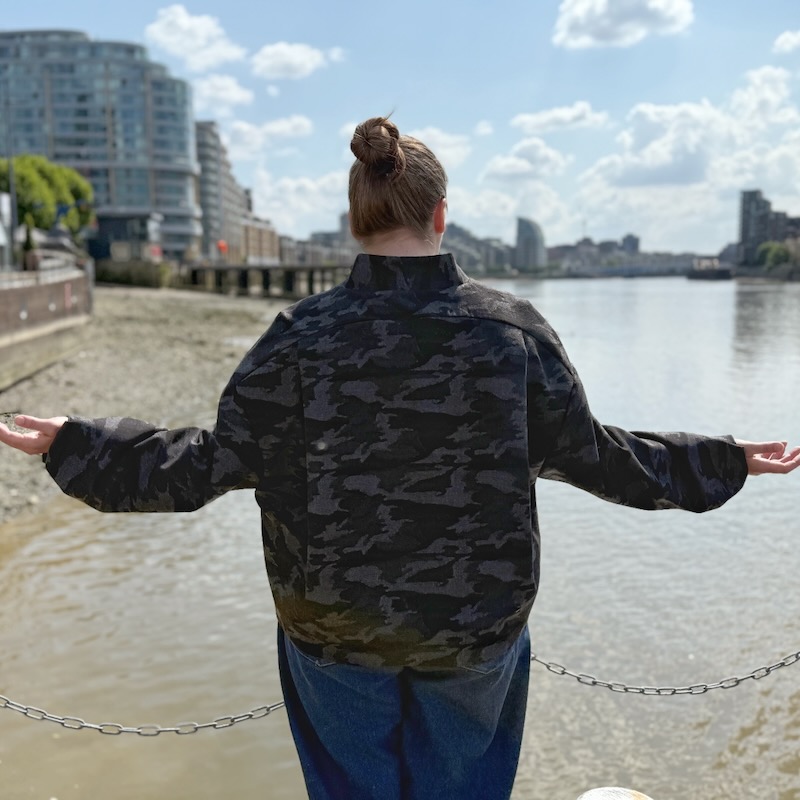
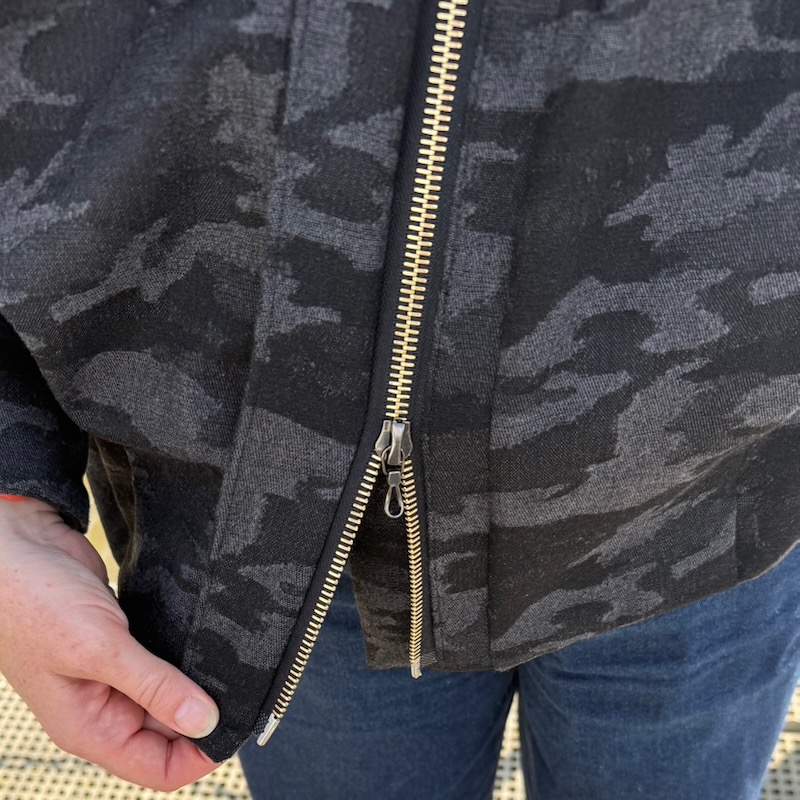
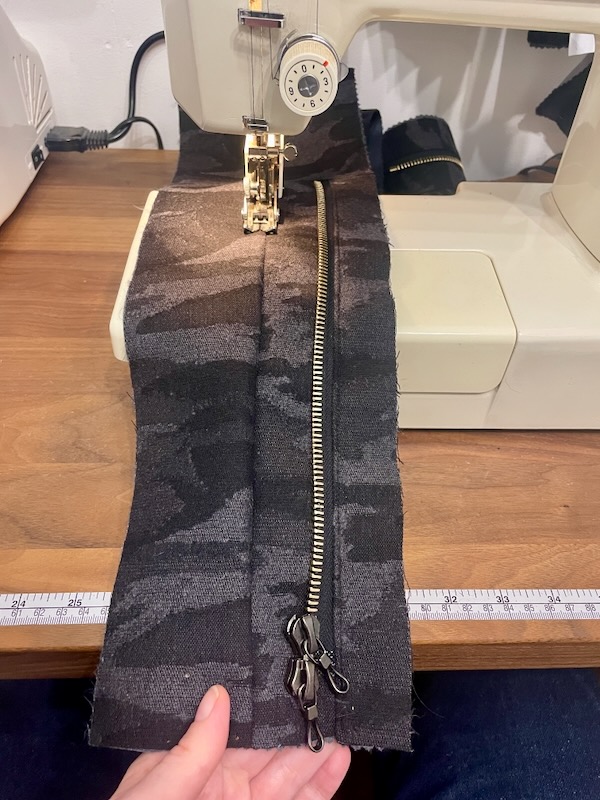
My measurements came between a XL and XXL and I intended to make the former since I bought a dual-opening zipper from New Craft House and it would give me more room at the hips, but I accidentally cut out the lines for XXL instead (and I don’t even have brain fog), so… shrug. I just went with it. It’s meant to be oversized anyway.
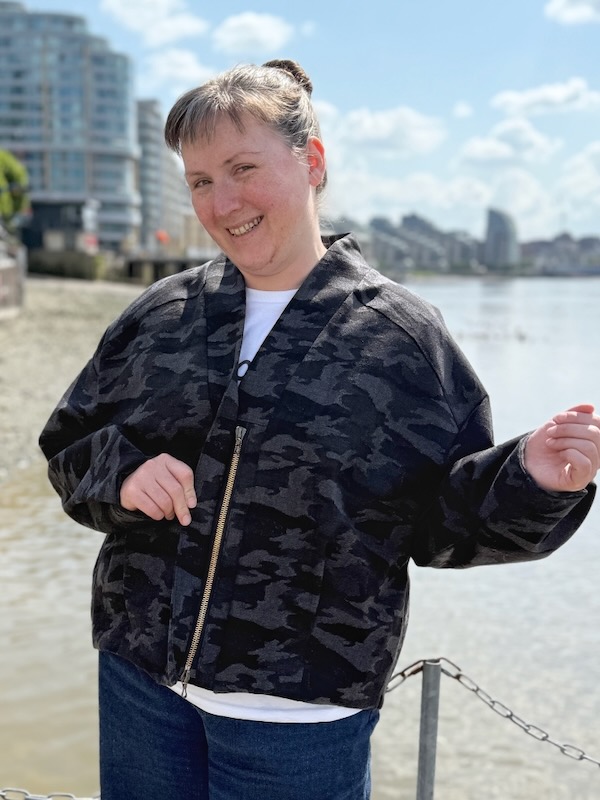
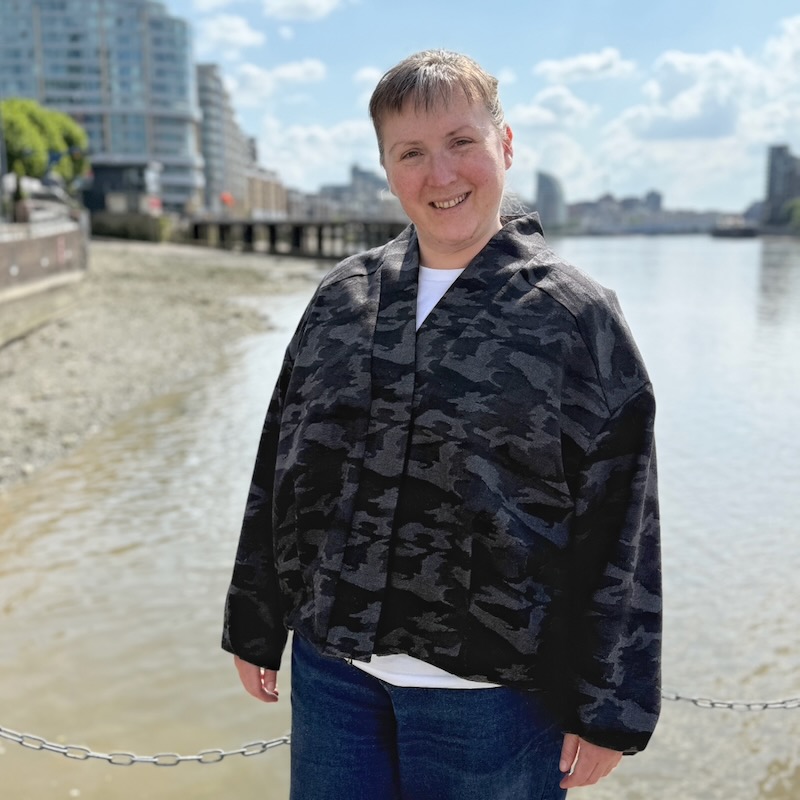
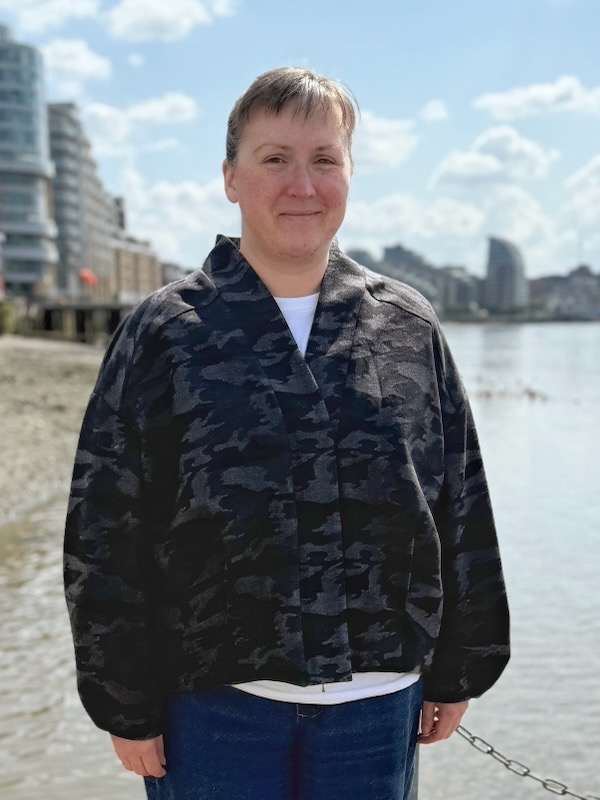
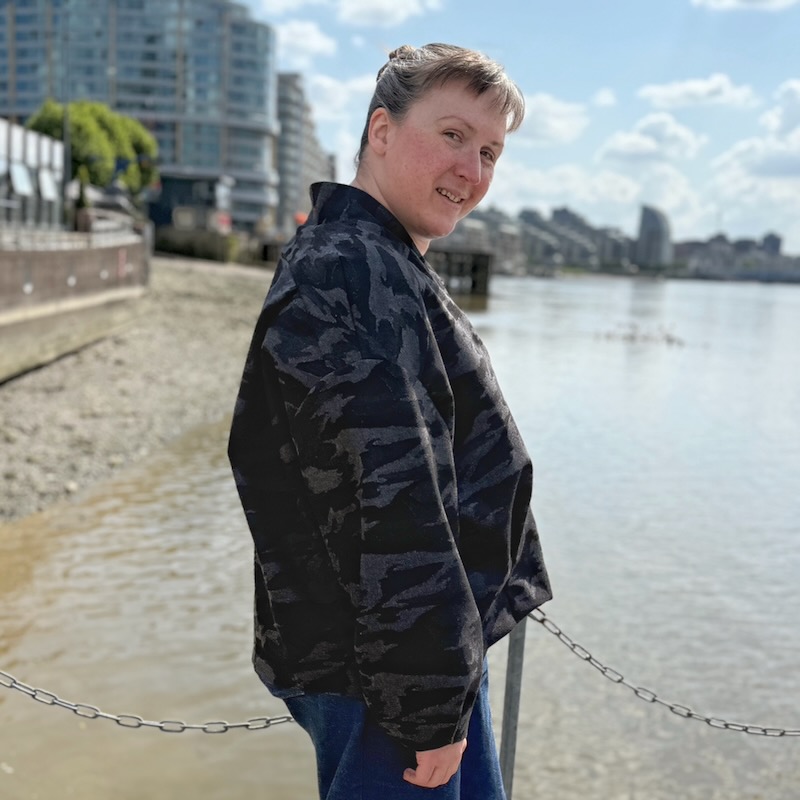
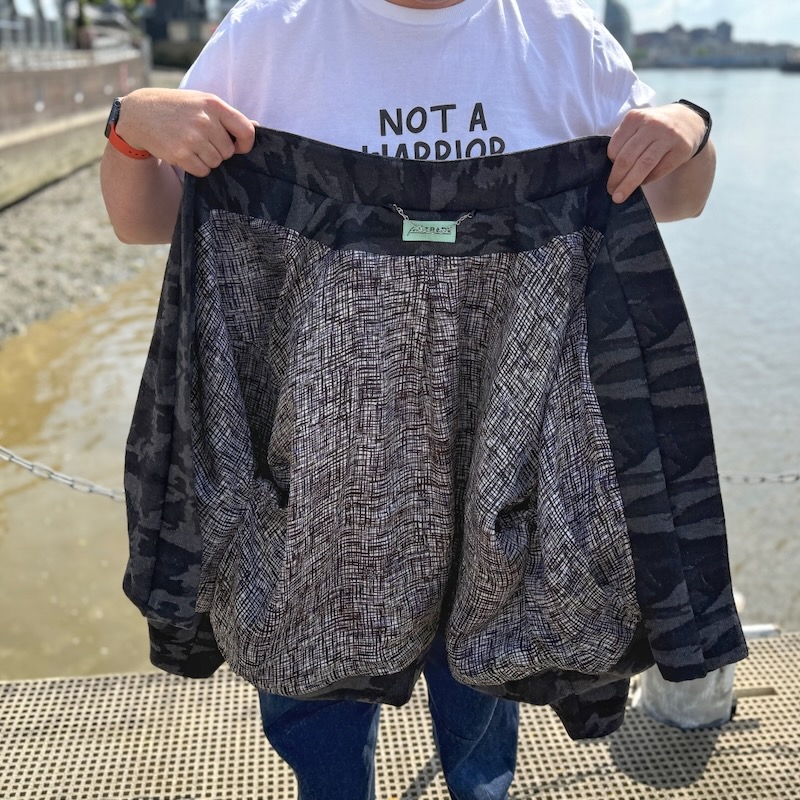
I didn’t have any suitable coating fabrics in my stash so I bought some waterproof camo wool from New Craft House (which also comes in navy). I bought it at 50% off (and it’s still on sale!), which is an absolute bargain.
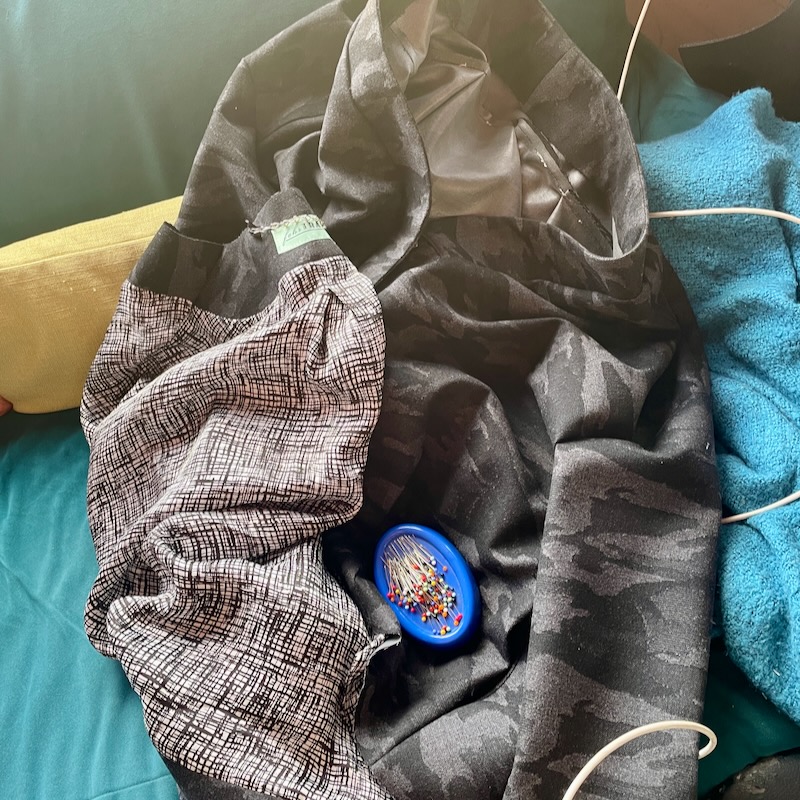
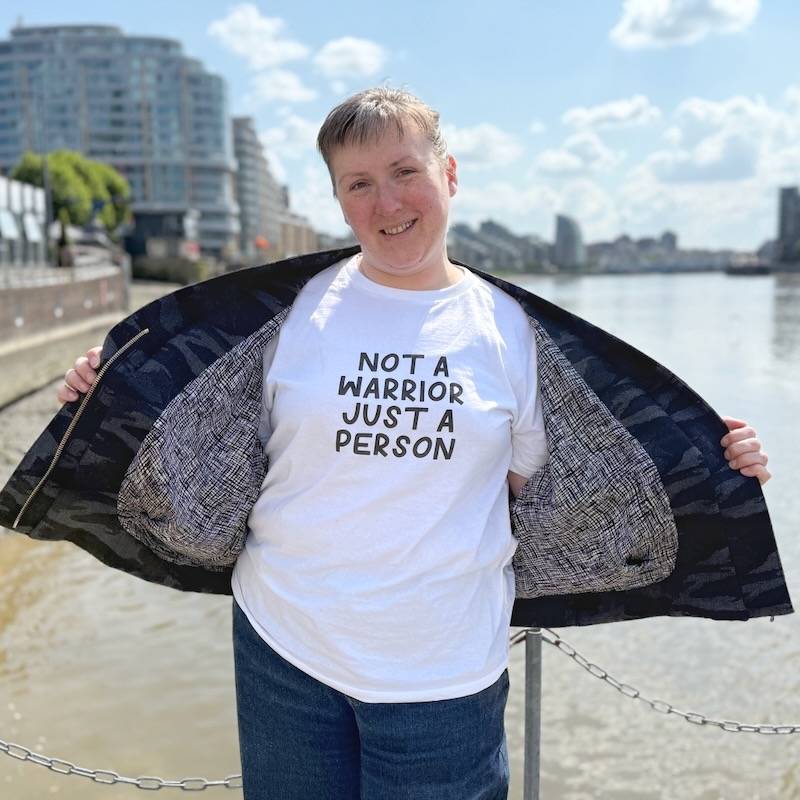
For the lining, I used a monochrome viscose twill lining from my deep stash that was ridiculously cheap back in the day – my notes say I bought 3m at £2.50/m(!!) from Fabwork Mills, but I didn’t note the date.
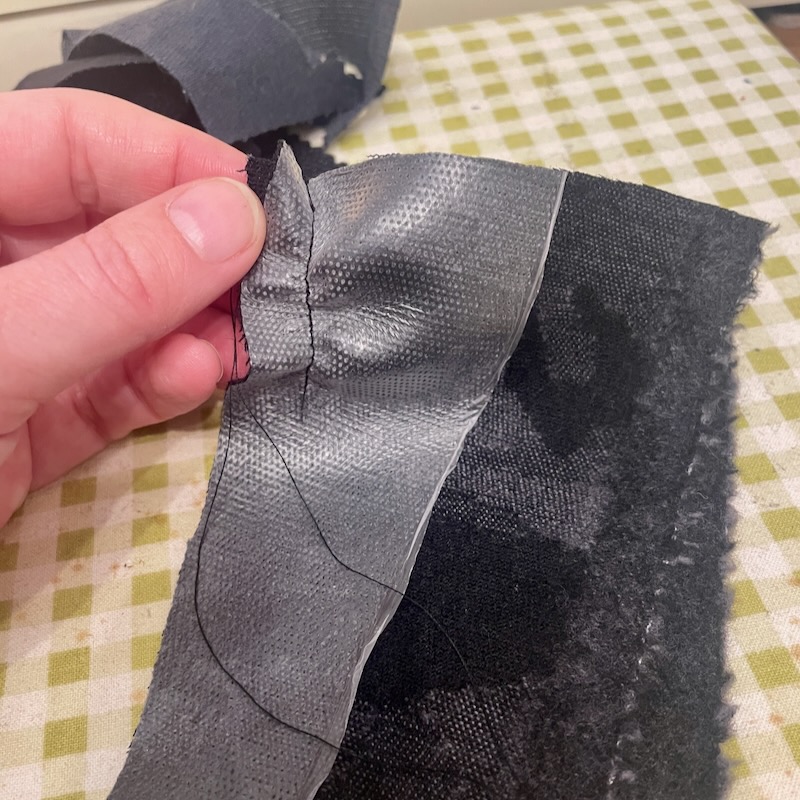
The camo fabric took a pressing well but because of the rubber coating on the reverse (to make it waterproof), it stuck to both the machine bed and the presser foot – even with a walking foot!! So I ended up having to use strips of tissue paper on both sides of the seams for the bulk of the construction. Thankfully I could fuse interfacing fine though just fine. Sometimes waterproof fabrics leave permenant holes from pins, but this one didn’t seem to be too bad for that, so I didn’t bother with clips.
One thing that’s non-negotiable for me, though, is pockets. I must have pockets in my jackets and coats! This pattern had none, so I drafted big rectangular pockets into the side seams, and anchored these to the front when sewing the lining/facing to the exterior.
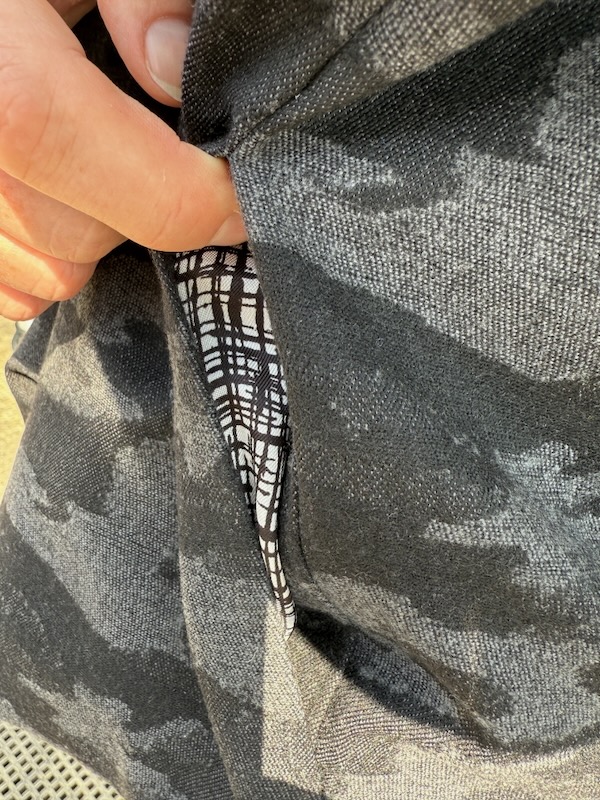
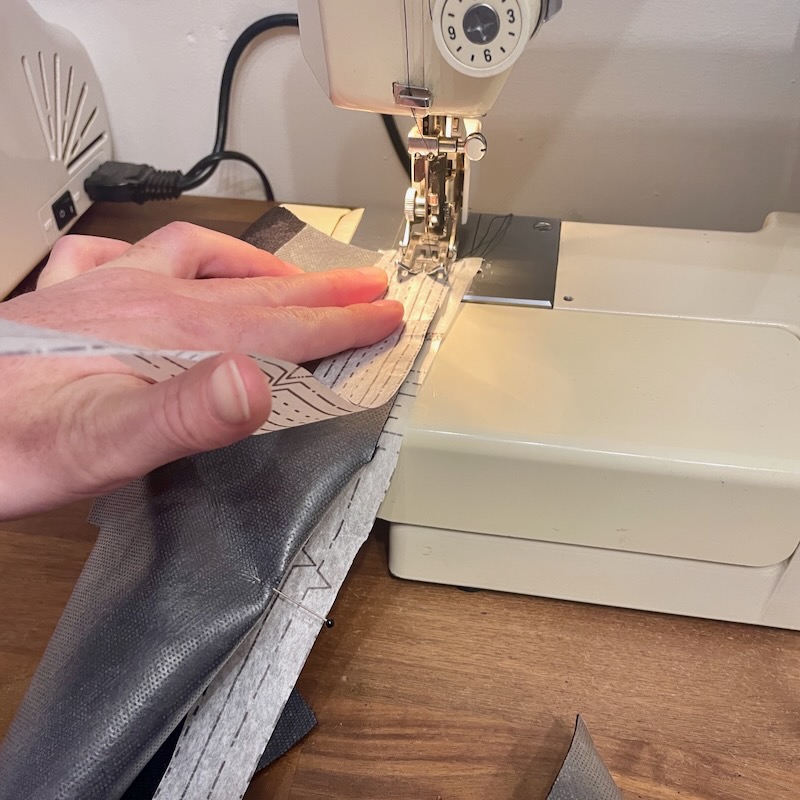
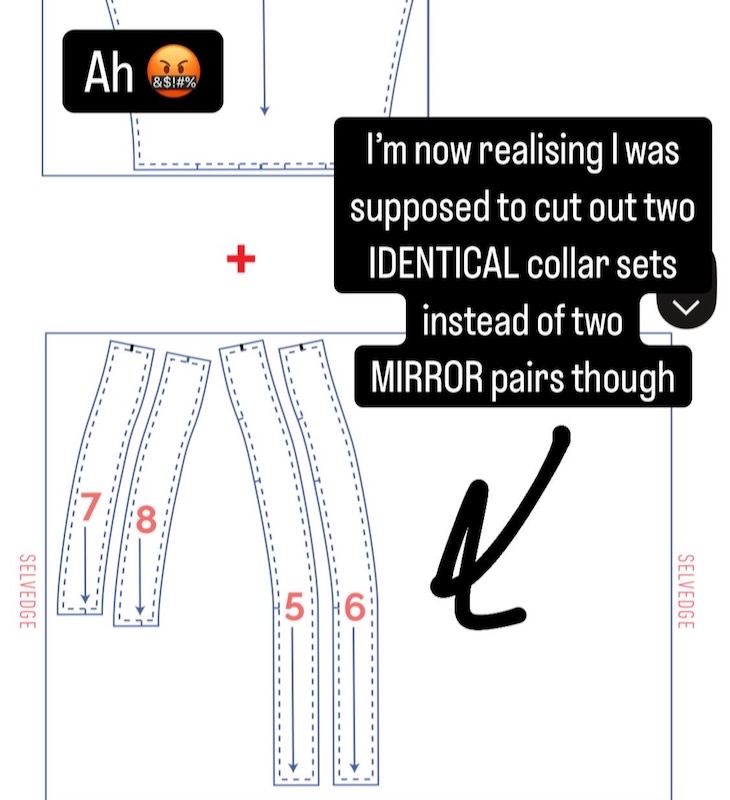
The collar and zipper construction is unlike any I’ve ever seen before and took a while to get my head around, but is genius. However, pay close attention to the cutting layout because you need to cut two IDENTICAL collar pieces of both the shorter and longer collar, not mirror pairs like you’d think. I originally did this wrong but then very thankfully had juuuuuuust enough left in my scraps to cut new ones without having the piece them.
The drafting and instructions on this pattern were immaculate. I don’t think I’ve ever seen a commercial pattern say to anchor the lining & exterior armpits, for example (only in tailoring books). This is something I do on all my jackets and coats anyway, but it’s something I learned along the way.
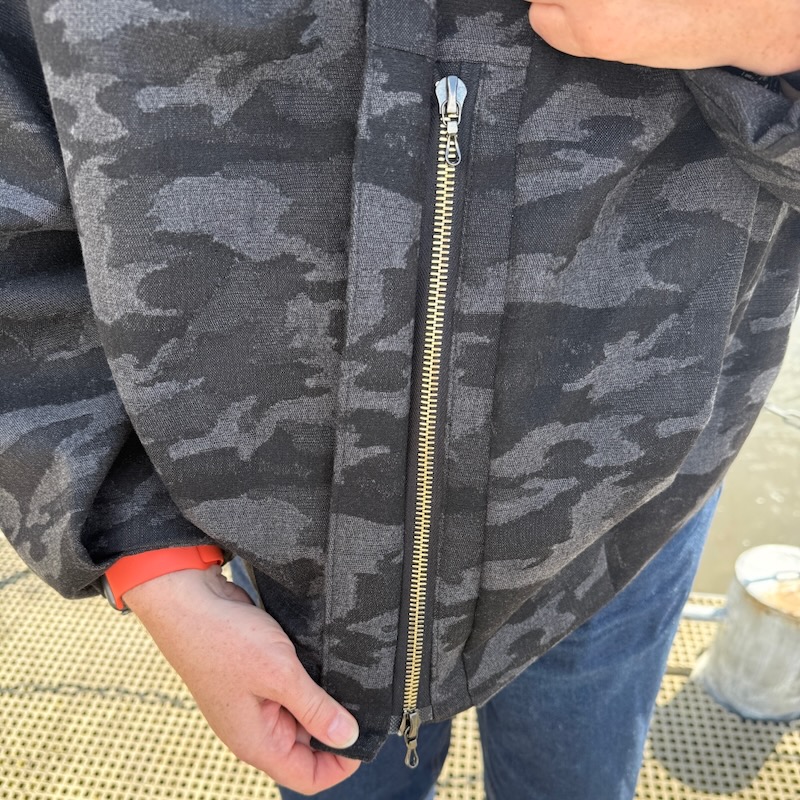
This jacket is super comfortable to wear, and I’ve found it to be pleasantly warmer than you’d expect, since the wool is insulating and the waterproof coating blocks the wind really effectively. But it doesn’t feel suffocating, either! So it’s just perfect for cool evenings!