I’m a bit slow on reviewing this latest issue of the Dutch pattern magazine, KnipMode, but it’s not a reflection on the content this month! Usually I tend to not find as much to like in summer issues in general, but there’s a lot to love in this one that will work with our English summers. I think it was FehrTrade reader Marie-Christine who once said “You can tell it’s summer in England when the girls switch to wearing white cardigans”! So true!
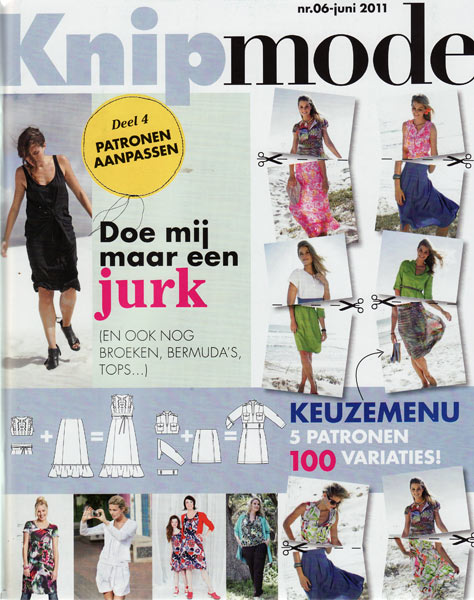
Mix & match dresses! Like the cocktail ones in November’s issue, you get to choose which bodice, waist, skirt, and sleeves you want and put it together yourself. I really like this idea, but for me, the choices on offer don’t really do much for me, whereas I was really excited about the cocktail dress options…

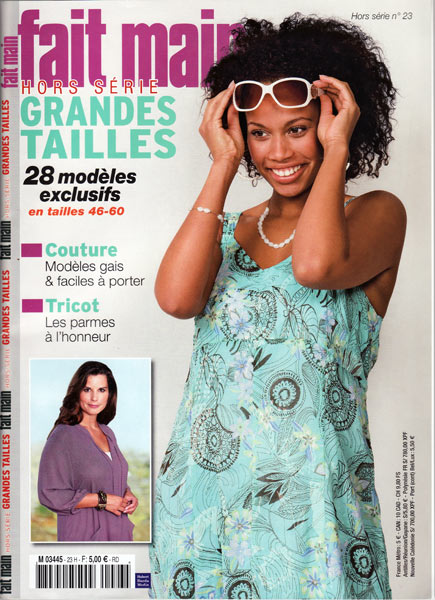
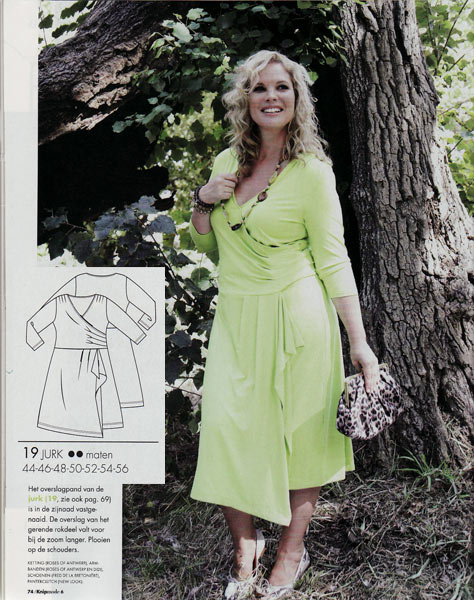
This plus knit surplice dress really reminds me of the lilac dress I made for my mom. I think these sorts of patterns can be so flattering, too, especially when the skirts are fixed in place to prevent wardrobe malfunctions!
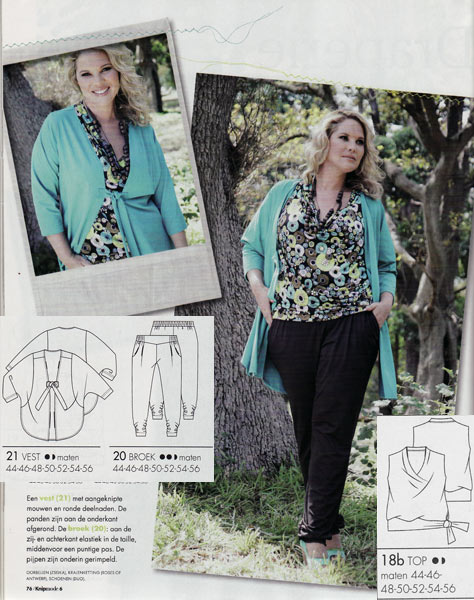
There’s a few great Plus patterns in this issue, actually – I especially like the trousers and cowl top in this wardrobe.