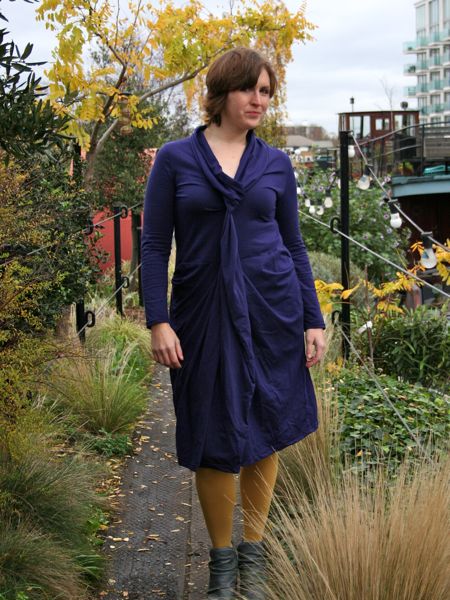
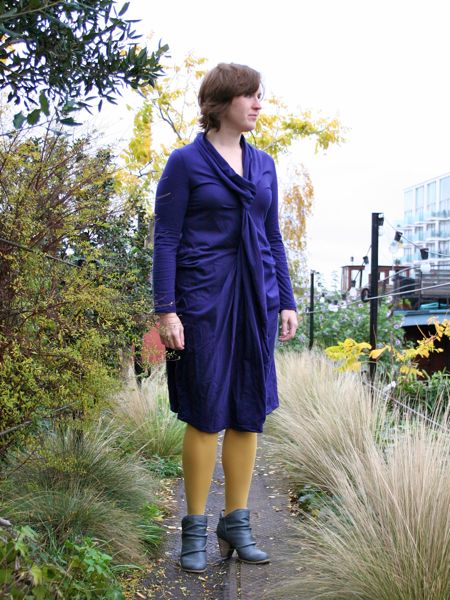
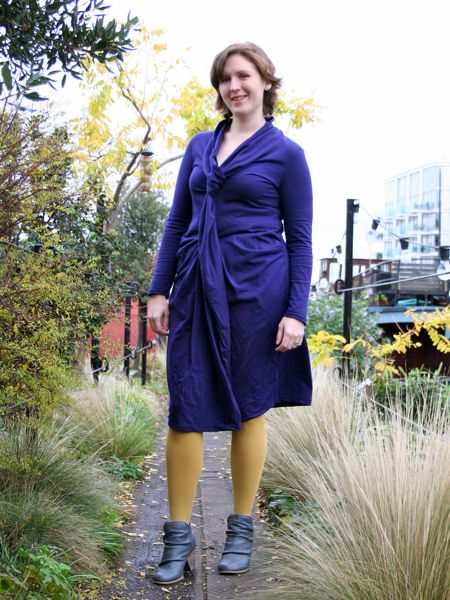
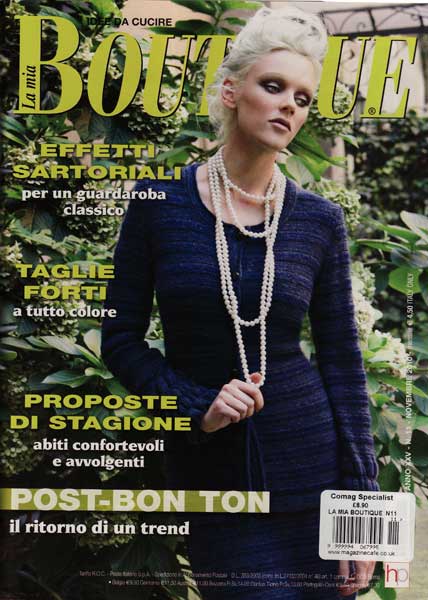
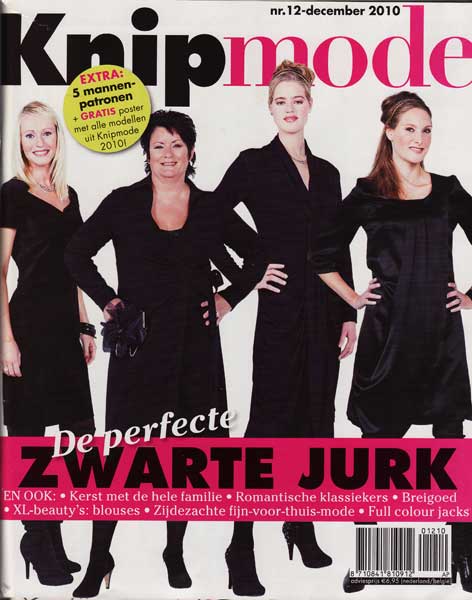
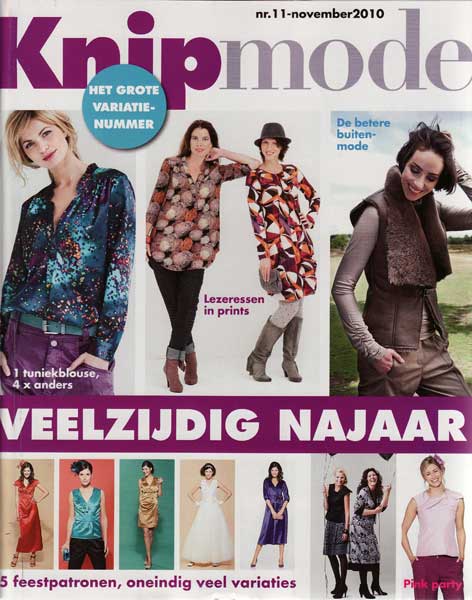
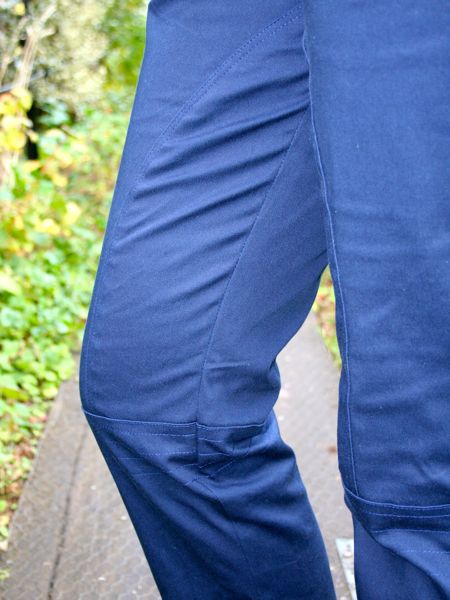
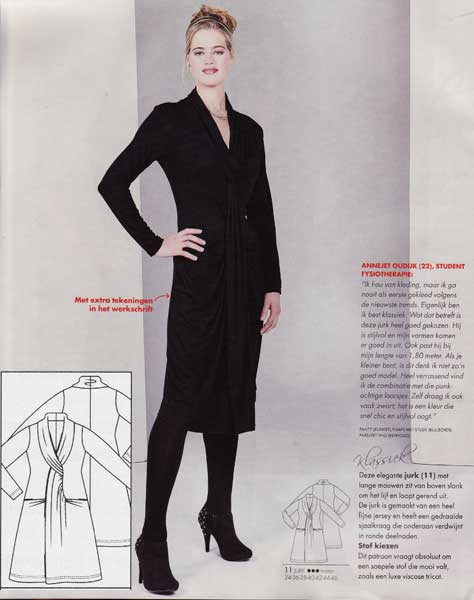
As you read last week, I was so inspired by the December KnipMode issue that the day after I received it, I traced out dress #11, the following night bought the navy blue cotton lycra jersey and cut out the fabric, and then sewed this dress last Saturday!
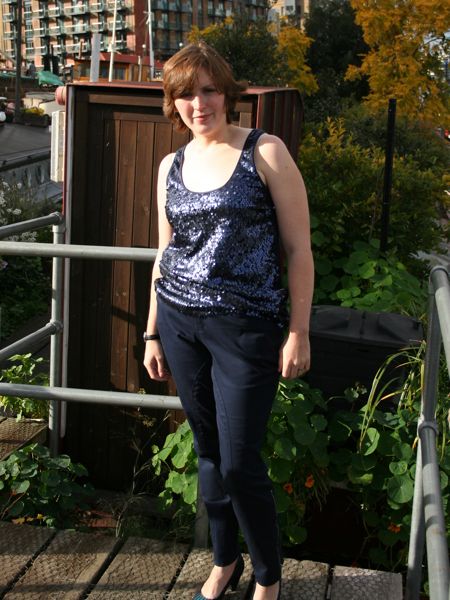
This dress has got some really unique construction – the two front skirt pieces meet at the centre front to form a collar, which then goes up and around your head and comes back down to join the centre front again. Everything is sewed together, though, so there’s no chance of gaping!
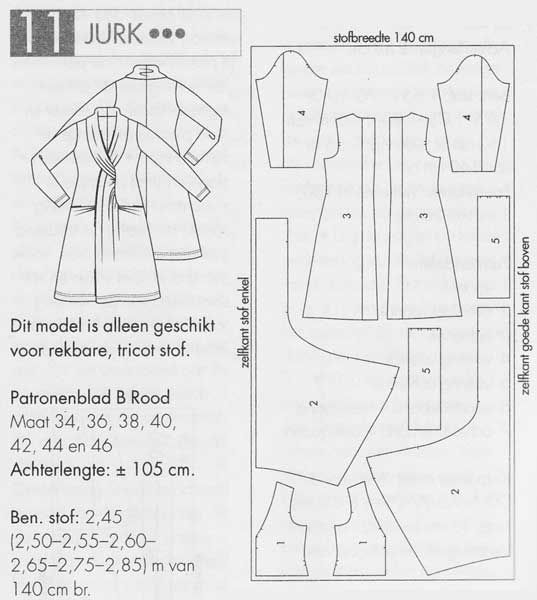
The other great thing about this dress is that they’ve chosen this pattern to have the big, illustrated instructions for this issue! So you really only need to sew the shoulder seams and centre back (if you didn’t cut it on the fold like me), follow their illustrations for that really unique scarf collar, waist, neckline, and centre front, and then after the illustrations attach the sleeves, sew the side seams, and do the hems! So what could’ve been a really complicated pattern is actually made fairly straightforward. Yay! Thanks, Knip! (You can download those big illustration in colour pdfs on Knip’s site, too!)
The bad weather and early nights may have kept me from taking photos of me in the dress earlier, but we had a mammoth photoshoot session yesterday so there’s lots to show!