Blog

Super furry animal

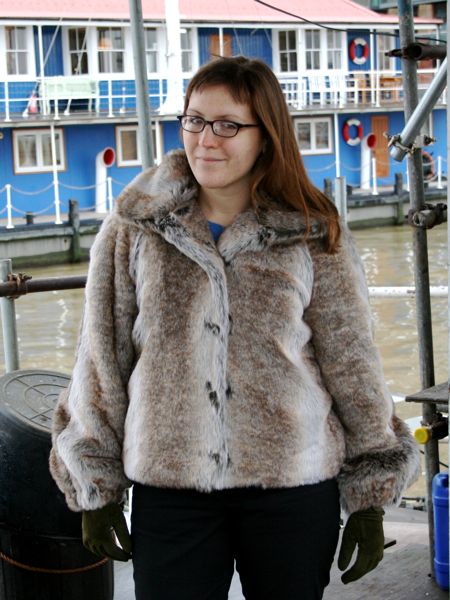
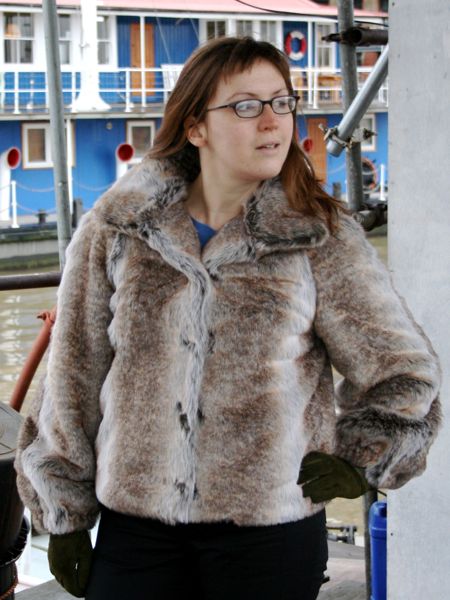
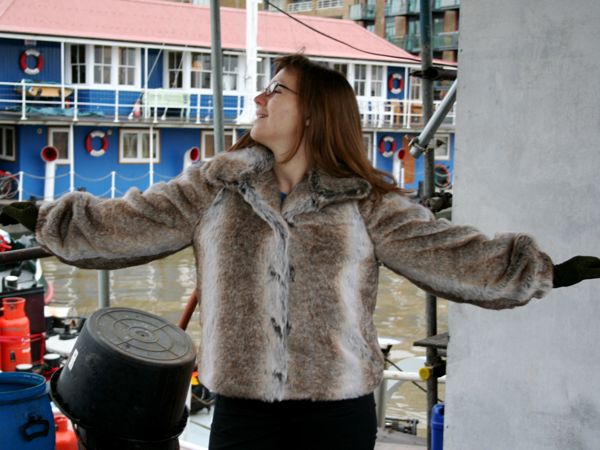
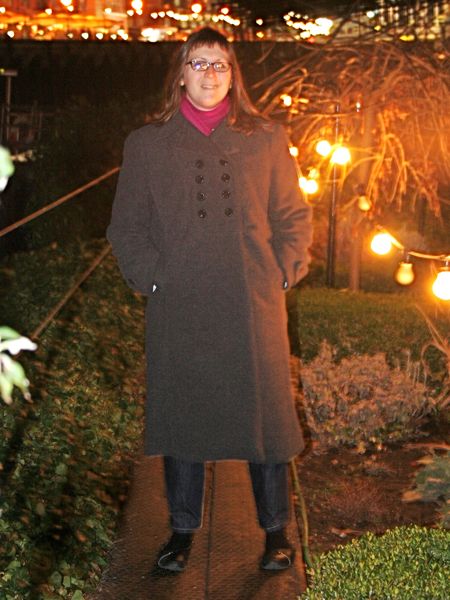
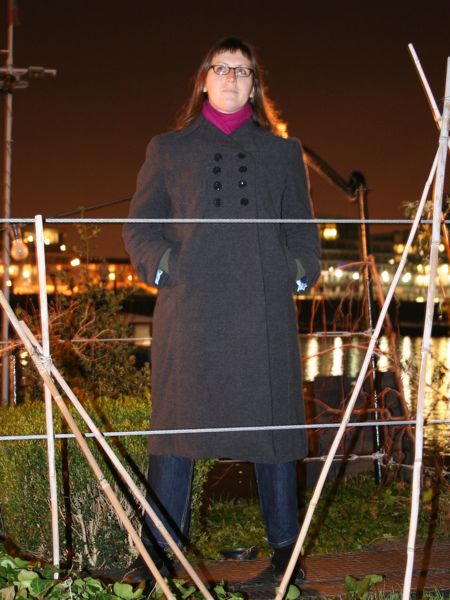
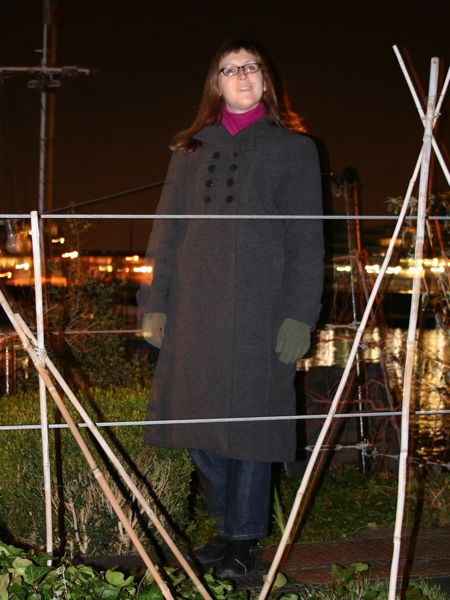
Let me just start off by saying I love this coat. I would jump up and down on Oprah’s couch like a crazy woman for this coat. It makes me happy just to look at it, and to touch it makes my day. I love it so much that I actually feel paranoid wearing it out for fear that some Peta idiot is going to pour paint on me because it looks and feels absolutely like real fur. But wear it out I do, because I love this coat!

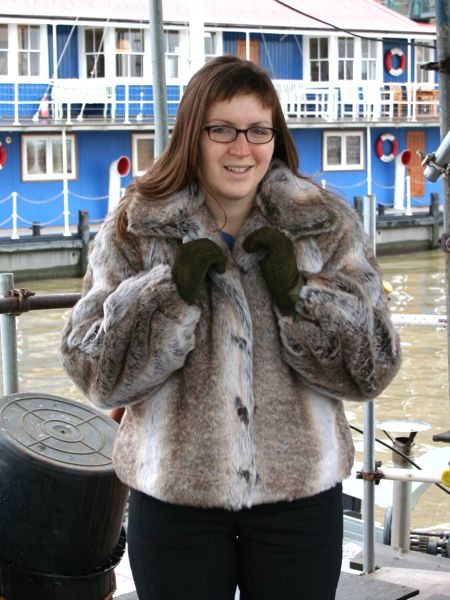
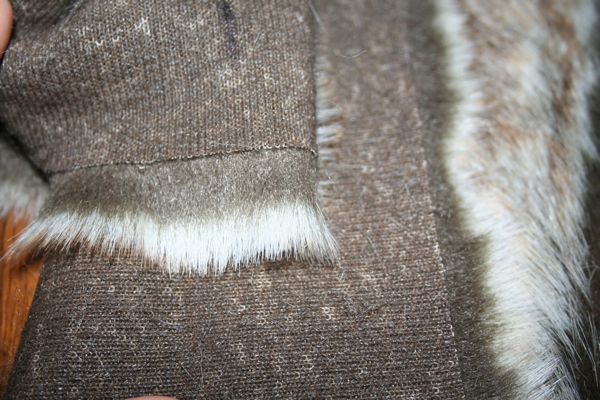
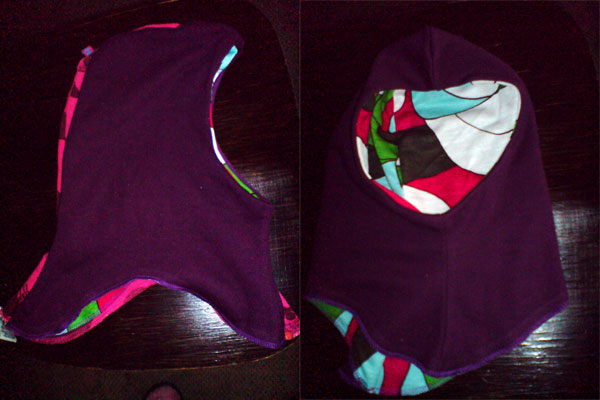
I mean, seriously, look at this faux fur, is it not fabric porn?

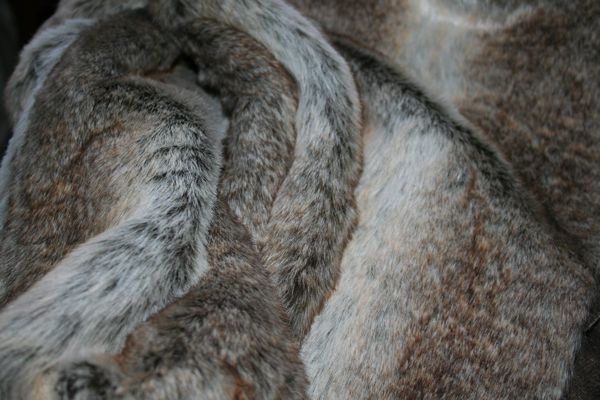
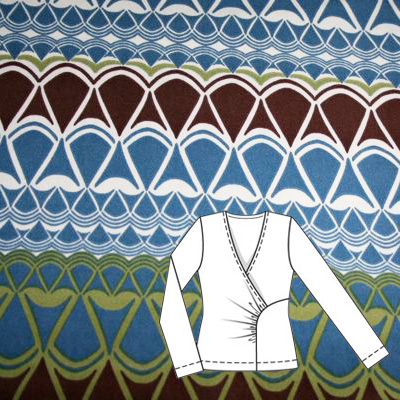
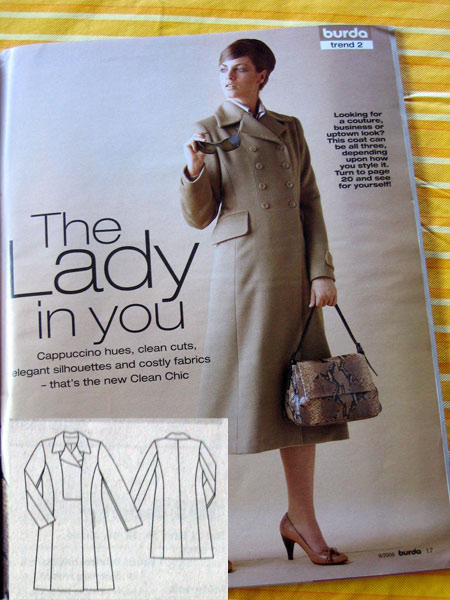
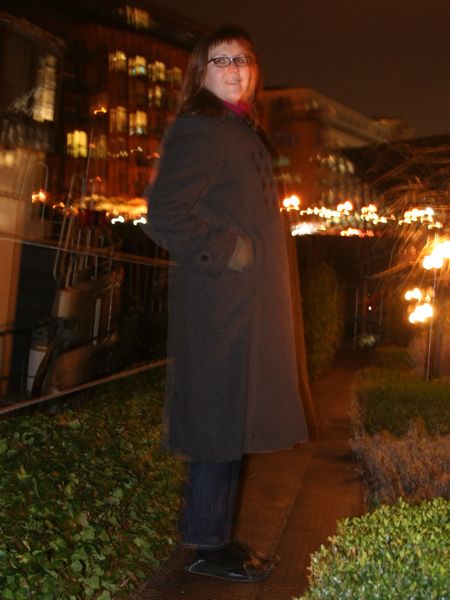
To refresh your memory, I made BWOF 10/08 #102 in faux chinchilla fur from fabric.com (at $21.98/yard, it was worth every last penny in shipping and customs charges!).

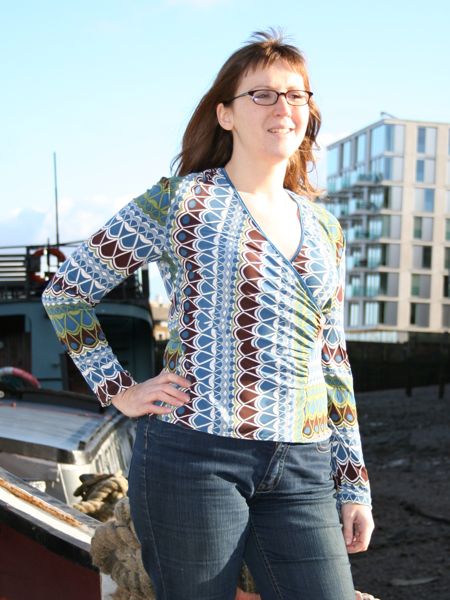
And the end result is just love at first sight!

Sewing my first bra

I’ve been wanting to try my hand at bra-making for over a year now, but I just kept putting it off because it seemed so complicated and easy to mess up and I didn’t want to ruin the really pretty fabrics I’d bought for it. So my bra-making ambitions sat in a box, waiting… Until I saw that thesewingchest.co.uk was giving away free toile kits with any bra pattern purchase and knowing that I’d have all the fabric and bits I’d need to make a bra, but without the worry of ruining one finally gave me the courage to try!

Even though I have two bra patterns I bought last year, I picked up KwikSew 3300 plunge bra – and made View B with both lower and upper cups in lined cloth as my muslin. View A has the upper cup in lace, which I’ll try next…

Tips for sewing with faux fur

I’ve finished sewing together the furry exterior of my luscious long pile faux fur coat, and now, as I set about creating the lining for it, I thought it’d be a good time to share all the tips and tricks I picked up along the way. Some are from the special “sewing with faux fur” supplemental lesson in the October 2008 Burda WOF magazine, but others are from my own experience.

Faux fur sewing tips!

  • Only cut one layer of fabric at a time, with the wrong side facing up. Be sure to cut through the backing only and NOT the fur itself! I used the very tip of my tailor’s shears, but an exacto knife would also work. A flat layout also means you need to duplicate any pattern pieces that would normally be placed along the fold, and other pieces must be cut out as mirror images (ie: one sleeve needs to be cut pattern face down and the other cut pattern face up so you end up with a left and right

Burda surplice gathered top

I can’t believe I’ve actually made a Burda WOF pattern in the same calendar month as the magazine! I think this is only the second time ever I’ve been able to do that, but I saw BWOF 01/09 #110 and instantly saw a perfect pairing with the print lycra knit I bought on Goldhawk Road:

(Thanks, Trena, for the swatch/drawing pairing idea!)

I’m actually going back there this weekend so I’m definitely going to raid the shop I bought this in, because the feel and drape of this lycra is fantastic, and at £3.50/m, you really can’t beat it!

Patterns To Trace

Recently I’ve been doing more batch tracing rather than tracing one pattern, sewing it up, then tracing the next. I find my sewing bottleneck is often in the tracing step (even though it doesn’t take much time), so by doing a bunch at once I can always have something on the go to work on in the mornings and evenings.

I’ve been mentally matching up my patterns to fabrics in my stash and tracing an awful lot the last few nights. Here’s what I’ve got coming up in the next few weeks, though you can see my plans have had to change somewhat to focus more on comfortable knits…

The warmest winter coat ever

I joined The Great Coat Sew Along all the way back in May because I’d never made a coat before and it seemed like a great opportunity to gather together with like-minded people and learn an awful lot, too! Even though I (and others) really fell behind on the timeline, I’m really proud to have finally finished my coat while it’s still cold out and to have learned a huge amount of techniques that I never would’ve on my own! So I owe this coat to Marji, really, for setting up and organising the Sew Along, and I’m already planning my next coat…

But for this coat, the pattern was BWOF 09/2005 #102:

I made a huge amount of alterations on the pattern: raised the waist by 1”, lengthened the arms by 1.5”, added a wedge to the lower centre front for walking ease, widened the top sleeve (and shoulder seam) by 1”, and increased all the vertical seams below the chest by about 1/2”. And then on top of all that I changed the pockets and added the interlining, too! It’s probably more alterations than I’ve done on all my other 2008 patterns combined! But as much as BWOF usually fits me straight off the sheet, this pattern didn’t really have enough wearing ease to fit big sweaters underneath…

Previous posts about this coat

Ok, ok, enough with the backstory, here’s the photos!

Conquering bound buttonholes and interlining my winter coat

Cast your mind back to the heady days of May, when I decided to join hands with the internet and start in on The Great Coat Sew Along, with this beautiful long coat pattern from BWOF 09/2005 #102:

(There are two similar views – mine’s using the exposed buttons and sleeve tabs of 102, but the in-seam pockets of 101.) Anyway, I got as far as the material gathering, muslin fit and alterations, and even sewed together the body pieces of the coat before I lost momentum in August. The half-finished coat has hung in my sewing room ever since, taking up valuable space and making me feel bad every time I glanced at it, but the abnormally freezing cold temperatures we’ve had in London have made me jump back in with both feet to get this finished, because I could really use this on my daily walking commute to work. I’ve got a RTW long wool coat, but with the wind and extreme cold we’ve had, I can feel the cold through what I’ve got now (the papers are gleefully reporting that, at -10C, London is colder than Antarctica right now, and I’ve lost count of the number of Russian-style fur hats I’ve seen out and about).

What I gave…

The tree and the outdoor lights are all taken down, the chocolates have been scoffed, and the last of the pine needles are being hoovered off the floor… My Christmas sewing was in overdrive this year, but it’s not until now that I really get to see how everyone liked their gifts!

My neighbour Jamaica was telling me months ago how impossible it is to find the cute little jersey balaclavas her 3 year old daughter loves, so she lent me one to copy after I had a good look at it. It’s really just one pattern piece, cut four times (two in each fabric) and sewn together along the back/top seam and also on the lower neck seam. You can see the pattern piece in the side photo on the left below (the right photo is the front view with the hole for the face). Then I connected the two around the face hole, turned them right side out, and serged the bottom edge together and left that raw (like the RTW one, which is just peeking out below on the left).