Two pairs of marathon leggings

Word got round my running crew that I was starting to do some custom drafted leggings for a few people and my friend Lee Ann immediately came up to me and said “I want you to make my leggings for London marathon.” Holy crap – what an honour! It’s her first marathon, and the biggie, and she trusts me to make them for her?! I couldn’t say no to that, so I measured her up right then and there, then drafted out her pattern using the Shin book, and made her a test pair using some cheap thin lycra. She came round the boat and tried them on and amazingly, the fit was perfect, with no alterations needed, woo!

With the fit out of the way, I could then start in on the design lines, which she said she wanted to have a stripe/ribbon that started on her right hip and wrapped around to her right calf, and in navy and red to match her charity vest.

So, as I do, my first step was to draw myself a little plan:

Sorry for the crap quality there, but essentially I drew out the four big pieces (front right, front left, back left, back right) and the rough stripe shape, and realised I’d need 12 pieces in total, and as it’s asymmetric, I’d need to cut everything in single layer.

Organisation was the key, keeping the three pieces for each quarter pinned together on my sewing room clothes line!

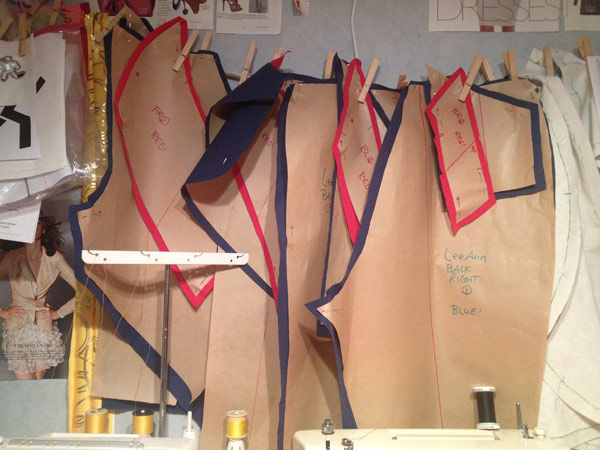
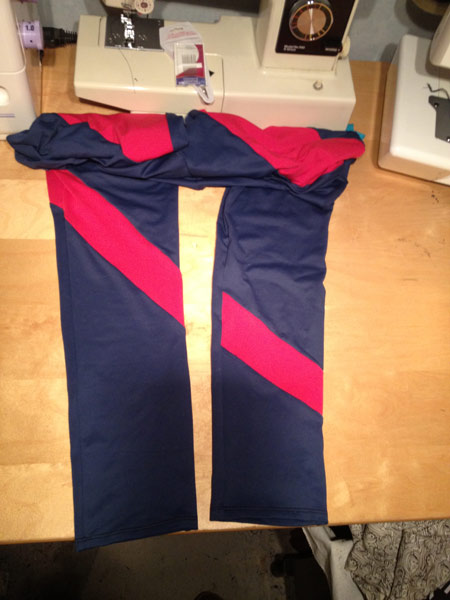
I assembled each quarter first (ie: I sewed the front right top to the front right mid, to the front right lower until I had a full leg, and moved on to the front left). The cutting was really the most difficult here, but I managed to just barely squeeze everything out of 1m each of Tissu’s navy blue and red supplex lycras. Assembling it was much easier, but I had to be careful that the seam lines matched up over the left side seam!

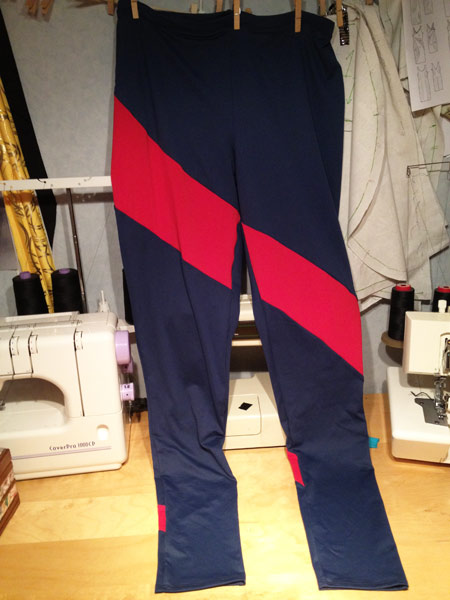
I was so chuffed to see them on LeeAnn when she ran past me during the race, and she said they were a dream to wear on the day, too! No tugging, no baggy ankles, no nothing, hurrah!

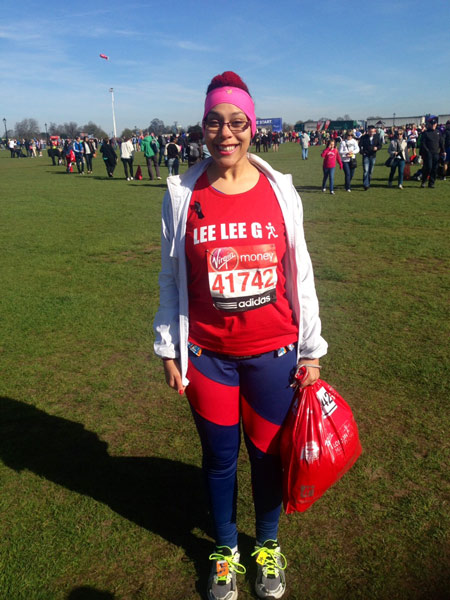
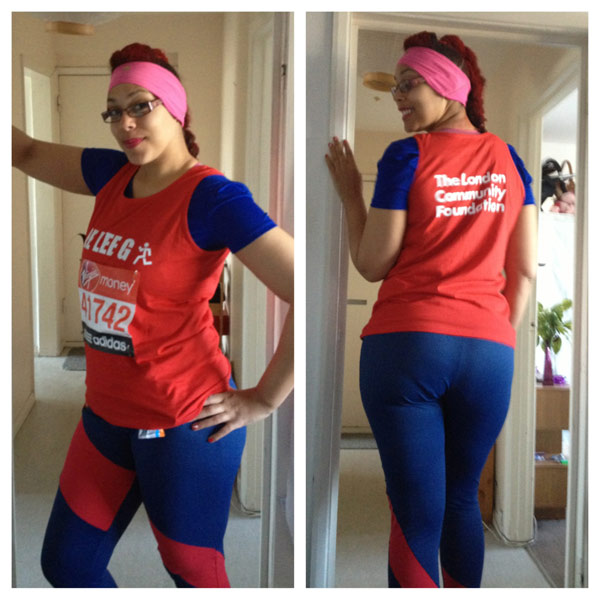
Don’t they look great on her?? And she’s totally caught the bug, too – already planning her second marathon!

Copying a favourite bra

You may have noticed that one of the items on my Spring Sewing Ideas list was a “self-drafted/copied from RTW” bra. I’ve sewn countless bras before, but really only been happy with the fit and look of one (a foam cup muslin, of all things!). I really want to try and get away from moulded foam cups for a number of reasons (which Orange Lingerie discusses here), so my dream bra drawer would be entirely lacey, gorgeous, self-made, frameless, underwired bras, with one nude moulded foam cup bra for when I really need a seamless look.

The problem is, I’d been buying foam cup bras for so long that I didn’t really have any non-padded ones I could clone, and on a whim last year, I bought a few M&S bras and was amazed to find that two (identical, apart from colour) all-lace, single-darted, frameless, underwire bras, fit me perfectly and gave me a great shape.

So in the back of my mind I’ve been wanting to clone these, since my last bra using the Elan pattern ended up fitting well (at first I thought I’d cracked it finally!!), but the cup shape looked B-A-D. Boobs like duck-bills, oh god no!

Anyway, so I started the process of cloning the white version of the M&S bra last night, by using my method of tracing patterns – placing the bra down on top of paper and running my serrated tracing wheel around it. This worked well for the band, but I wasn’t convinced I got an accurate trace for the cup, so I looked up an old Threads article, “Clone Your Favorite Bra” (Issue 99, Feb/March 2002 if you’ve got the archive DVDs), which suggested stabbing lots of pins around the bra edge until you got to a point where it would no longer lie flat. Then you unpin the first pins you put down, and re-shift everything using the latter pins (in my case, along the dart) as an anchor so it lies flat and you get all the edges pinned.

Then, in my case, because the dart stayed in place and everything shifted around it, I had to cut through the dart and open it back up. Because the top edge of mine was the lace edge, I knew this had to be straight, so it made it easy to re-adjust.