Bridesmaids dresses – I pleat the fifth
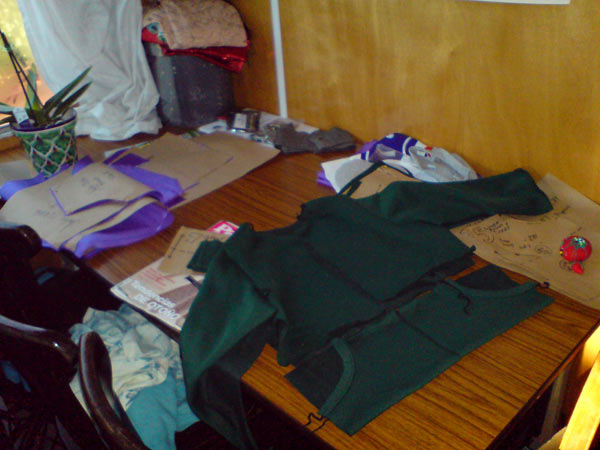
While I’ve been showing you all sorts of books and magazine reviews and drafting up free bag patterns for you, what’s been going on in the sewing room, I hear you ask! Well, I set aside April and May to sew my two bridesmaids dresses, and after a long muslin period, I’ve been getting stuck in with the most time consuming portion of the dresses first – the pleated, silk satin (charmeuse) waistband/cummerbunds.
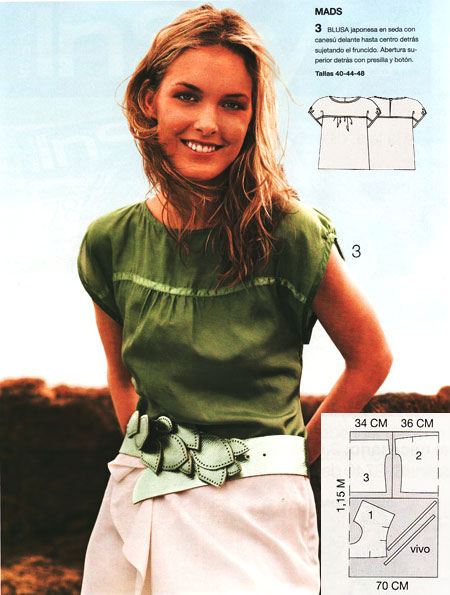
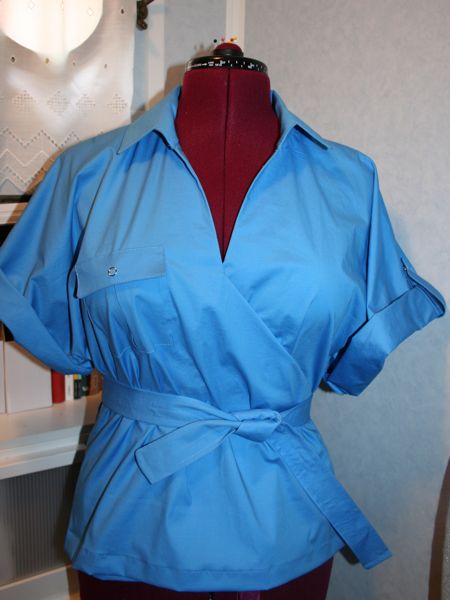
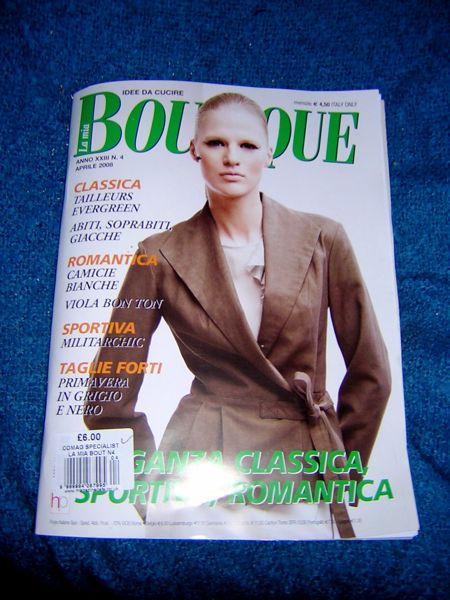
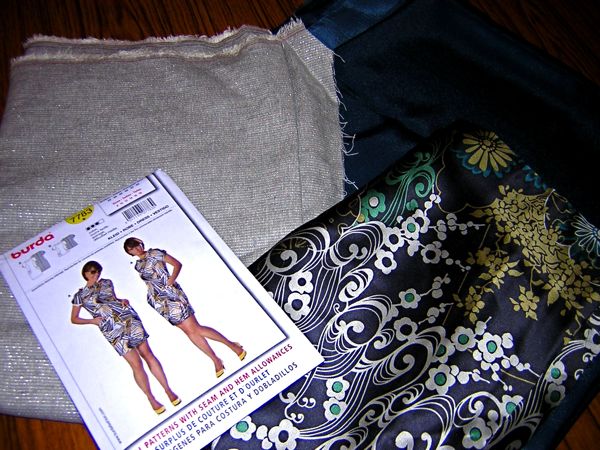
If you recall, I’m sewing the Gant exclusive design dress from the 09/08 Burda magazine:

The fabrics were bought over a year ago, so I fished out the bag and got to work on the reeeeeeeally long pleated sections using Burda’s magazine instructions (which are surprisingly helpful) and a bit of info from my The Art of Manipulating Fabric book (thanks, Cindy!). These are knife pleats, one centimeter apart, and Burda called for seven pleats down the band, but after my test piece, it looked a bit sparse at the top and bottom edges, so I decided to go for eight pleats in the final versions.
So in order to help any of you attempting this on your own (and sadly, a Perfect Pleater is way too narrow to help me here), or those of you wondering why professional designers outsource their pleating to professional firms, here’s what’s involved…
How to pleat
Step 1 – On the reverse of the fabric to be pleated, mark chalk lines exactly 3cm apart, one for every “mountain” pleat.