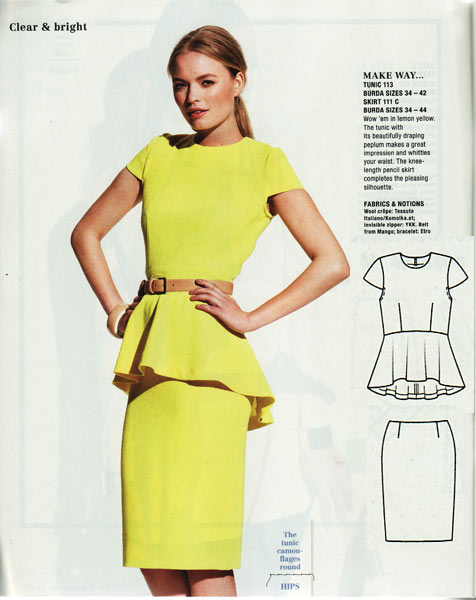
We’ve been away in France last week and I’ve picked up a few souvenirs, including a stonking awful cold, which is unfortunately delaying my resumption of normal life and blog activity. So just rest assured there will be much to talk about as soon as my brain is functioning again. Until then, please accept my apologies for anything that doesn’t make sense here!
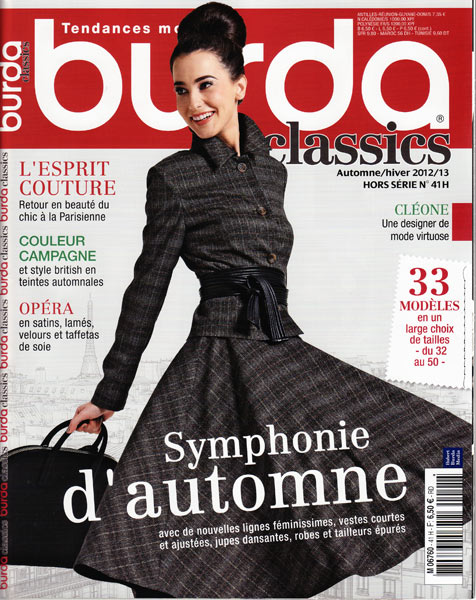
So, what is this “Burda Classics”, I hear you ask? Well, it’s part of a new series of Burda pattern magazines, set to run alongside the existing monthly issues. It’s available in English & French only, and produced by Burda France as a test run. Apparently there’s going to be 8 “special” issues per year, two of them Classics, two Plus, and the other four are anyone’s guess!
I bought my Classics mag last weekend at Eurotunnel Calais on our drive back – the one and only copy, bwahaha!
Two of these patterns are definitely reprints of earlier patterns (see below), but some may be new, I’m not sure. As you’ll see, there are lots of jackets, which aren’t exactly staples in my own wardrobe!. Sizes range from 32-50 but the bulk of the patterns are 34-44 or 46. The instructions and patterns sheets appear to be similar to those in the regular magazines, though as I have the French version, I can’t vouch for whether the English instructions make any more sense than the usual “Burda WTF” coming from Burda Germany’s head office!
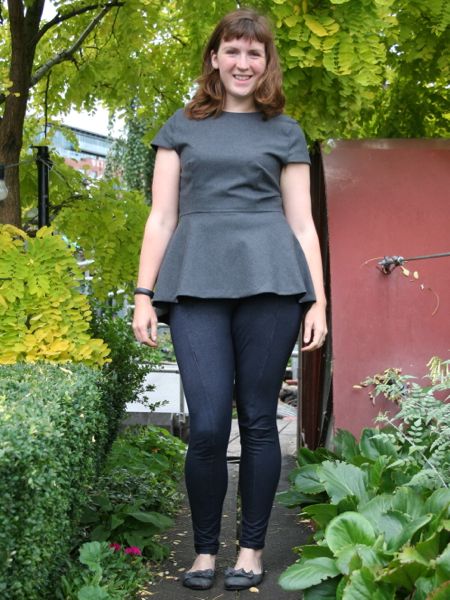
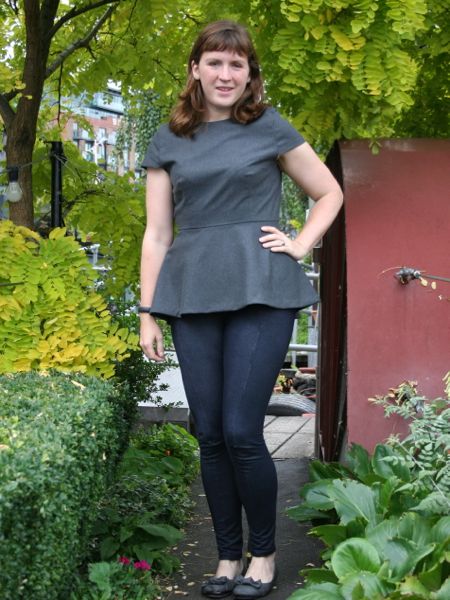
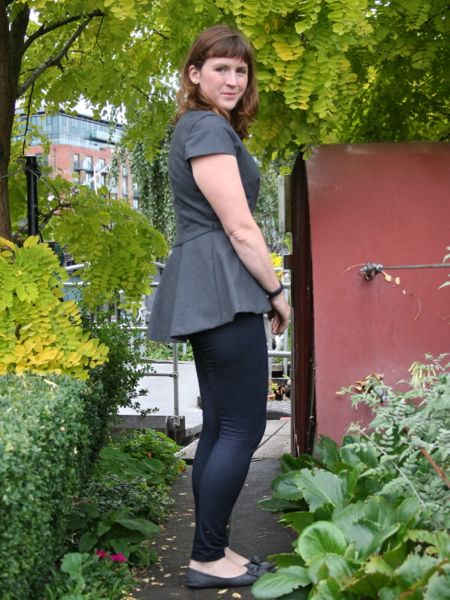
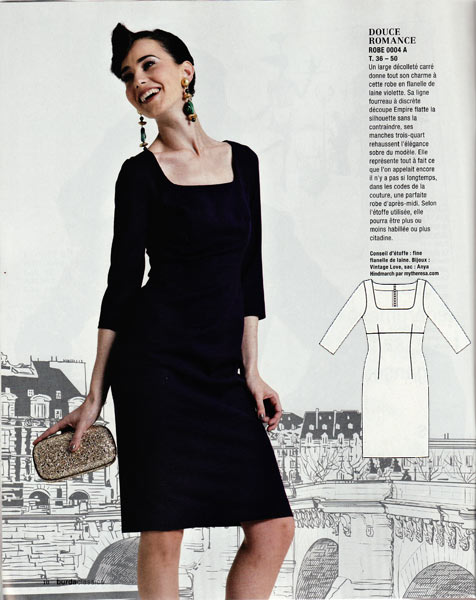
Here’s my favourite pattern of this issue, a great little sheath dress for wovens or stable jerseys, in three hem lengths and three sleeve lengths:
A “Chanel” suit (albeit with a 2 piece sleeve). I intended to place a little rant here about how any chanel-type suit has the magical properties of making its wearer look at least twenty years older, but seeing as how this model looks to be about 60, that actually doubles my earlier estimate. Want to look old and frumpy? Wear a boxy boucle jacket and matching matronly skirt!
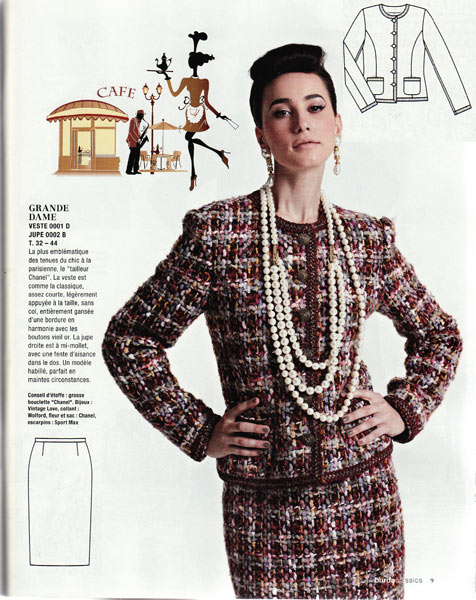
(Ok, this is probably a cranky side effect of my cold, as it’s not this pattern’s fault, it’s the “style” I take offense with!)
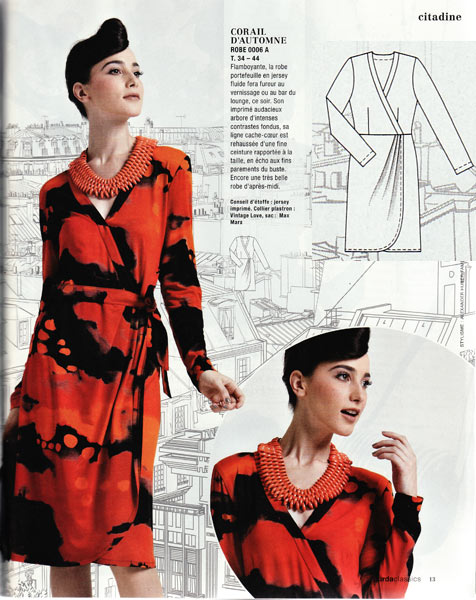
Omg, it’s the knit wrap dress I made back in 2007! This is a great pattern, appearing first in the May 2006 issue of Burda magazine, and then appearing again as envelope pattern Burda 7953.