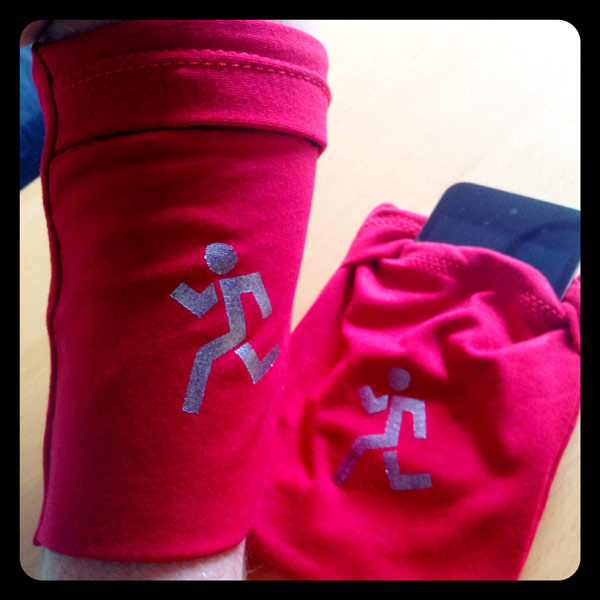
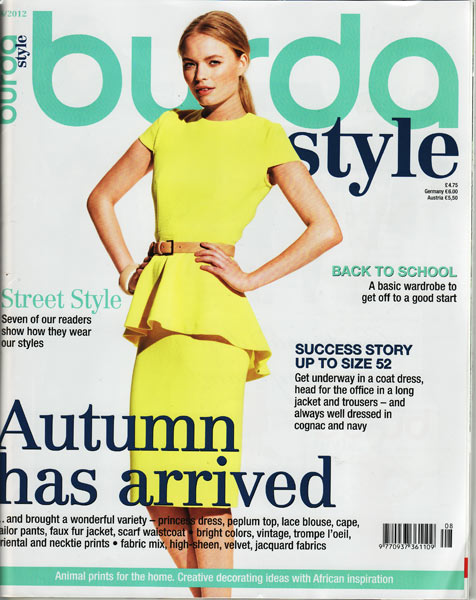
I’ve been buying Burda magazine (formerly “Burda World Of Fashion”, now “Burda Style”) since 2005, and I’ve seen its greatness come and go (and then come back again) in waves. It’s been getting steadily better over the course of 2012, but this August issue is the best one in a LONG time! Definitely the best this year (along with May 2012), but possibly it ranks up there with September 2010 and August 2006 even in my own personal Burda Issue Hall Of Fame!
I pretty much love everything in this feature with the white background, but let’s take these one step at a time.
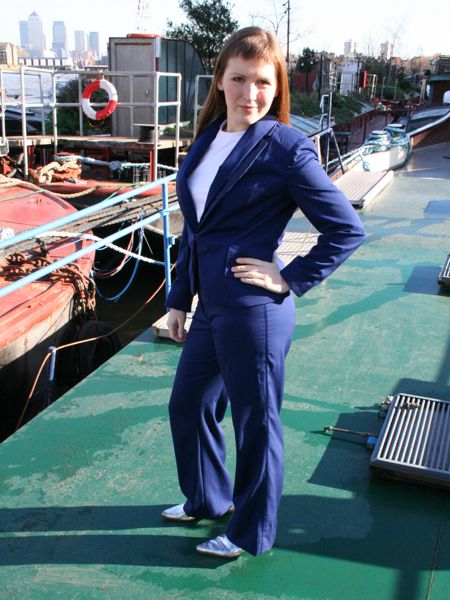
First up is this blue tuxedo with slim trousers and a great jacket with interesting, non-standard lapels. How could I not love this, when I’ve already made a blue tuxedo with slim trousers and a jacket with interesting lapels back in 2008 (and also from Burda patterns)??! LOVE.

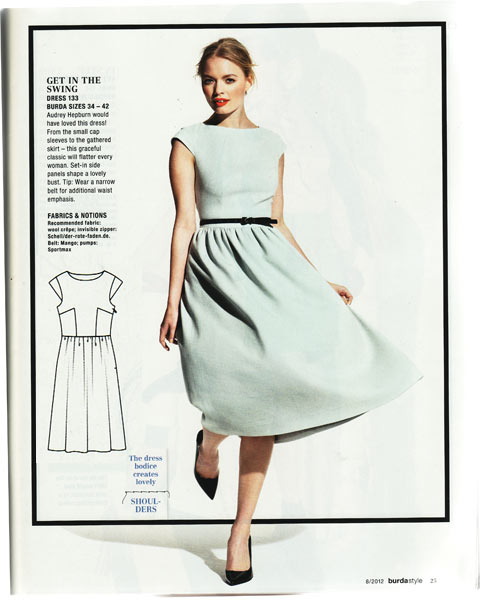
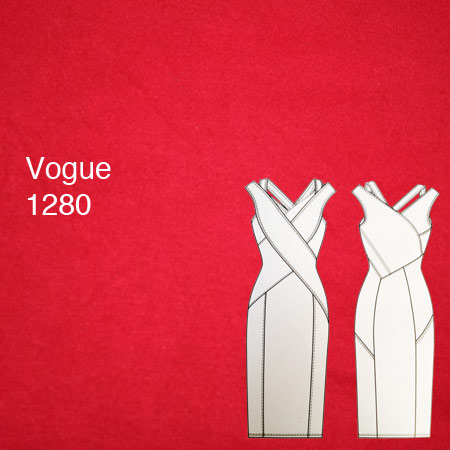
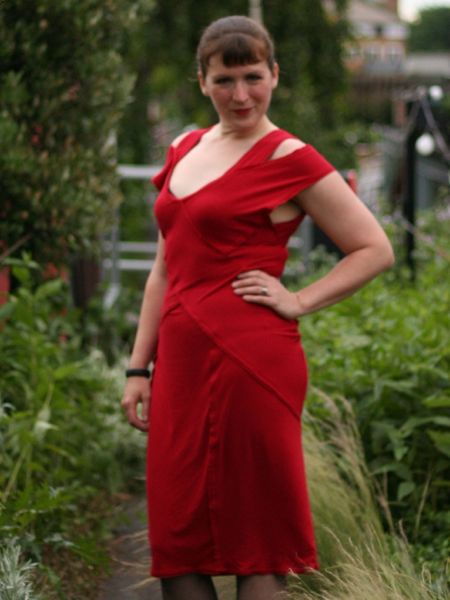
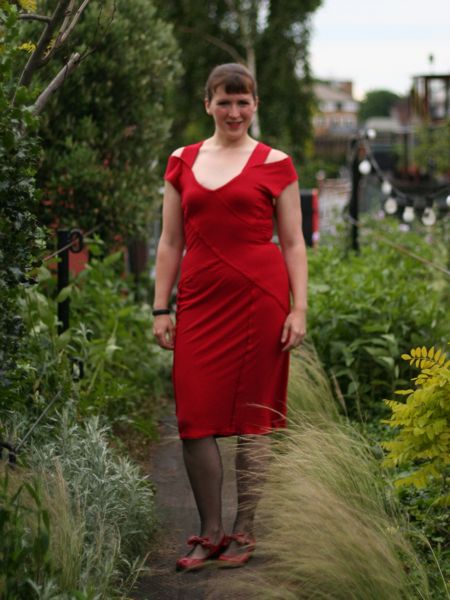
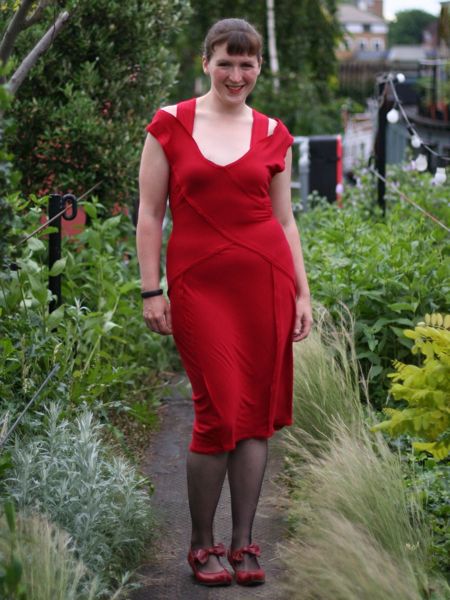
I really love the shape of this dirndl-inspired dress, with its cap sleeves and interesting bodice seams, but part of me is also concerned by the sharp seaming – they look awfully similar to the seams on a Burda slip pattern I tried that really didn’t work for me (ahem, pointy boobs) so I’d want to definitely muslin this bodice before going further.