Sorry for the stream of consciousness, but I’ve had a busy few days of sewing activity, but in more disjointed areas than any one common goal.
Burda and KnipMode magazines & PM3
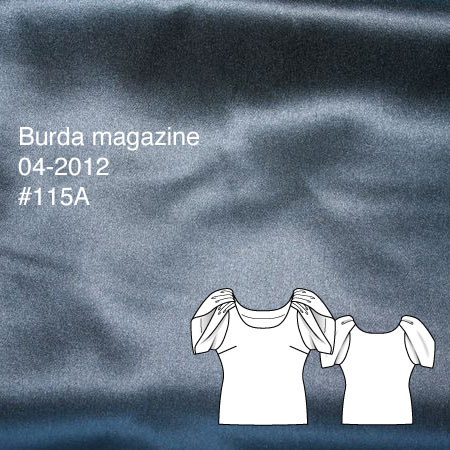
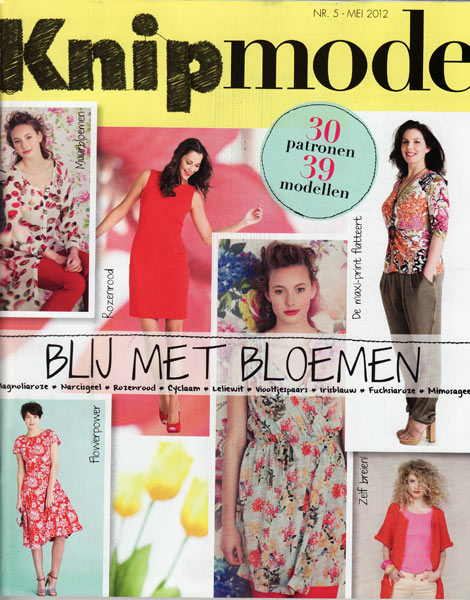
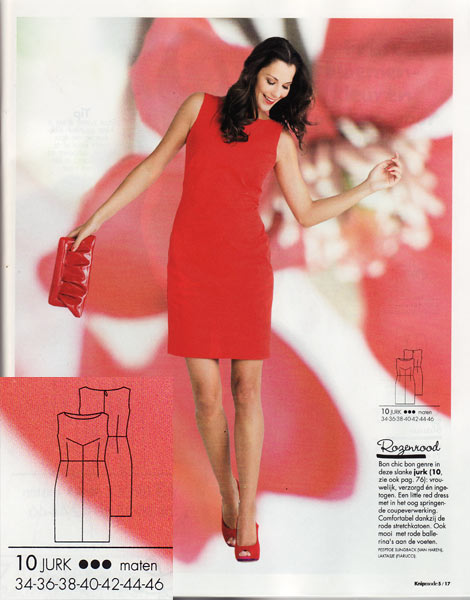
The June editions of Burda & KnipMode arrived on the same day and made for a nice comparison. I loooooooved the May Burda, but the June one is way too summery for me, and I’m not really feeling it. I’ll review the KnipMode shortly, as soon as I can get the scanner going. I almost feel like I should start doing Burda magazine reviews since their online previews are getting more and more cumbersome to use, now that they’re eliminating the French site, the German does is a total PITA to view on mobile devices, and the English site only gets a third of the patterns a month after everyone else. But then again, so many other bloggers already do this so I don’t want to create a “New Vogue effect” where every sewing blog suddenly shows the same five pictures all at once.
What do you think? Is Burda niche enough that you want to see my picks like I do for Manequim and (soon to be much less frequently) KnipMode?
Also at the same time, my KnipMode renewal notice came through. I don’t want to renew, but I want to make sure I don’t need to do anything in order to cancel (ie: I don’t want it to renew me automatically). Could I pretty please send an image of the latter to a Dutch speaker just to confirm what I need to do? (Volunteers, please leave a comment) I don’t need a full translation, just someone to tell me whether I need to formally cancel or not.
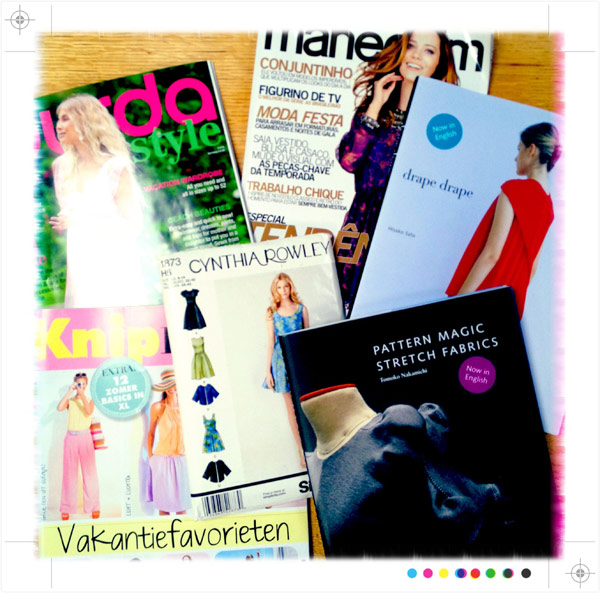
My copy of Pattern Magic 3 (in English) also finally arrived, after the first copy got lost in the post from Amazon! There are some Must Sews in there (including one I’ve started drafting already) but also some hi-LAR-ious things in there. A review will be coming soon for this, too.
Underwear!
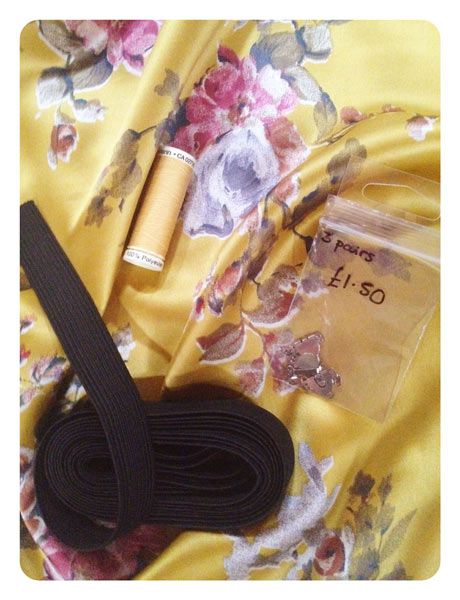
On Saturday, after my long run with friends, I made some new pants (underwear). As per usual, I used my TNT thong pattern, which originally came from a KnipMode magazine from 2007 or 2008.